What Is The Best Way To Wash Walls Before Painting?
Q: What is the best way to wash the walls before painting?
A: Washing your walls is an important step in the painting process. If it isn’t done properly or done at all, it can negatively impact your final paint job because paint cannot adequately adhere to a dirty surface.
Over time, your walls can get covered in dust, dirt, and grime. To ensure that paint adheres to your wall for a perfect, lasting finish, clean your walls. Fortunately, cleaning your walls before painting is easier than you might think.
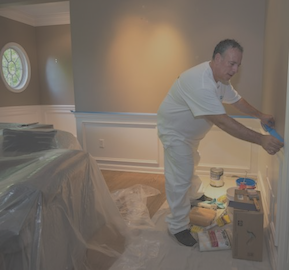
Start by getting your walls in good shape. Prepare your room by removing any pictures, mirrors, soft furnishings, and window treatments to the room’s center, along with any furniture. You should also turn off the electricity at your circuit breaker box and cover electrical outlets, light switches, and telephone connections with masking tape to prevent water from seeping into them.
Next, you will dust and wash the walls. You can dust using a vacuum cleaner or microfiber cloth. Then wash the walls with a damp sponge and allow them to dry. Wash your walls from the bottom up using a nonabrasive sponge. Work in small areas, wash and then use a soft, clean towel to remove excess moisture. Pay particular attention to the middle of your walls, as this is where you will find most marks and stains. Aim to wash an entire wall in one session, using the same technique.
What are safe chemicals to use when cleaning walls for painting?
Before you paint a wall in your home, you’ll need to scrub the surface to remove any dirt or debris. Often, homeowners make the mistake of using harsh substances that cause permanent damage to the wall. When it comes to painting prep, you often don’t need strong chemicals at all.
Warm, soapy water is usually your best bet. Fill up a bucket and use a sponge to gently rub the wall, starting from the base and working your way up. This should get rid of the bulk of dust and grime on the surface, and you’ll end up with a much smoother wall for paint application. Use a clean towel to dab the wall when you’re done gently. If soap and water don’t do the job, prepare a DIY cleaning solution by adding a couple of drops of distilled white vinegar to a bucket filled with warm water.
Wall dirt makes it difficult for paint to stick to the surface, so make sure your wall is spotless before you start painting. For stubborn stains, try baking soda, a substance used to clean everything from sinks to toilets. Fill up a bowl with a quarter of a cup of baking soda, pour warm water over the top, and apply the solution to the wall with a clean cloth. Again, use a towel to dry the wall when you’re finished and wait for a couple of hours before applying paint or primer.
If you’re still having trouble, try trisodium phosphate (TSP), a powerful wall cleaner. You’ll need to take a few precautions when using trisodium phosphate, though. Wear safety goggles and rubber gloves. Add a quarter of a cup of trisodium phosphate to a bucket with a gallon of hot water and apply the solution to the wall with a sponge. Fill up a second bucket with hot water for removing the cleaner from the surface.
Remove any loose paint from your walls before you clean the surface, too. Use a putty knife or plastic scraper to do this properly.
Once you’ve peeled and cleaned your walls, you’re ready to start painting.
What do I need to do to prepare for when I paint the walls in my house?
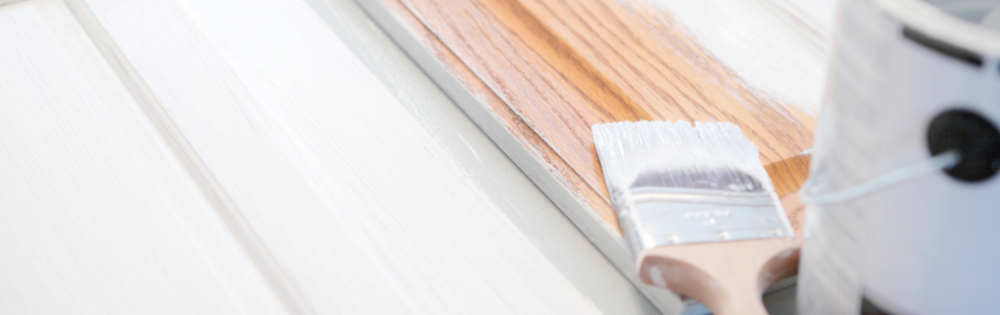
You’ll need to begin by choosing a color and type of paint for your walls. There are several types of paint available on the market, each with benefits and drawbacks depending on your circumstances.
Latex paints work best on walls and masonry. They’re easy to apply, have a glossy finish, and clean up easily. Oil-based paints work on a variety of surfaces. They have good adhesion and are resistant to stains. Flat surface paints give a simple, flat look, whereas satin or glossy finishes add luster and work better on trim.
You will also need to make sure you have the proper brushes for your project. Natural brushes work well for oil-based paints, while acrylic and acrylic-blend brushes work best for latex paints. Wider brushes are good for painting large areas, while narrower and/or angled brushes are best suited for trim and detail work. A roller brush can help you cover large surfaces quickly. And don’t forget a ladder to help you reach high places when painting.
Remove all draperies, pictures, mirrors, and so forth before painting the area. Move furniture to the center of the room and lay down drop cloths or tarps to protect your furniture and any rugs. Use masking tape to cover any surfaces you don’t want to be painted, such as trim or outlet faceplates you can’t remove. If you are confident in your painting skills, you may opt to skip taping around your trim and just carefully use an angled brush for details. This will help you avoid having to peel up so much tape at the end.
Be sure a window is open and fans are on before you start painting to ensure your space is properly ventilated. If you are using oil-based paints, do not use the pilot light on your stove, and do not smoke or have other open flames or electrical ignition in the area.
Ensure your surface is clean (use soap and water, then let it air dry) and cured before painting, and remove any wallpaper. If there are any gaps or cracks in the wall, you’ll want to repair them before proceeding. You may also choose to sand out rough spots in the walls (wear a respirator).
Choose a primer for your project based on the material you’re painting. Apply it before adding color to ensure proper adhesion and help your colors look their best.
Ready to try it out for yourself? If not, putting the job in the capable hands of professionals allows you to relax in the certainty that the work will be done properly and promptly. Contact Paintzen for an interior wall painting quote today.
RELATED ARTICLES
- What Is The Best Exterior Paint For Rain?
- What Does Exterior Painting Cost On Average?
- What Is The Right Type Of Paint For Ceilings?
- Stucco Paint & Knowing How to Paint Over Stucco Cracks
- What Is The Best Way To Wash Walls Before Painting?
- What Is The Best Paint Brush For Trim And Baseboards?
- How To Paint A Ceiling Without Splatter or Dripping?
NEED A LITTLE MORE INSPIRATION?