
Executive Summary
Proper wall cleaning before painting ensures a smoother, longer-lasting finish. This post walks readers through the best cleaning methods, materials, and tips to prep their walls efficiently while avoiding common mistakes. By investing just a bit of time in preparation, you can achieve a professional-quality paint job that enhances your home’s appearance and stands the test of time.
Why Cleaning Walls Before Painting Is Essential
Before opening your first can of paint, it’s crucial to start with clean walls. Dirt, dust, and grease can all prevent paint from adhering properly and may lead to a patchy or uneven finish later on. Taking time to clean your walls will help ensure a durable, professional-quality result. Clean walls also allow the color to look truer to the sample and make touch-ups easier in the future.
How Dirty Walls Affect Paint Adhesion
Dust, grease, and residue create barriers between paint and the wall surface. Even small particles can cause bubbling, streaking, or peeling over time, forcing an early repaint. When paint doesn’t properly bond to the surface, it becomes more susceptible to chips and cracks. Regular cleaning ensures a smooth base and better adhesion that keeps your walls looking fresh for longer. In addition, properly prepped walls reduce the amount of paint needed, saving you time and money.
Benefits of Proper Wall Preparation
Prepping walls enhances paint longevity, provides a more consistent color finish, and minimizes touch-ups. It also allows painters to spot damage or imperfections early, saving time on repairs later. A little effort in cleaning can save hours of labor down the line, especially in kitchens and high-traffic areas where residue tends to build up. Clean surfaces also help primer adhere evenly, which improves paint coverage and the overall appearance of your finished project.
What You’ll Need to Wash Walls Before Painting
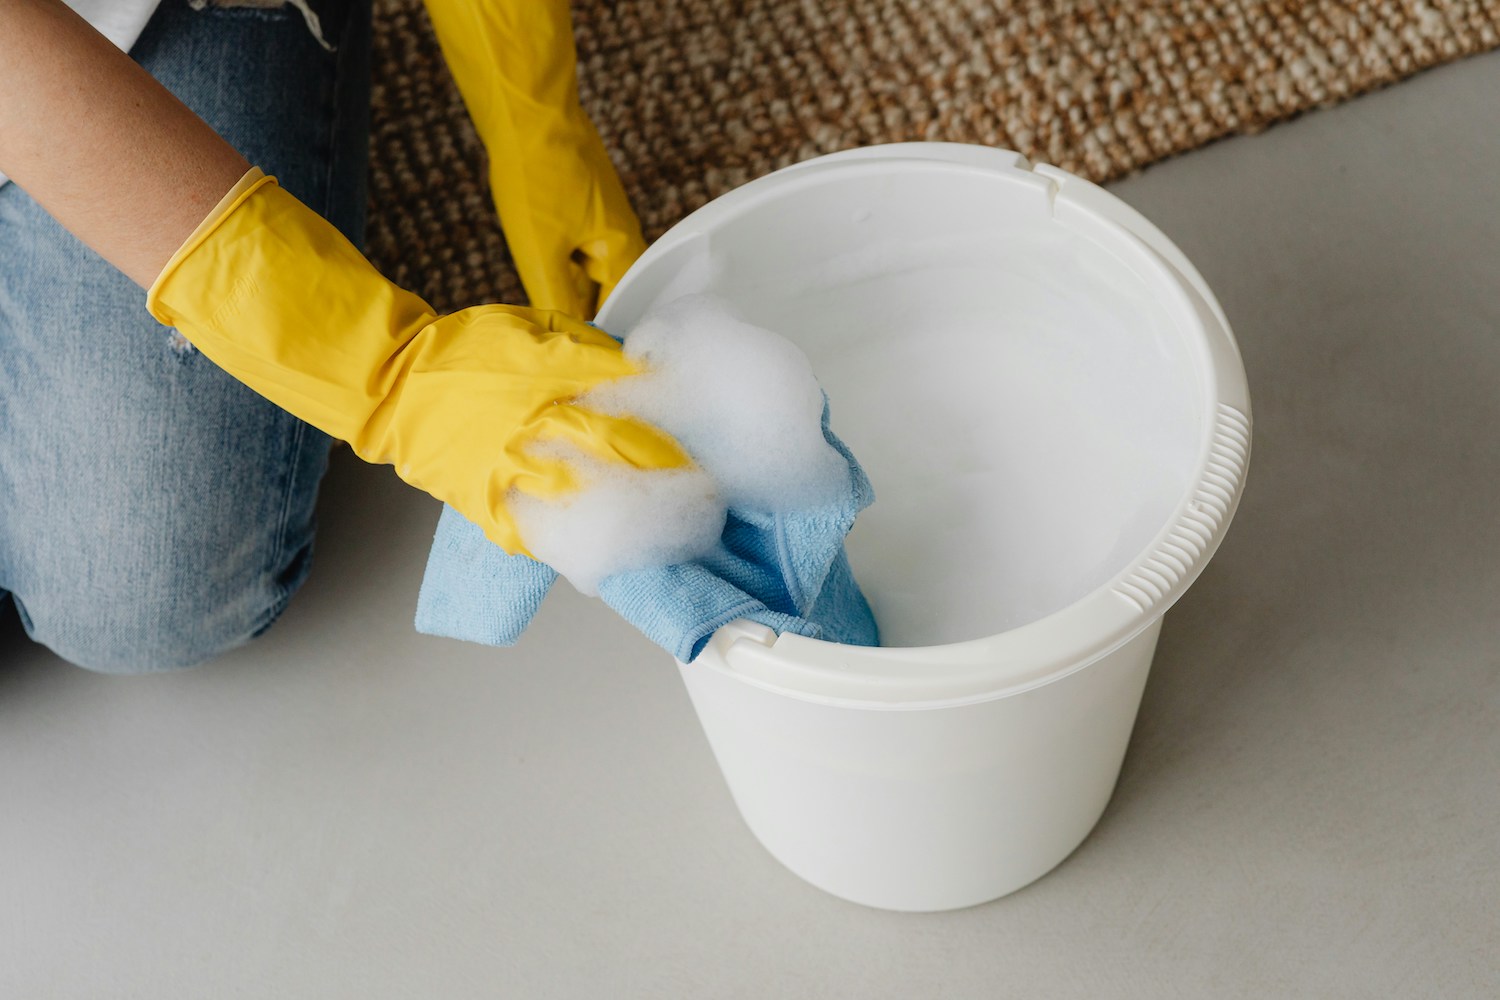
Before you begin, gather a few simple supplies to make wall cleaning quick and efficient. Having everything ready prevents interruptions mid-task and keeps your workflow organized. Preparing your materials beforehand ensures you can move through each step smoothly without needing to stop and search for tools or cleaners.
Essential Tools and Cleaning Solutions
You’ll need mild detergent, warm water, a bucket, microfiber cloths, and a sponge. For stubborn grime, add a bit of white vinegar or trisodium phosphate (TSP) to your mix—just remember to wear gloves and test small areas first. Avoid using overly abrasive scrubbers, as these can damage drywall or existing paint layers. Keeping your cleaning materials gentle but effective helps maintain the integrity of the surface. A well-prepared cleaning solution also makes rinsing easier and prevents film buildup.
Choosing the Right Cleaning Solution for Your Wall Type
Flat paint, glossy finishes, and textured walls each respond differently to moisture and cleaning agents. Always choose gentle cleaners for delicate finishes to prevent damage before repainting. For instance, glossy or semi-gloss walls can handle mild detergents, while matte finishes should be cleaned with diluted solutions. When in doubt, start mild and test a small corner first to gauge how your wall reacts. Matching the right cleaner to your wall type ensures a spotless surface without compromising texture or sheen.
Safety and Room Prep Before Washing
Safety comes first when prepping walls for cleaning. Before you begin, turn off electricity at the circuit breaker and cover outlets, switches, and fixtures with painter’s tape to prevent moisture damage. Use drop cloths to protect floors and move any remaining furniture away from the walls. Open windows or turn on fans for proper ventilation during cleaning.
Step-by-Step: How to Wash Walls Before Painting
A systematic approach ensures you don’t miss spots or oversaturate your walls. Working from top to bottom allows water to drip naturally and prevents streaking, making the process more efficient overall. Following a logical order also ensures consistent results and avoids rework.
Step 1 – Dust and Dry Clean the Surface
Use a microfiber cloth or vacuum with a brush attachment to remove loose dust and cobwebs. This prevents dirt from spreading once you apply cleaning solutions. Pay special attention to corners and trim where dust tends to collect. Removing debris first ensures that the cleaning process is thorough and that your paint will adhere evenly. Dry cleaning also keeps your wash water cleaner for longer, reducing the number of solution changes.
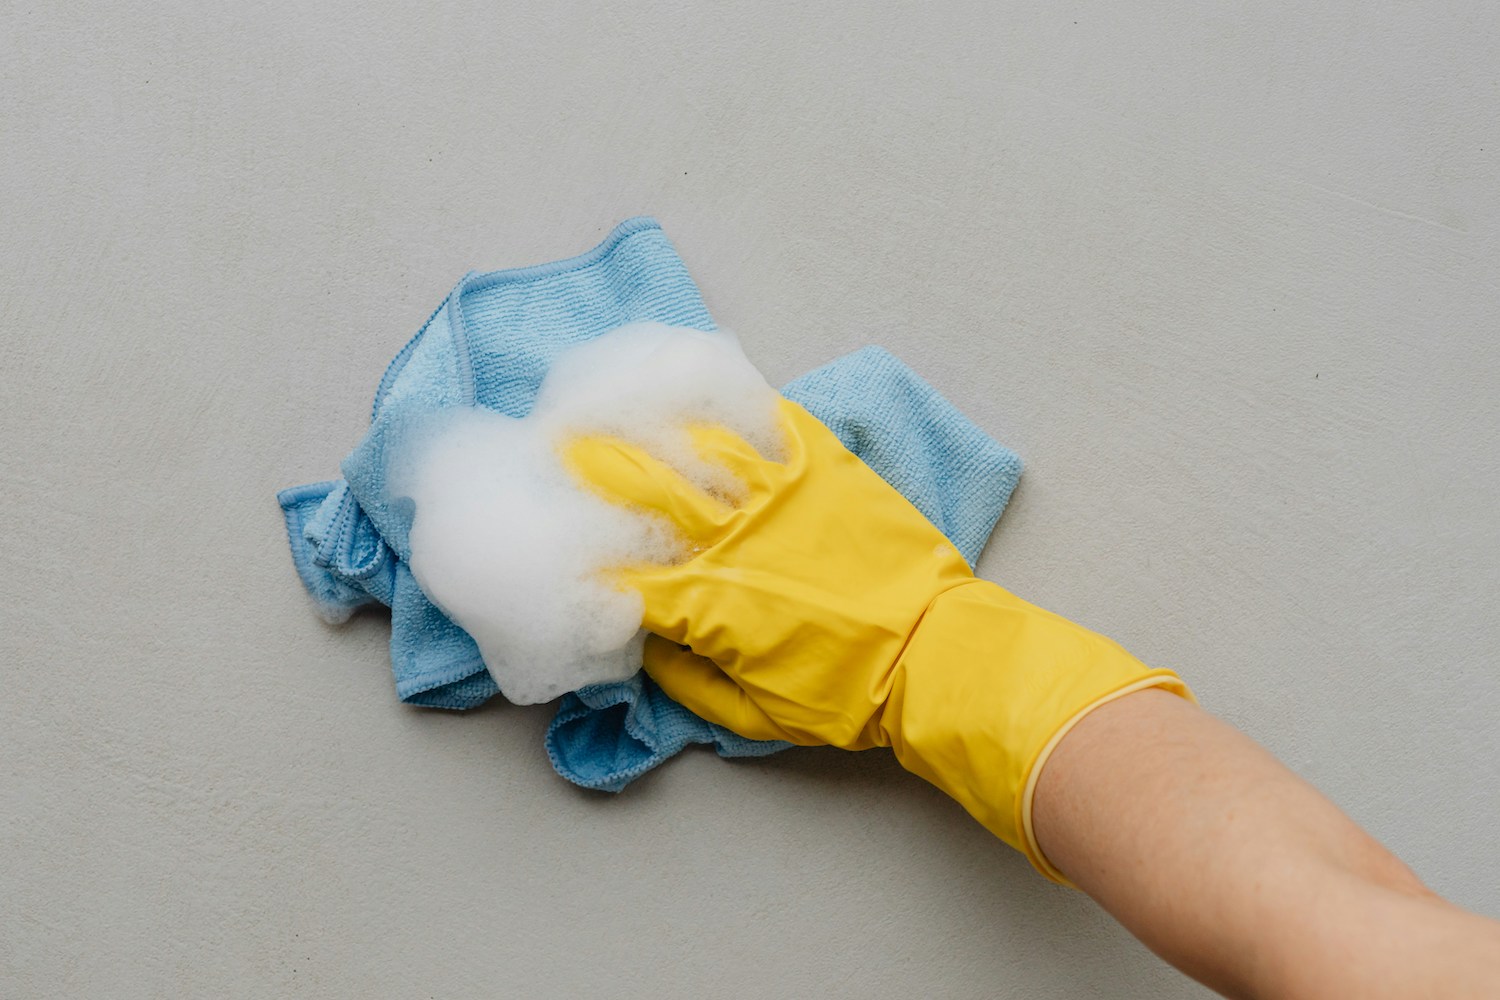
Step 2 – Mix and Apply Cleaning Solution
Combine your detergent or vinegar solution in warm water. Dip a sponge, wring it out well, and gently scrub small sections of the wall, working in circular motions. Always start from the bottom up to prevent drips that may leave marks. Change the water when it becomes cloudy to avoid reapplying dirt to the walls. Rinse the sponge often to keep your cleaning effective and consistent across the surface.
Step 3 – Rinse and Let Dry Completely
After washing, use a clean damp cloth to wipe away soap residue. Let walls dry for at least 24 hours to prevent moisture from interfering with paint adhesion. Using fans or opening windows can help speed up the drying process. Never skip this step—paint applied to damp surfaces is more likely to peel or bubble. Double-check that corners and trim are fully dry before starting to prime or paint.

Common Mistakes to Avoid When Cleaning Walls
Skipping or rushing this step can cause paint problems later. Avoid these frequent errors to ensure your walls are fully paint-ready. Small missteps during cleaning can cause major issues once paint is applied, so it’s worth taking your time.
Over-Wetting the Walls
Too much water can seep into drywall or plaster, leading to swelling or uneven surfaces. Always use a damp—not soaked—cloth or sponge when cleaning. Over-wetting can also dilute paint primer and cause blistering once painted. Light, even cleaning is key to maintaining the wall’s structure. If in doubt, use two light passes rather than one heavy scrub to avoid damage.
Using Harsh Chemicals
Strong cleaners may strip existing finishes or leave behind residues that affect new paint. Stick to mild solutions and rinse thoroughly after scrubbing. Avoid products with ammonia or bleach unless specifically designed for wall cleaning. These harsh chemicals can also alter the color or texture of surfaces beneath the new coat. The goal is to clean effectively while keeping your wall surface stable and ready for primer.
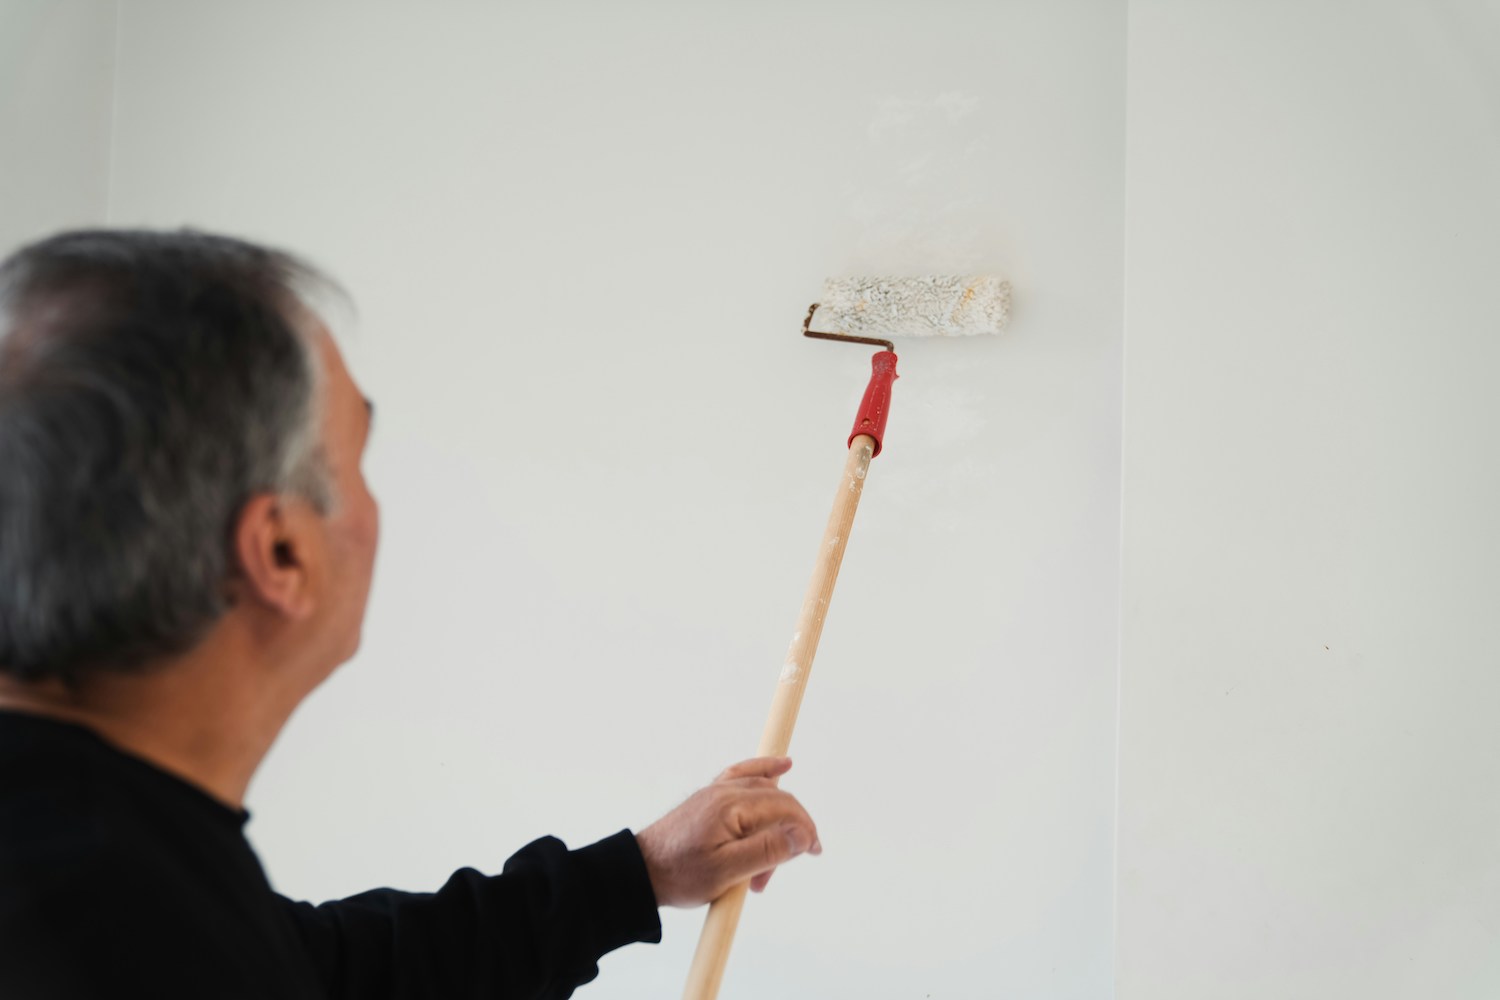
Ignoring Dry Time
Painting before the walls are completely dry can lead to bubbling or poor coverage. Always ensure adequate drying time between washing and painting. Even a slightly damp surface can compromise paint adhesion. When in doubt, let the walls dry overnight for best results. Taking this extra step ensures your final coat looks flawless and lasts much longer.
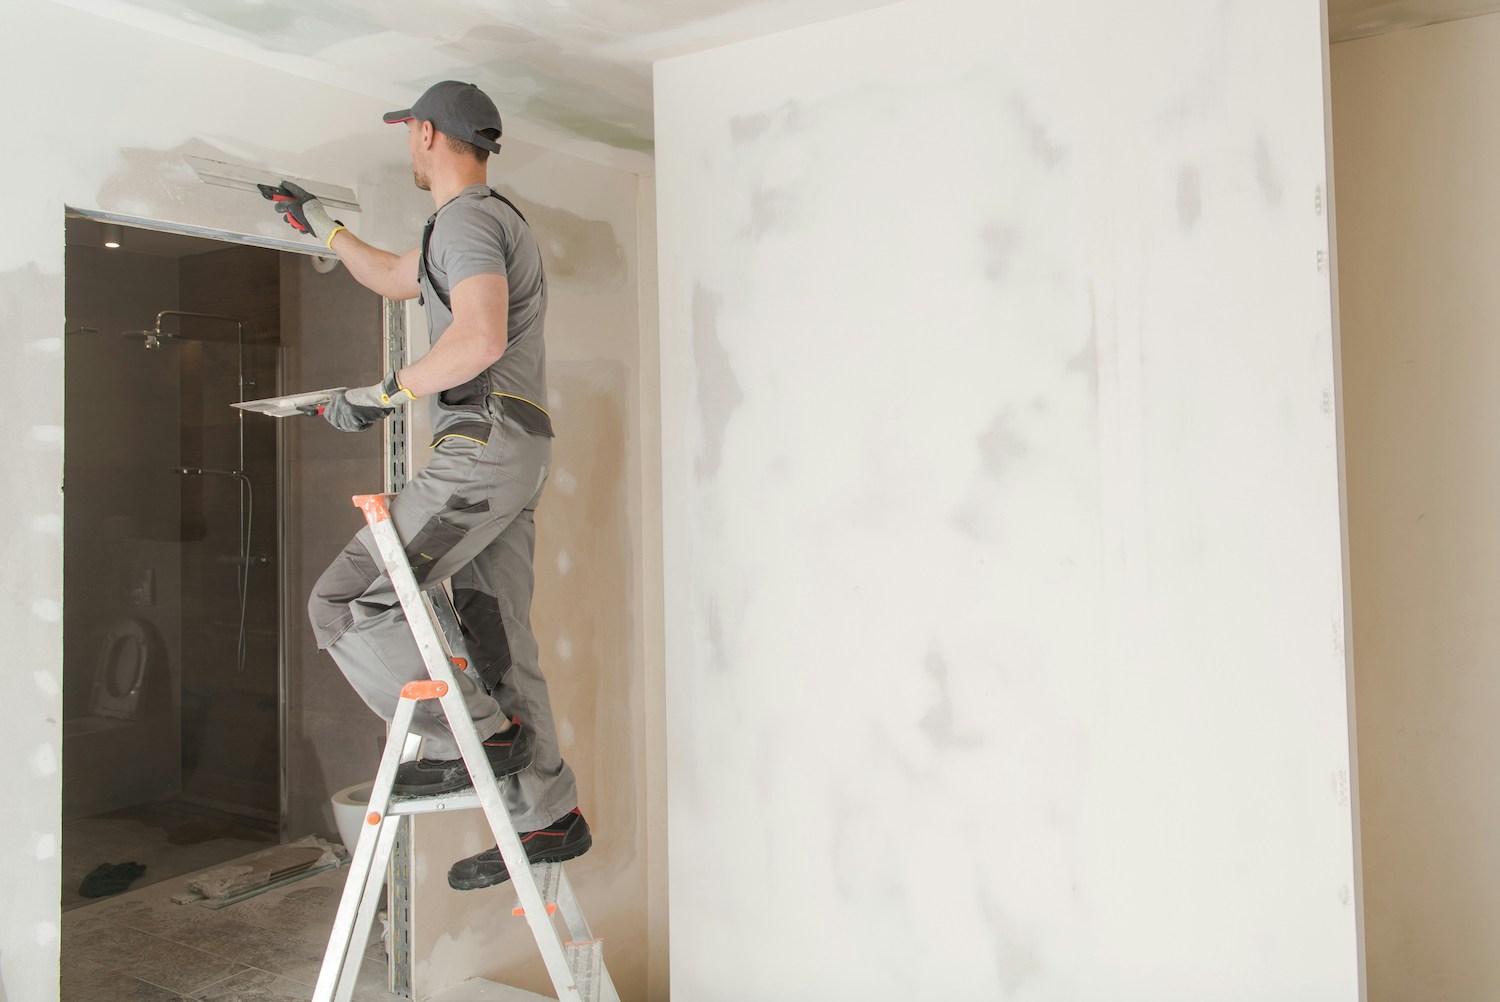
When to Call the Professionals
Sometimes, wall preparation requires more than basic cleaning. Knowing when to call in expert help can save you from costly mistakes. Professionals have specialized tools and materials to handle extensive cleaning, priming, or damage repair efficiently.
Signs You May Need Professional Help
If your walls have heavy stains, smoke damage, or mildew, professional painters can deep-clean and prime properly. They use specialized equipment and cleaning agents to restore surfaces safely. Hiring experts like Paintzen ensures optimal surface prep, smoother paint application, and long-term results. Professionals can also recommend primers and finishes based on your wall type and room conditions. Additionally, professional prep work can often identify underlying issues like moisture or mold before they become costly problems.
Key Takeaways
- Clean walls help paint adhere better and last longer.
- Use mild detergents or vinegar solutions depending on wall type.
- Avoid soaking walls or using strong chemicals.
- Always let surfaces dry completely before painting.
- Consider hiring professionals for heavy buildup or damaged walls.
FAQs About How to Prep a Wall for Painting
Do I need to wash walls before every paint job?
Yes—especially if walls have grease, dirt, or dust buildup. Even light cleaning improves adhesion and final paint quality. Skipping this step can shorten the lifespan of your paint job. Regular cleaning also helps maintain better air quality and a cleaner appearance overall. Clean walls ensure your investment in paint lasts longer and looks better.
What’s the best cleaner for walls before painting?
A mix of mild dish soap and warm water works for most walls. For tougher grime, add a small amount of white vinegar or TSP, following label directions. Always test a small area before cleaning the entire wall to ensure no discoloration. The right cleaner will remove residue without affecting surface texture. Avoid overly scented products that may leave behind oily films.
How long should I wait after washing before painting?
Allow at least 24 hours of drying time to ensure no trapped moisture beneath the paint layer. Damp surfaces prevent paint from bonding properly, leading to early peeling or blistering. You can use fans or dehumidifiers to speed up the drying process if necessary. Patience during prep pays off in long-lasting results. The extra wait ensures your paint job is as smooth and durable as possible.
Can I just dust instead of washing?
Lightly used rooms may only need dusting, but kitchens, bathrooms, and high-traffic areas benefit from a full wash to remove oils and residue. Dusting alone won’t eliminate sticky buildup from cooking or humidity. Washing ensures all surfaces are properly cleaned for the best possible paint adhesion. The cleaner the wall, the smoother your finished result will look. Taking time to wash before painting is one of the simplest ways to guarantee success.
Related Reading
- How to Prep a Room for Painting
- Acrylic vs. Oil Based Paint: What Are The Differences?
- The Best Paint Colors for Rooms With Lots of Natural Light
Get a Free Quote from Paintzen
Ready to skip the prep and enjoy a flawless finish? Let the professionals handle it for you. Paintzen’s expert painters can clean, prep, and paint your walls efficiently with guaranteed quality. Get a free quote today and make your next painting project simple, smooth, and stress-free.