Executive Summary
Painting ceilings can be one of the trickiest parts of a room makeover, especially when it comes to preventing paint drips. This guide explains how professionals handle ceiling painting with precision — from preparation and paint selection to the right tools and techniques — so homeowners can understand why hiring pros like Paintzen leads to cleaner, drip-free results. With the right prep work, paint viscosity, and rolling method, pros achieve smooth finishes that make ceilings look flawless and fresh.
Why Ceiling Painting Is Challenging
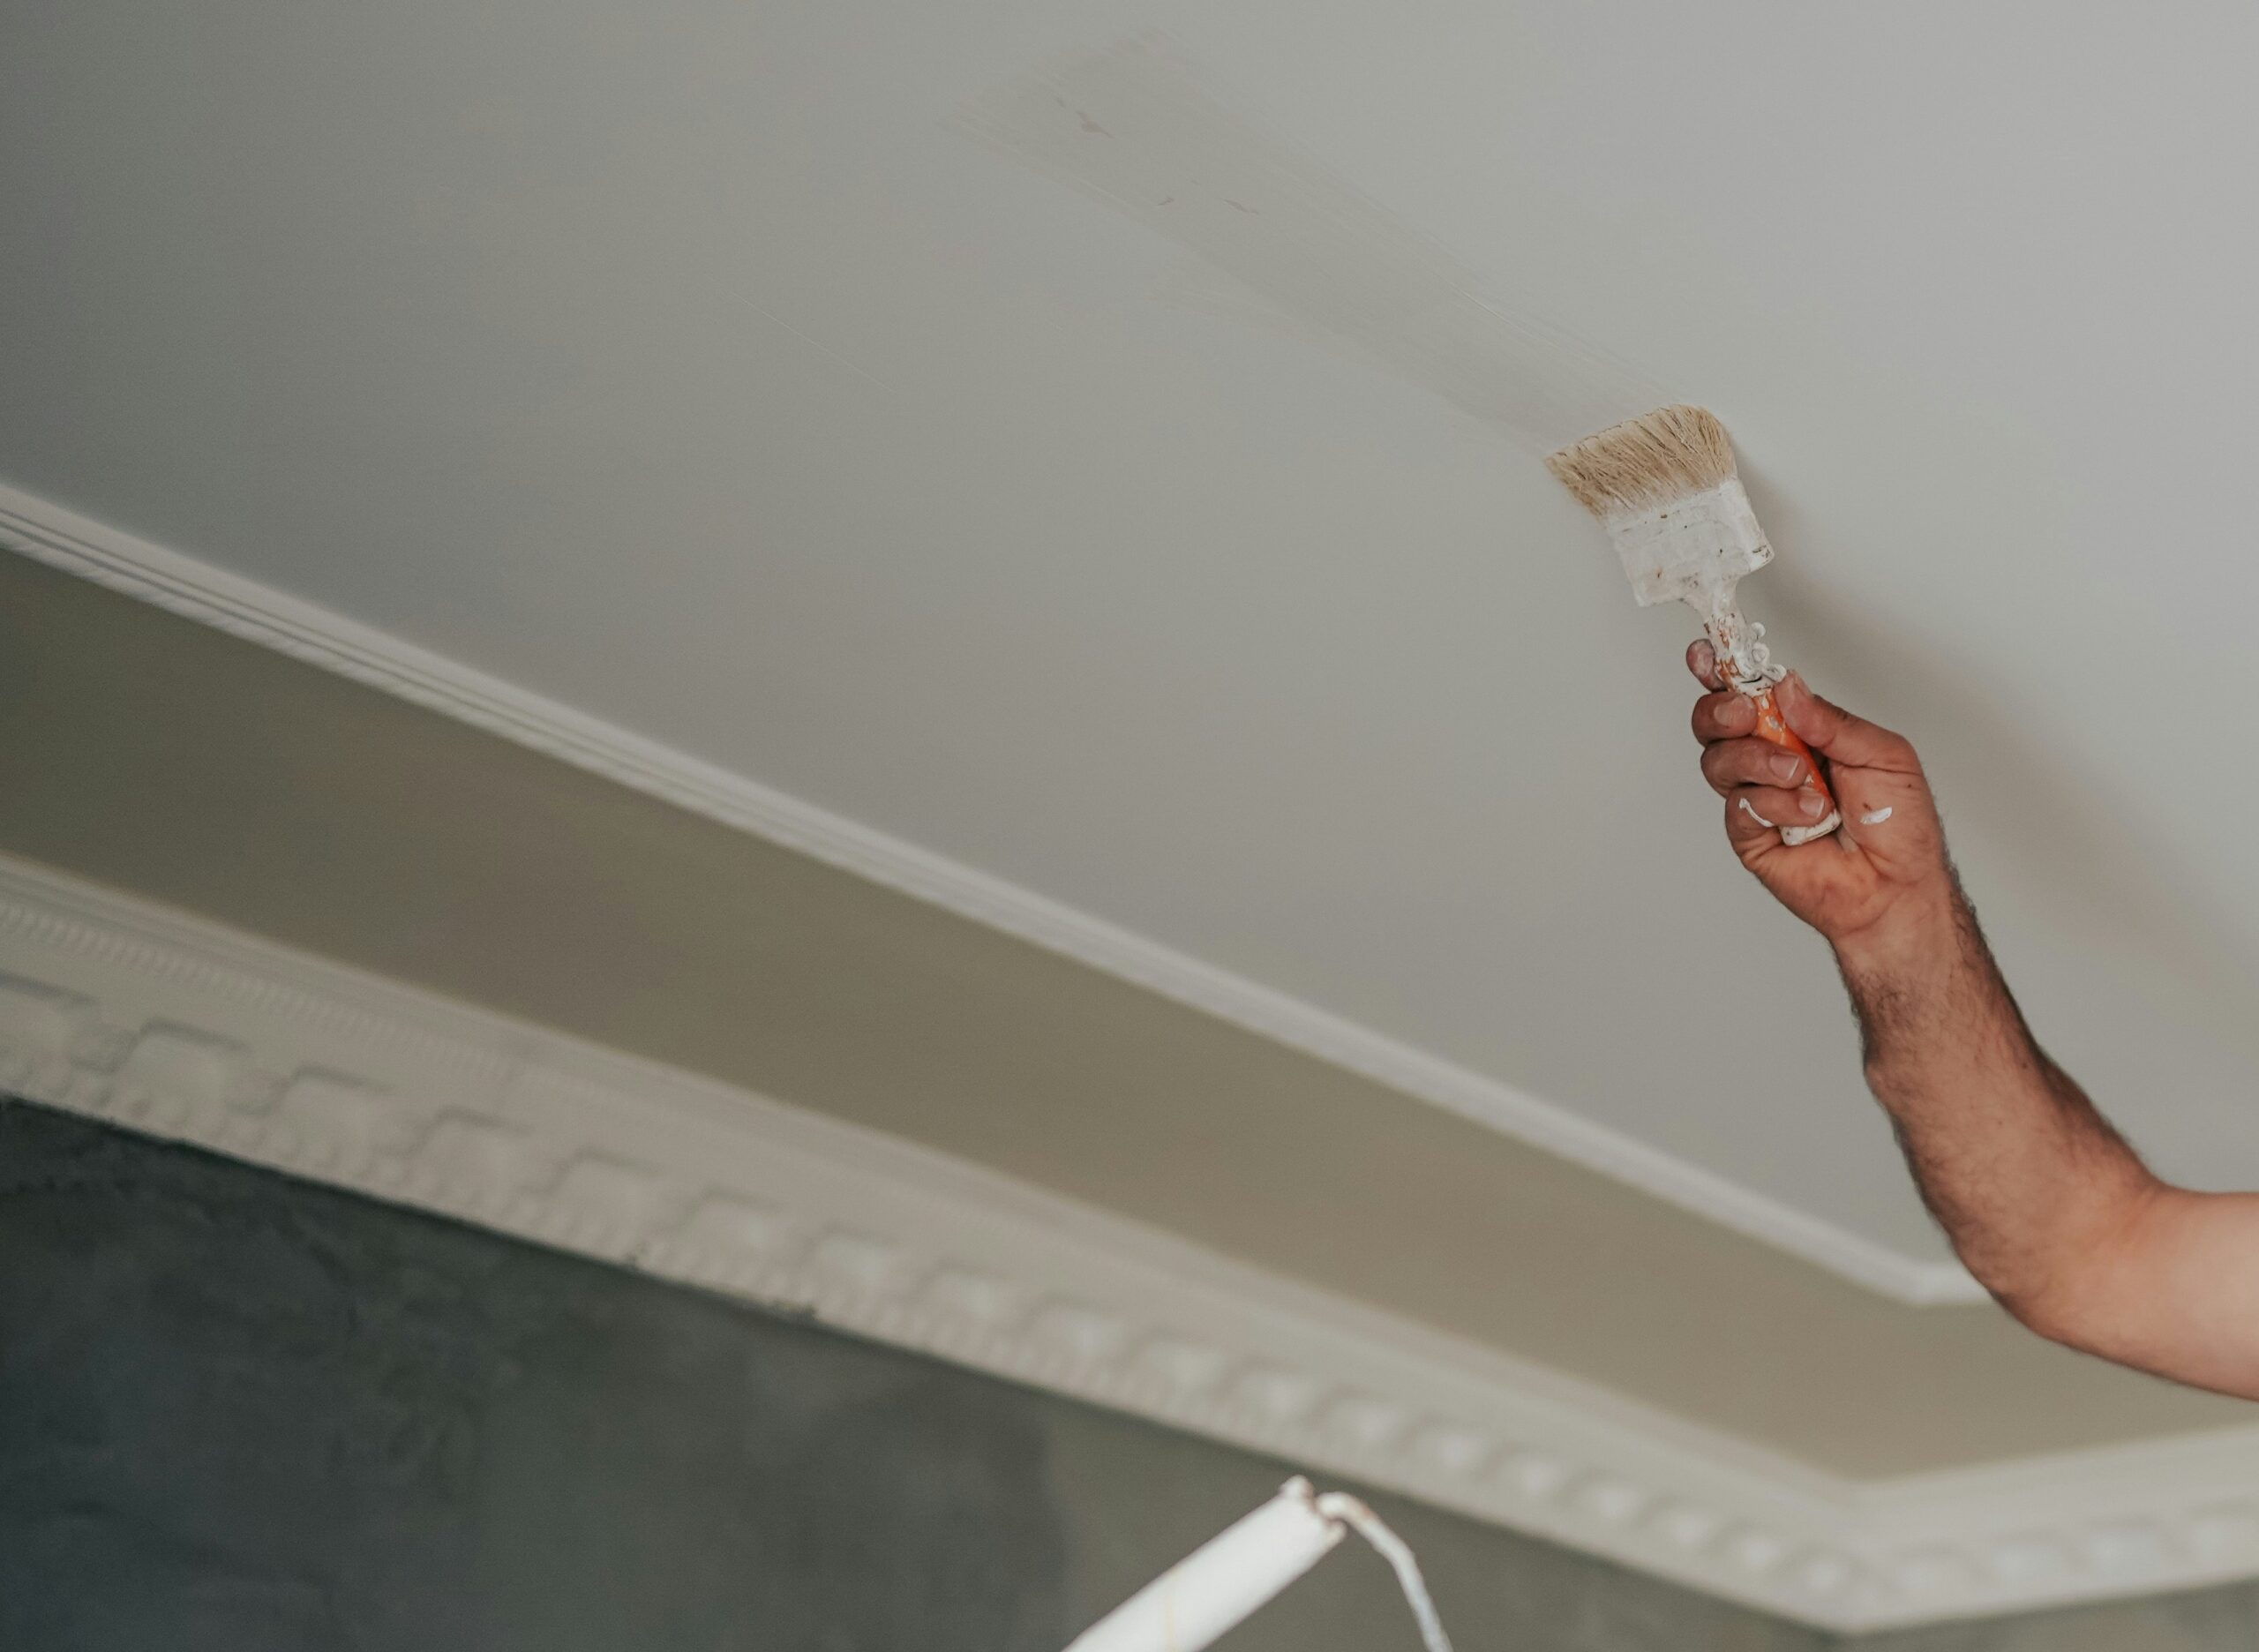
Painting ceilings requires skill and patience, as gravity isn’t on your side. The wrong brush, roller, or paint consistency can quickly cause splatter or dripping. Understanding why this happens helps highlight the value of professional tools and technique. It’s not just about applying paint — it’s about controlling how the paint behaves under different conditions.
Common Causes of Drips and Splatter
Drips occur when paint is overloaded on the brush or roller or applied unevenly. Poor-quality paint, high humidity, and lack of primer can also cause sagging or streaking. Professionals use controlled application and specific rolling patterns to minimize excess paint. They also maintain consistent pressure to ensure even coverage without overworking the paint. The result is a ceiling that looks freshly coated without any visible runs or roller marks.
Why Professional Ceiling Painting Is Different
Pros know how to manage viscosity, coverage, and room conditions. They use specialized rollers designed to hold the right amount of paint while preventing drips. Professionals also plan their strokes carefully, maintaining a “wet edge” and overlapping each pass for smooth results. Their preparation process—taping, edging, and priming—eliminates the biggest sources of mess and frustration for homeowners. These steps combine to create a polished, uniform ceiling finish that lasts for years.
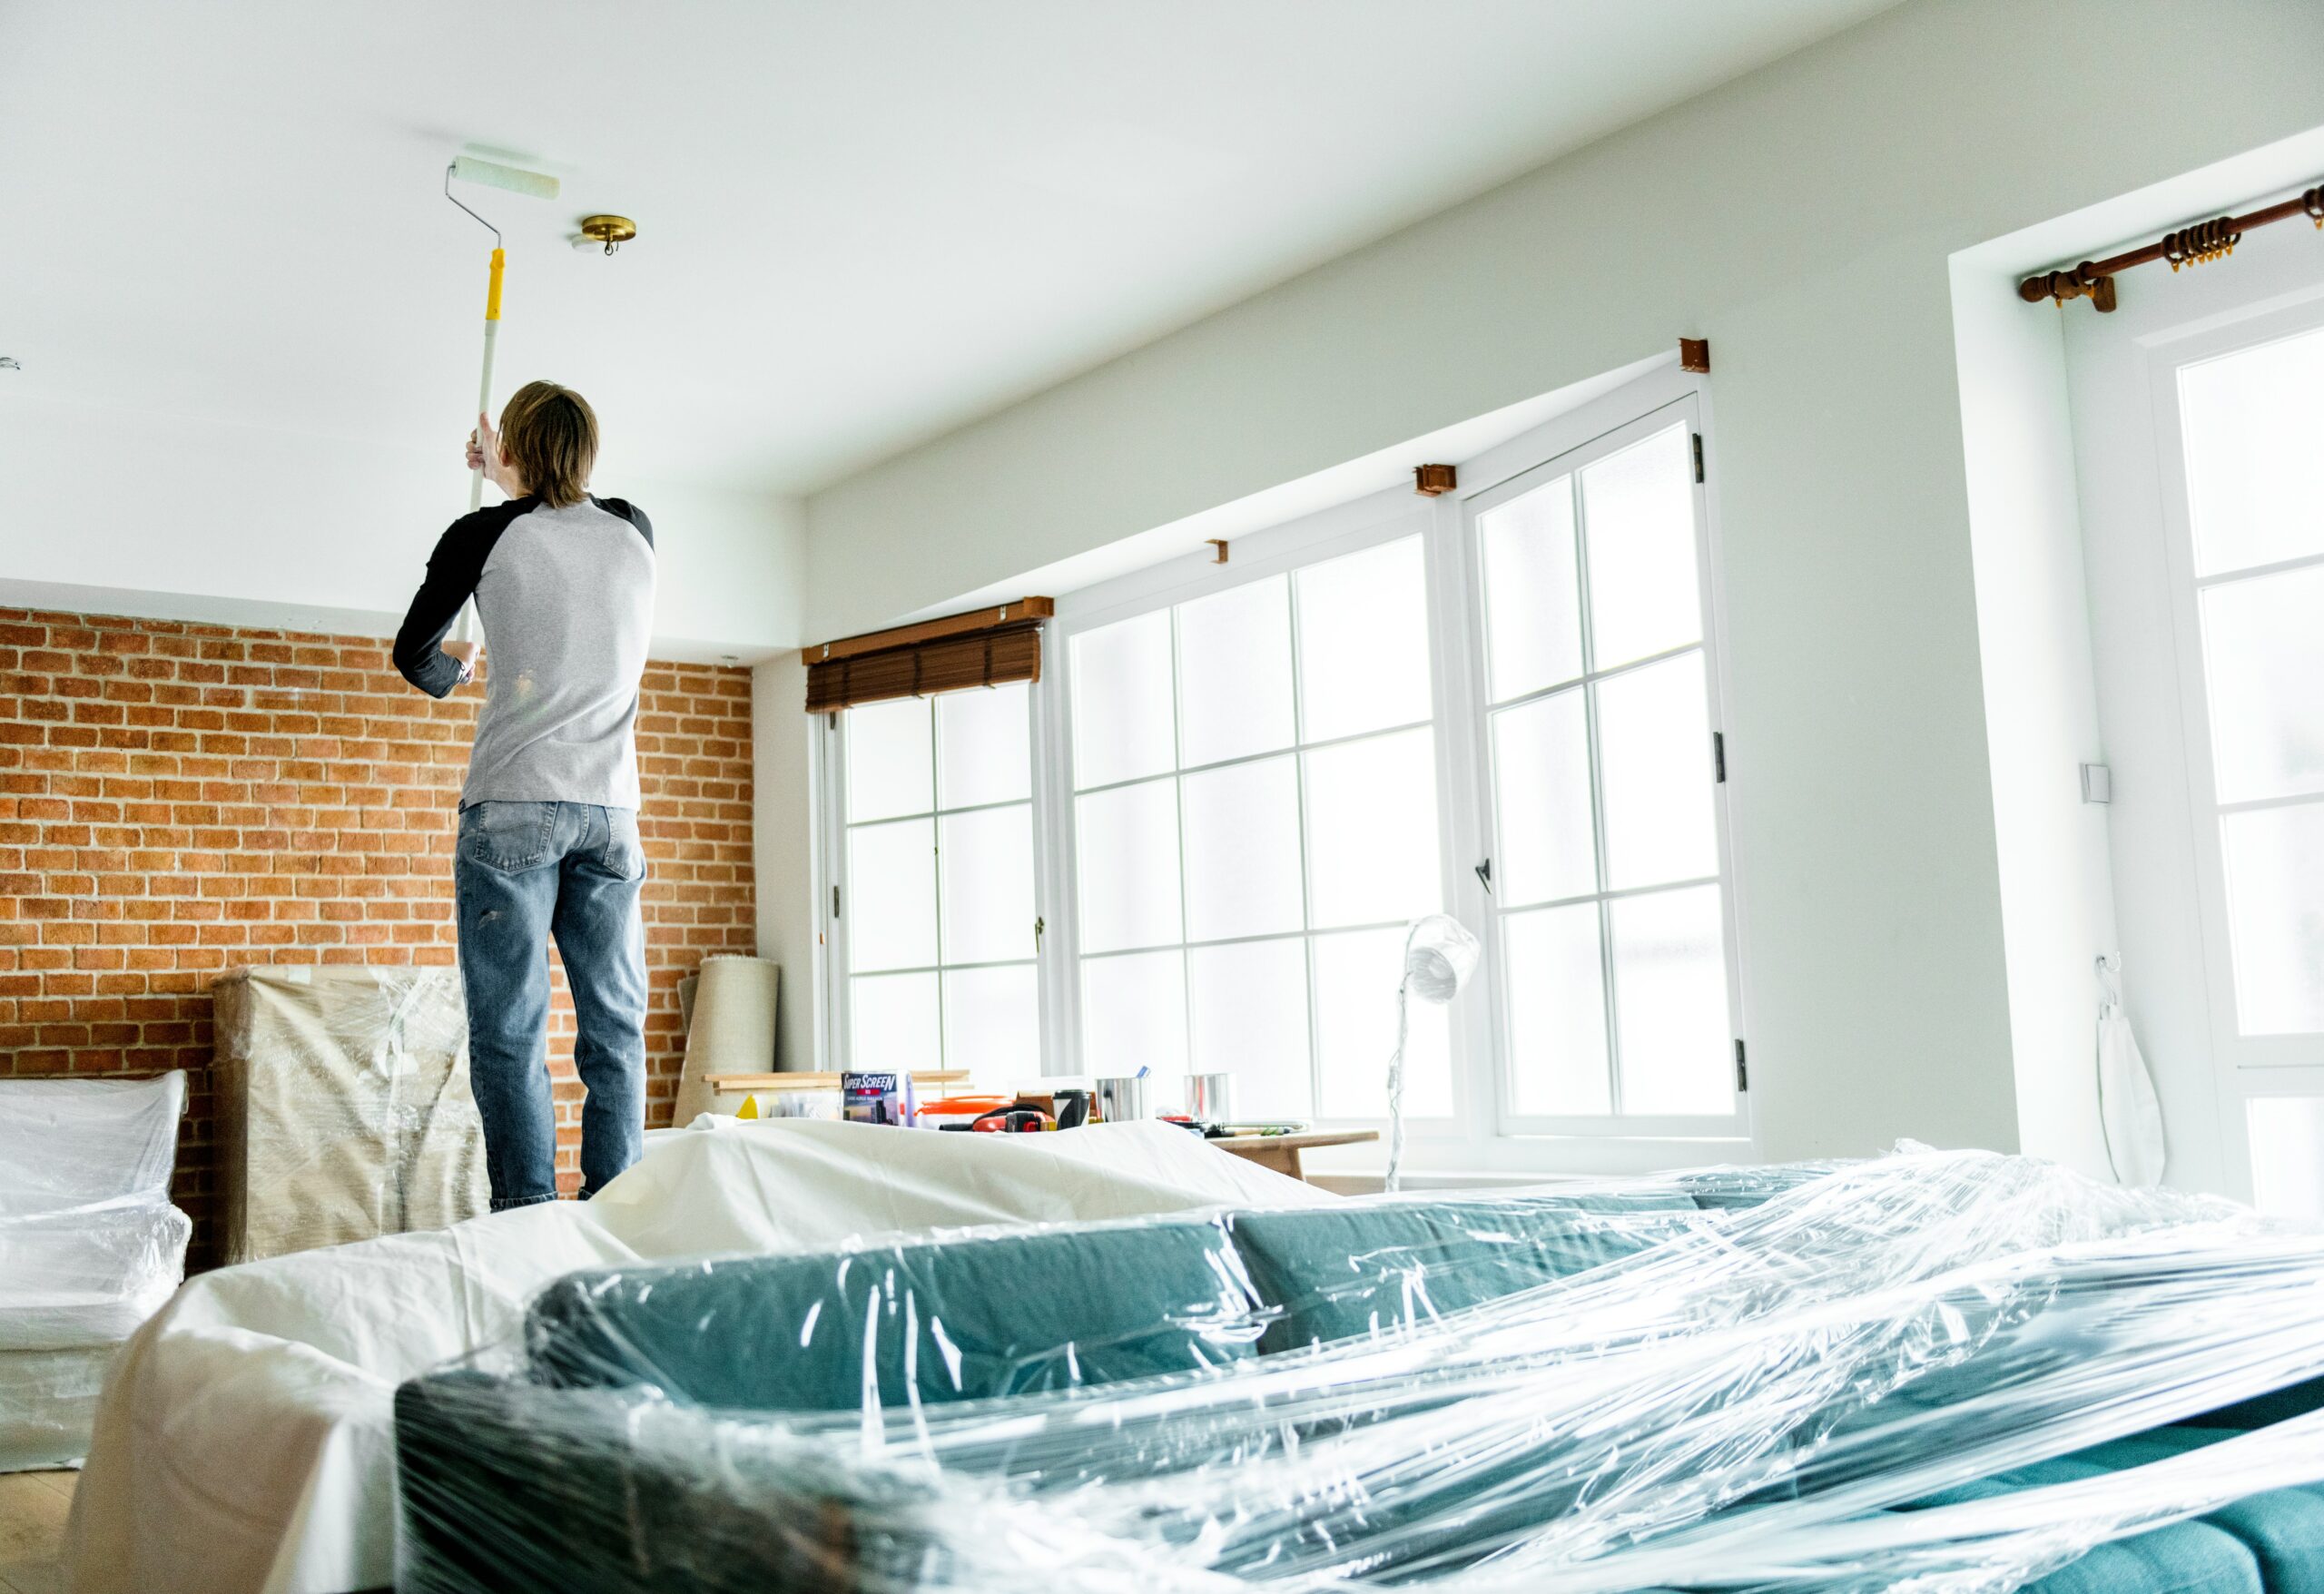
Preparing the Room Like a Pro
Good prep is key to a clean ceiling paint job. Pros invest time protecting furniture, floors, and fixtures while ensuring the ceiling surface is ready for paint. Two extra hours of preparation often saves double the cleanup time later. This upfront effort helps guarantee crisp edges and prevents accidental drips from ruining finished surfaces.
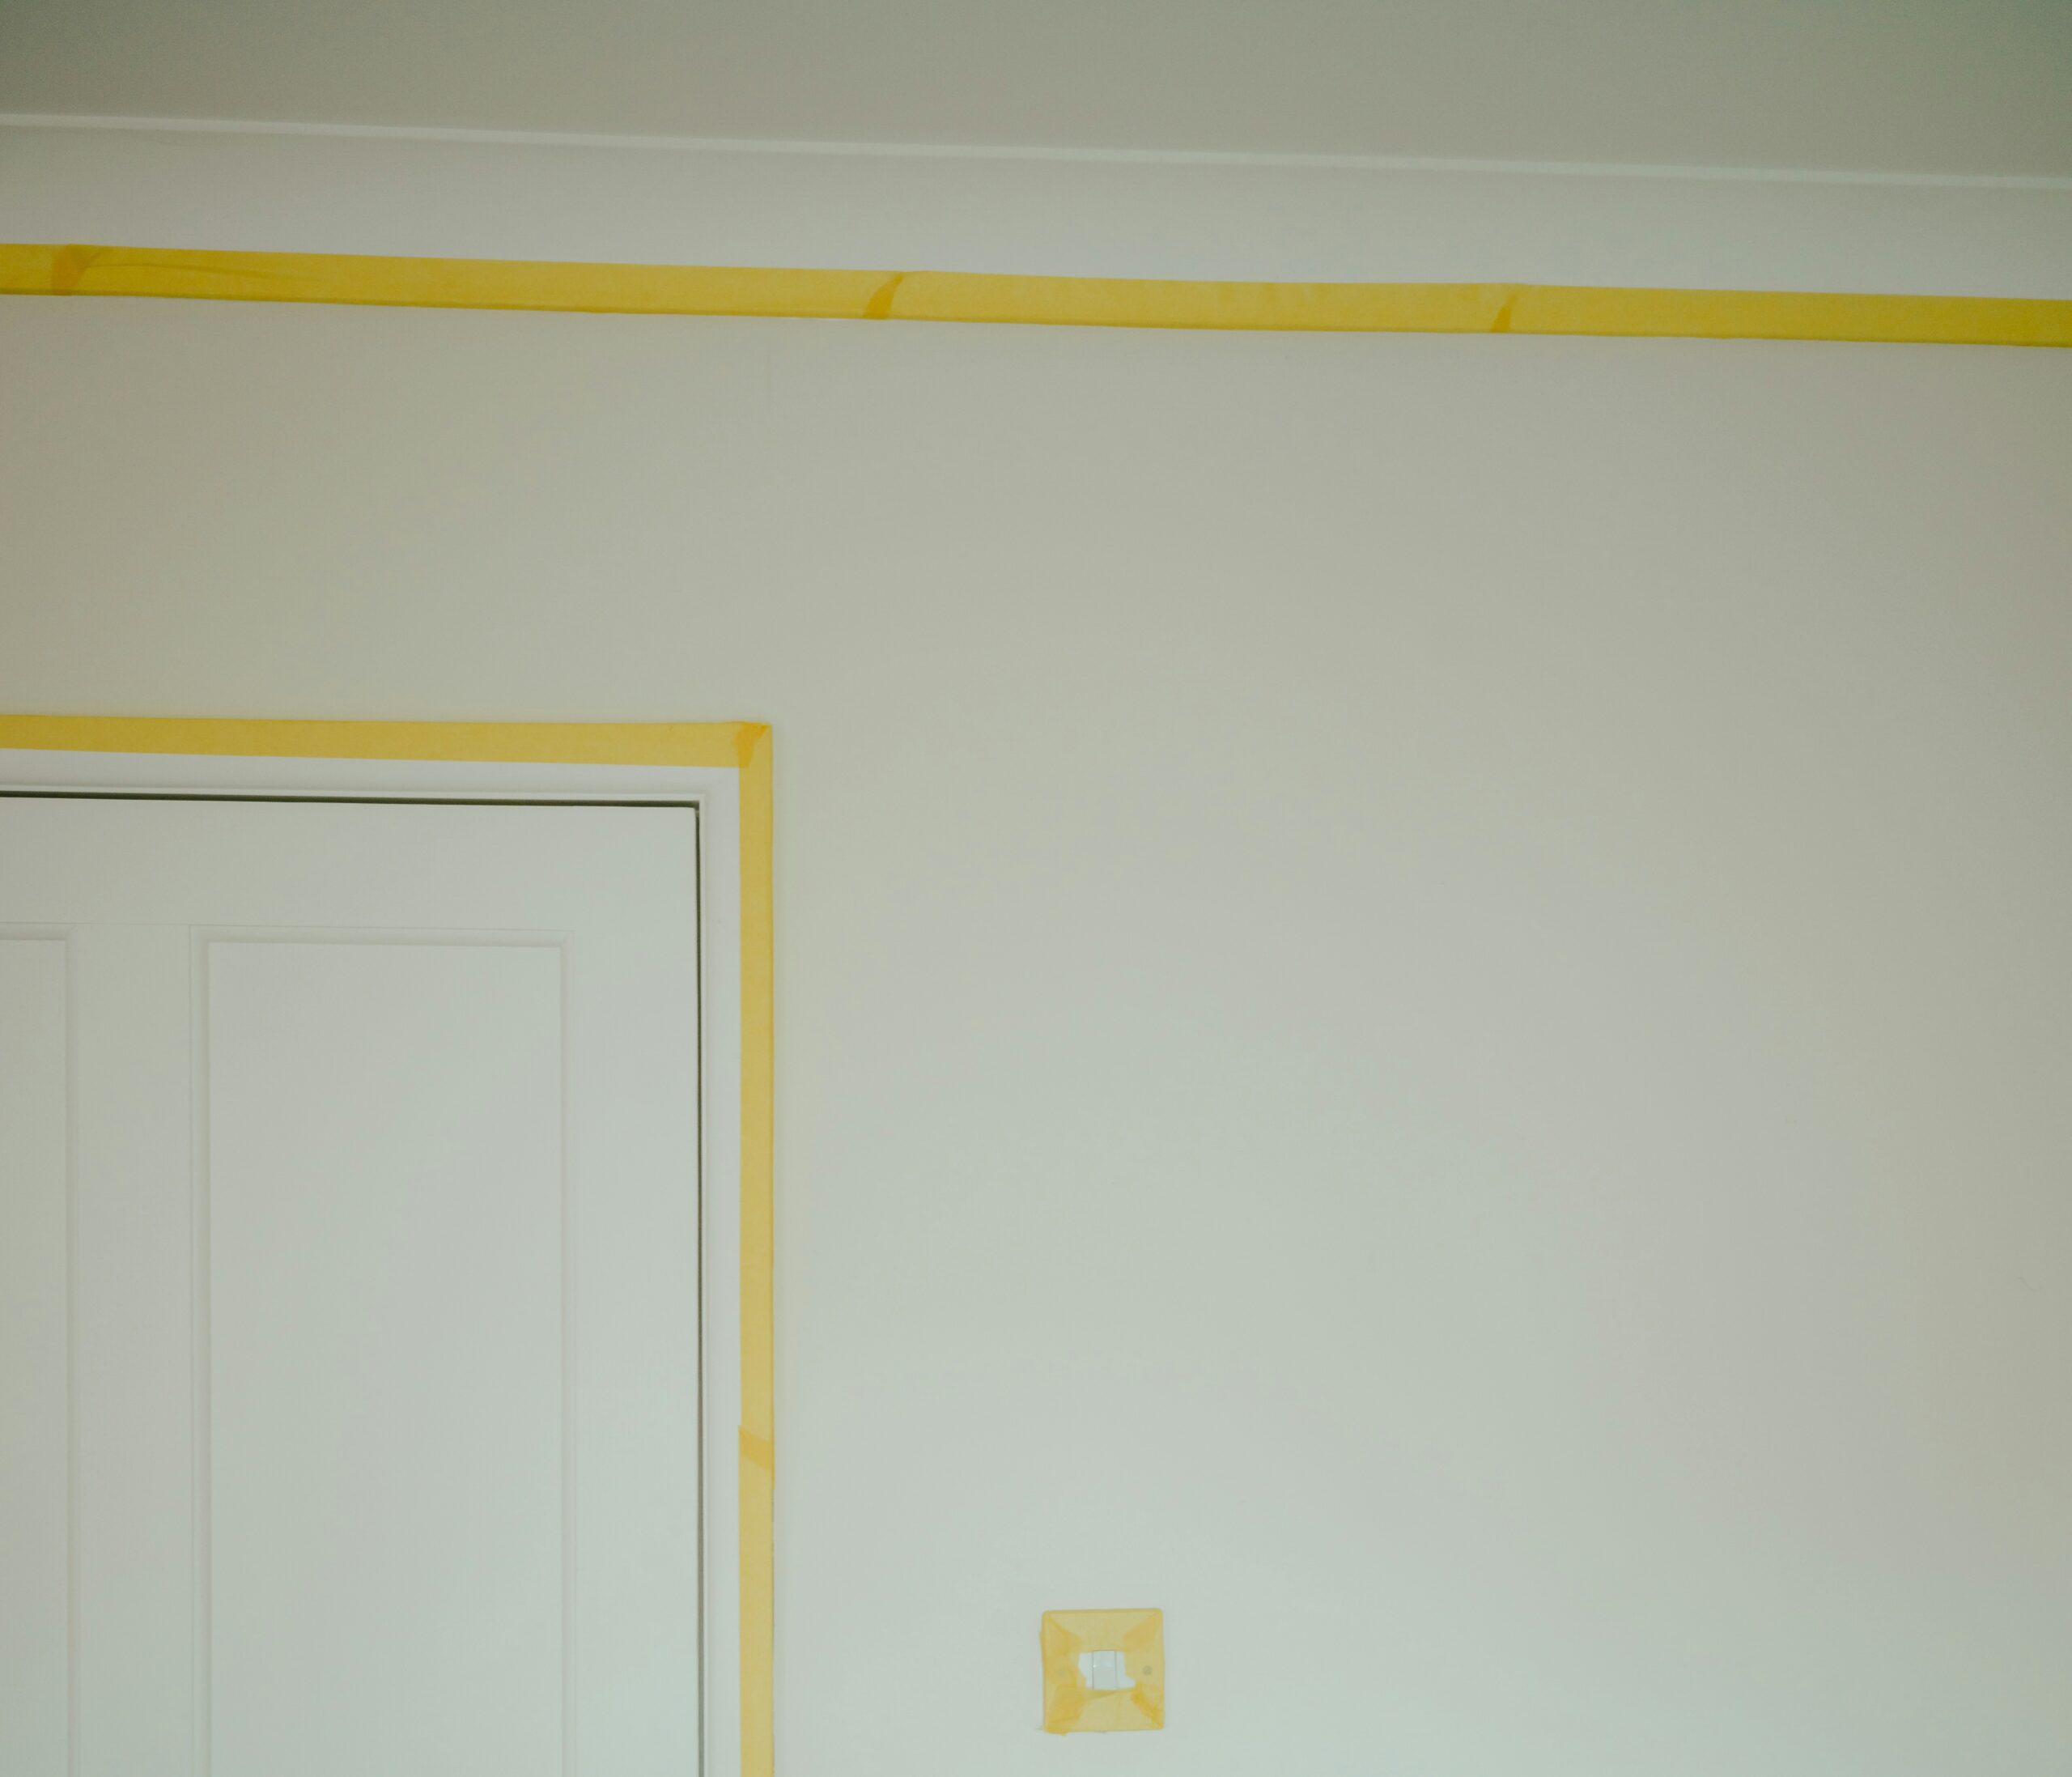
Clearing, Covering, and Taping
Painters start by removing as much furniture as possible and covering the rest with plastic sheeting. Drop cloths protect flooring, while painter’s tape lines edges and light fixtures. Proper coverage prevents stray drips from ruining finished surfaces. Professionals also check for ceiling cracks or stains and repair them before painting. This careful preparation ensures the workspace is secure and that no small detail is overlooked before paint application begins.
Cleaning and Priming the Ceiling
Dust, grease, or smoke residue can prevent paint from adhering properly. Pros clean ceilings with mild soap and water, then apply a quality primer to improve coverage and prevent stains from bleeding through. Priming ensures even paint absorption and reduces the number of coats needed. It also helps control texture differences in patched areas. A well-primed ceiling provides a smooth foundation for paint to bond evenly and resist peeling or cracking.
Choosing the Right Paint and Tools
Ceiling paint isn’t the same as wall paint. It’s typically thicker and designed to resist dripping while offering a flat, low-sheen finish. Professionals know which paints and rollers perform best for overhead applications. Selecting the right tools not only improves results but also saves time and minimizes cleanup afterward.
Best Paint Finishes for Ceilings
Flat and matte finishes hide imperfections and reduce light reflection, making ceilings look smooth and uniform. Professionals avoid glossy finishes, which highlight uneven surfaces and magnify drips. Specialized ceiling paints are formulated to stay in place and resist splatter. These paints dry slower, allowing for more control during application. The result is a professional, seamless ceiling that maintains its clean look for years.
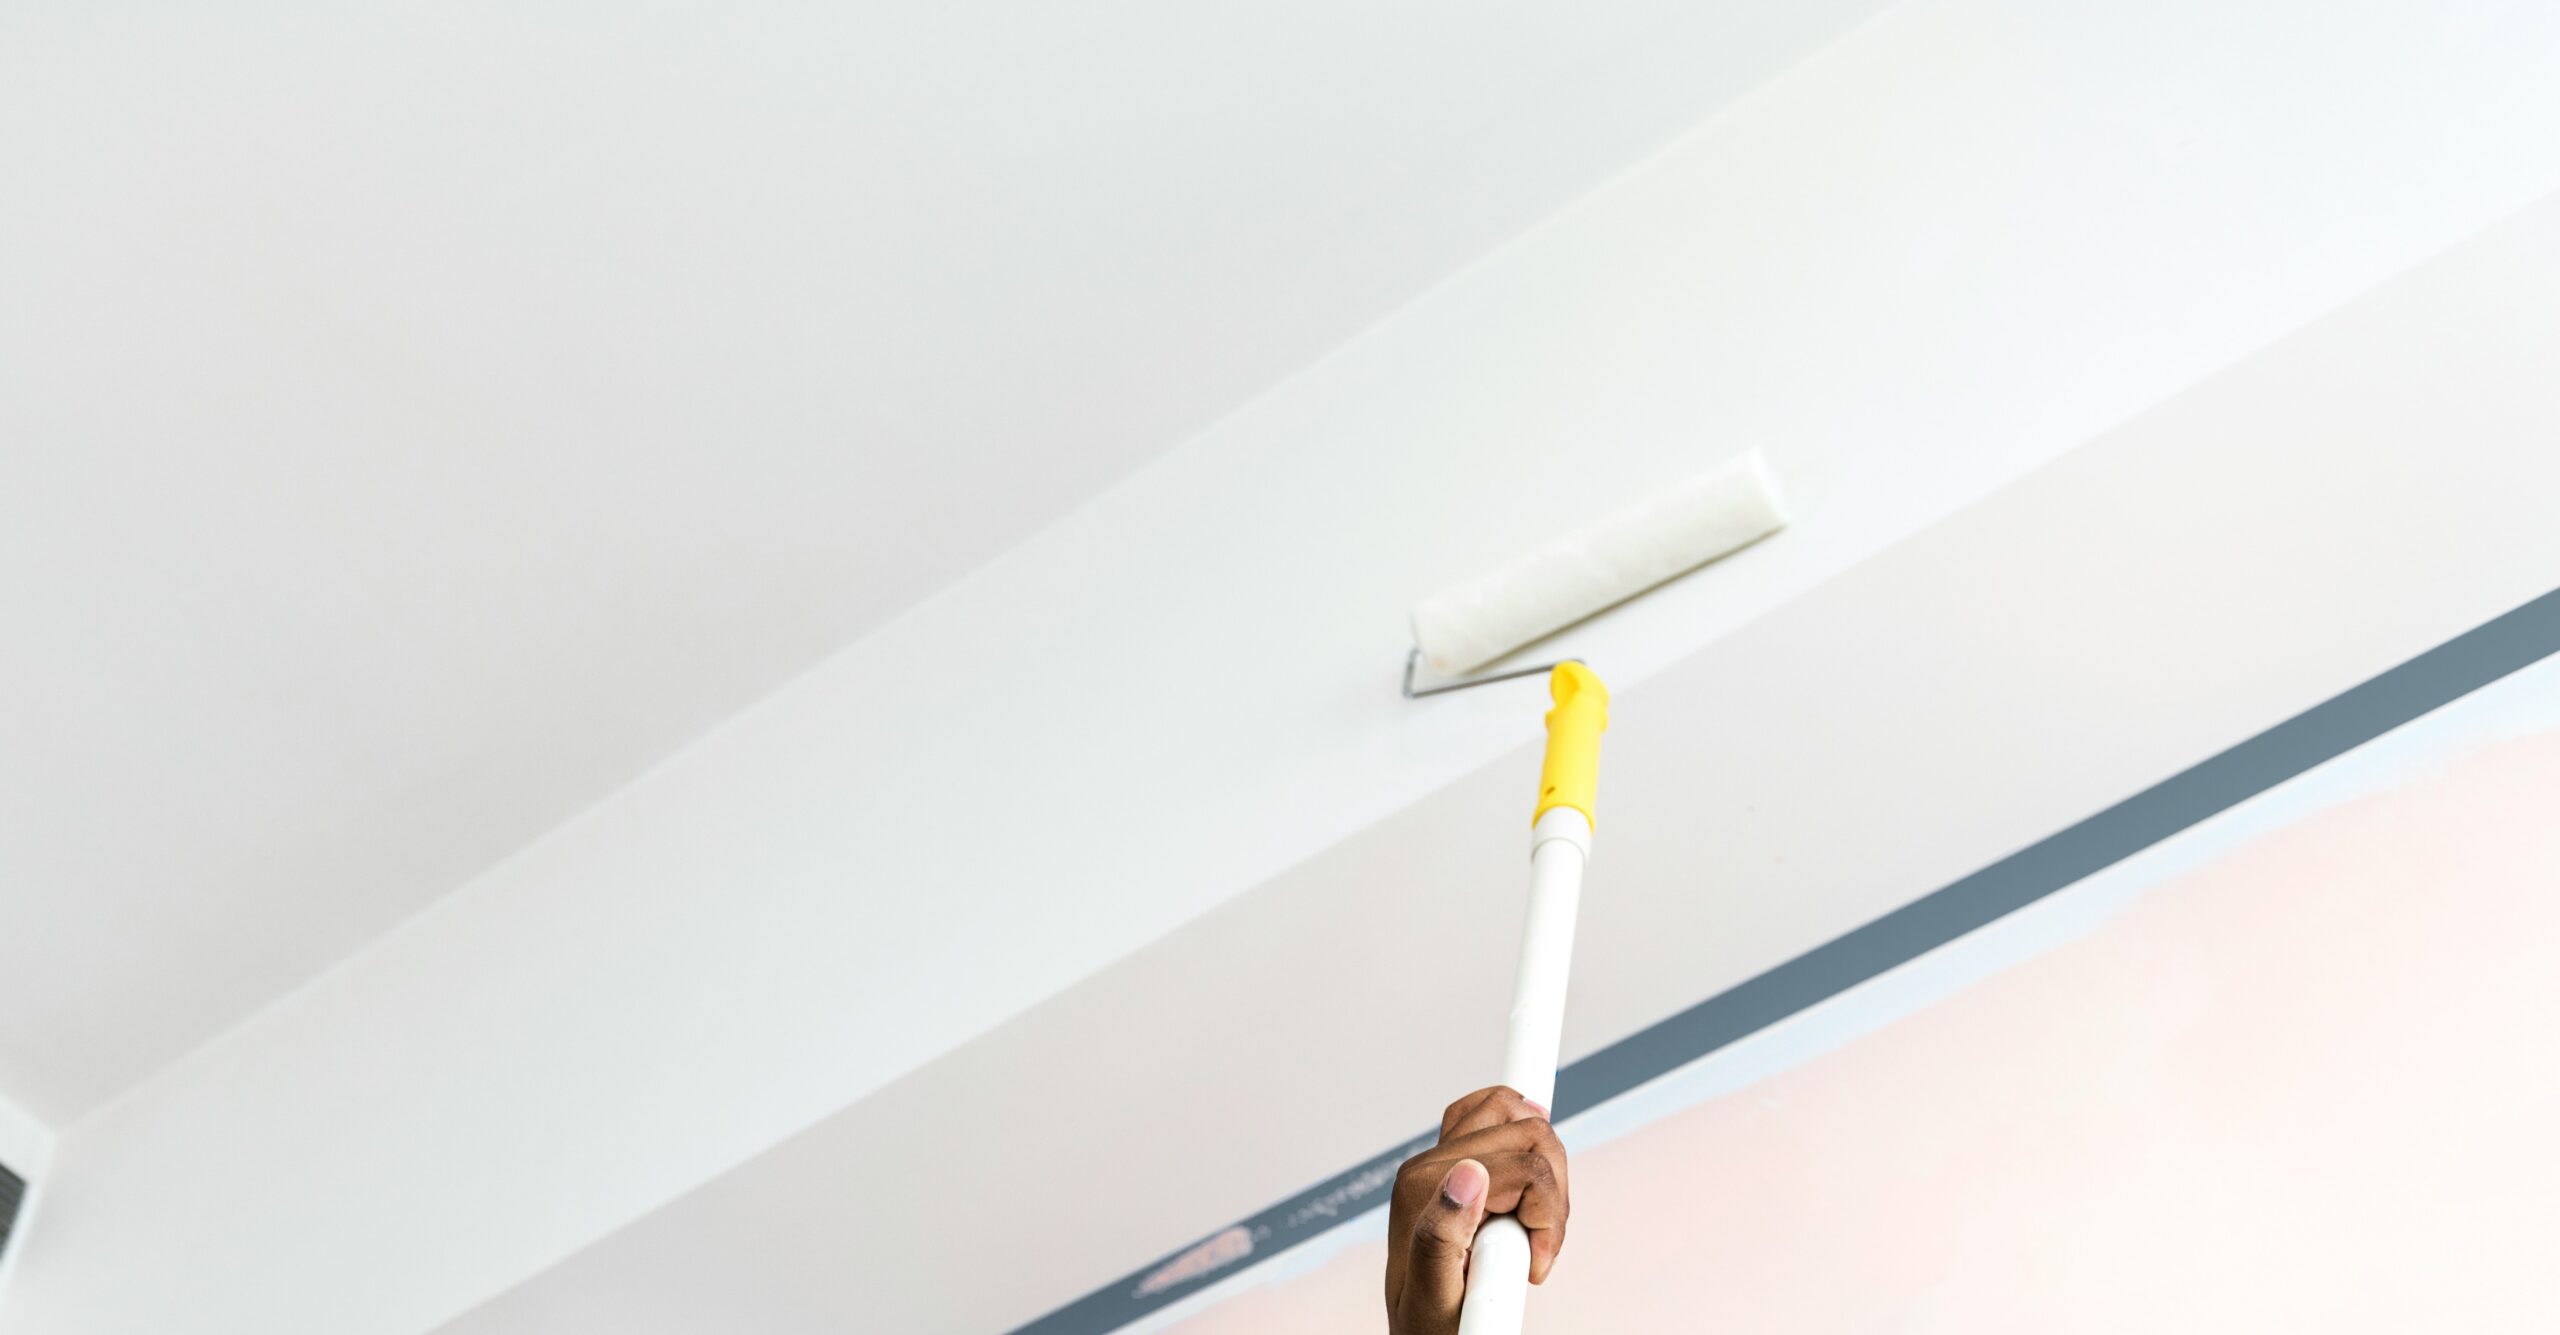
Rollers, Brushes, and Extension Poles
Professionals use rollers with thicker naps (⅜ to ½ inch) for textured ceilings and shorter naps for smooth surfaces. Extension poles reduce strain and allow steady, consistent rolling without stepping directly under wet paint. Angled brushes help cut in edges cleanly without splatter. Pros also use roller screens or trays to load the perfect amount of paint and prevent dripping. This combination of tools allows for even application, improved reach, and less fatigue during painting.
How Professionals Paint Ceilings Without Drips
Painting a ceiling successfully requires rhythm, control, and the right layering technique. Pros apply paint systematically, maintaining consistent coverage while minimizing splatter. This process demands careful timing, proper equipment, and precise technique to ensure a flawless outcome.
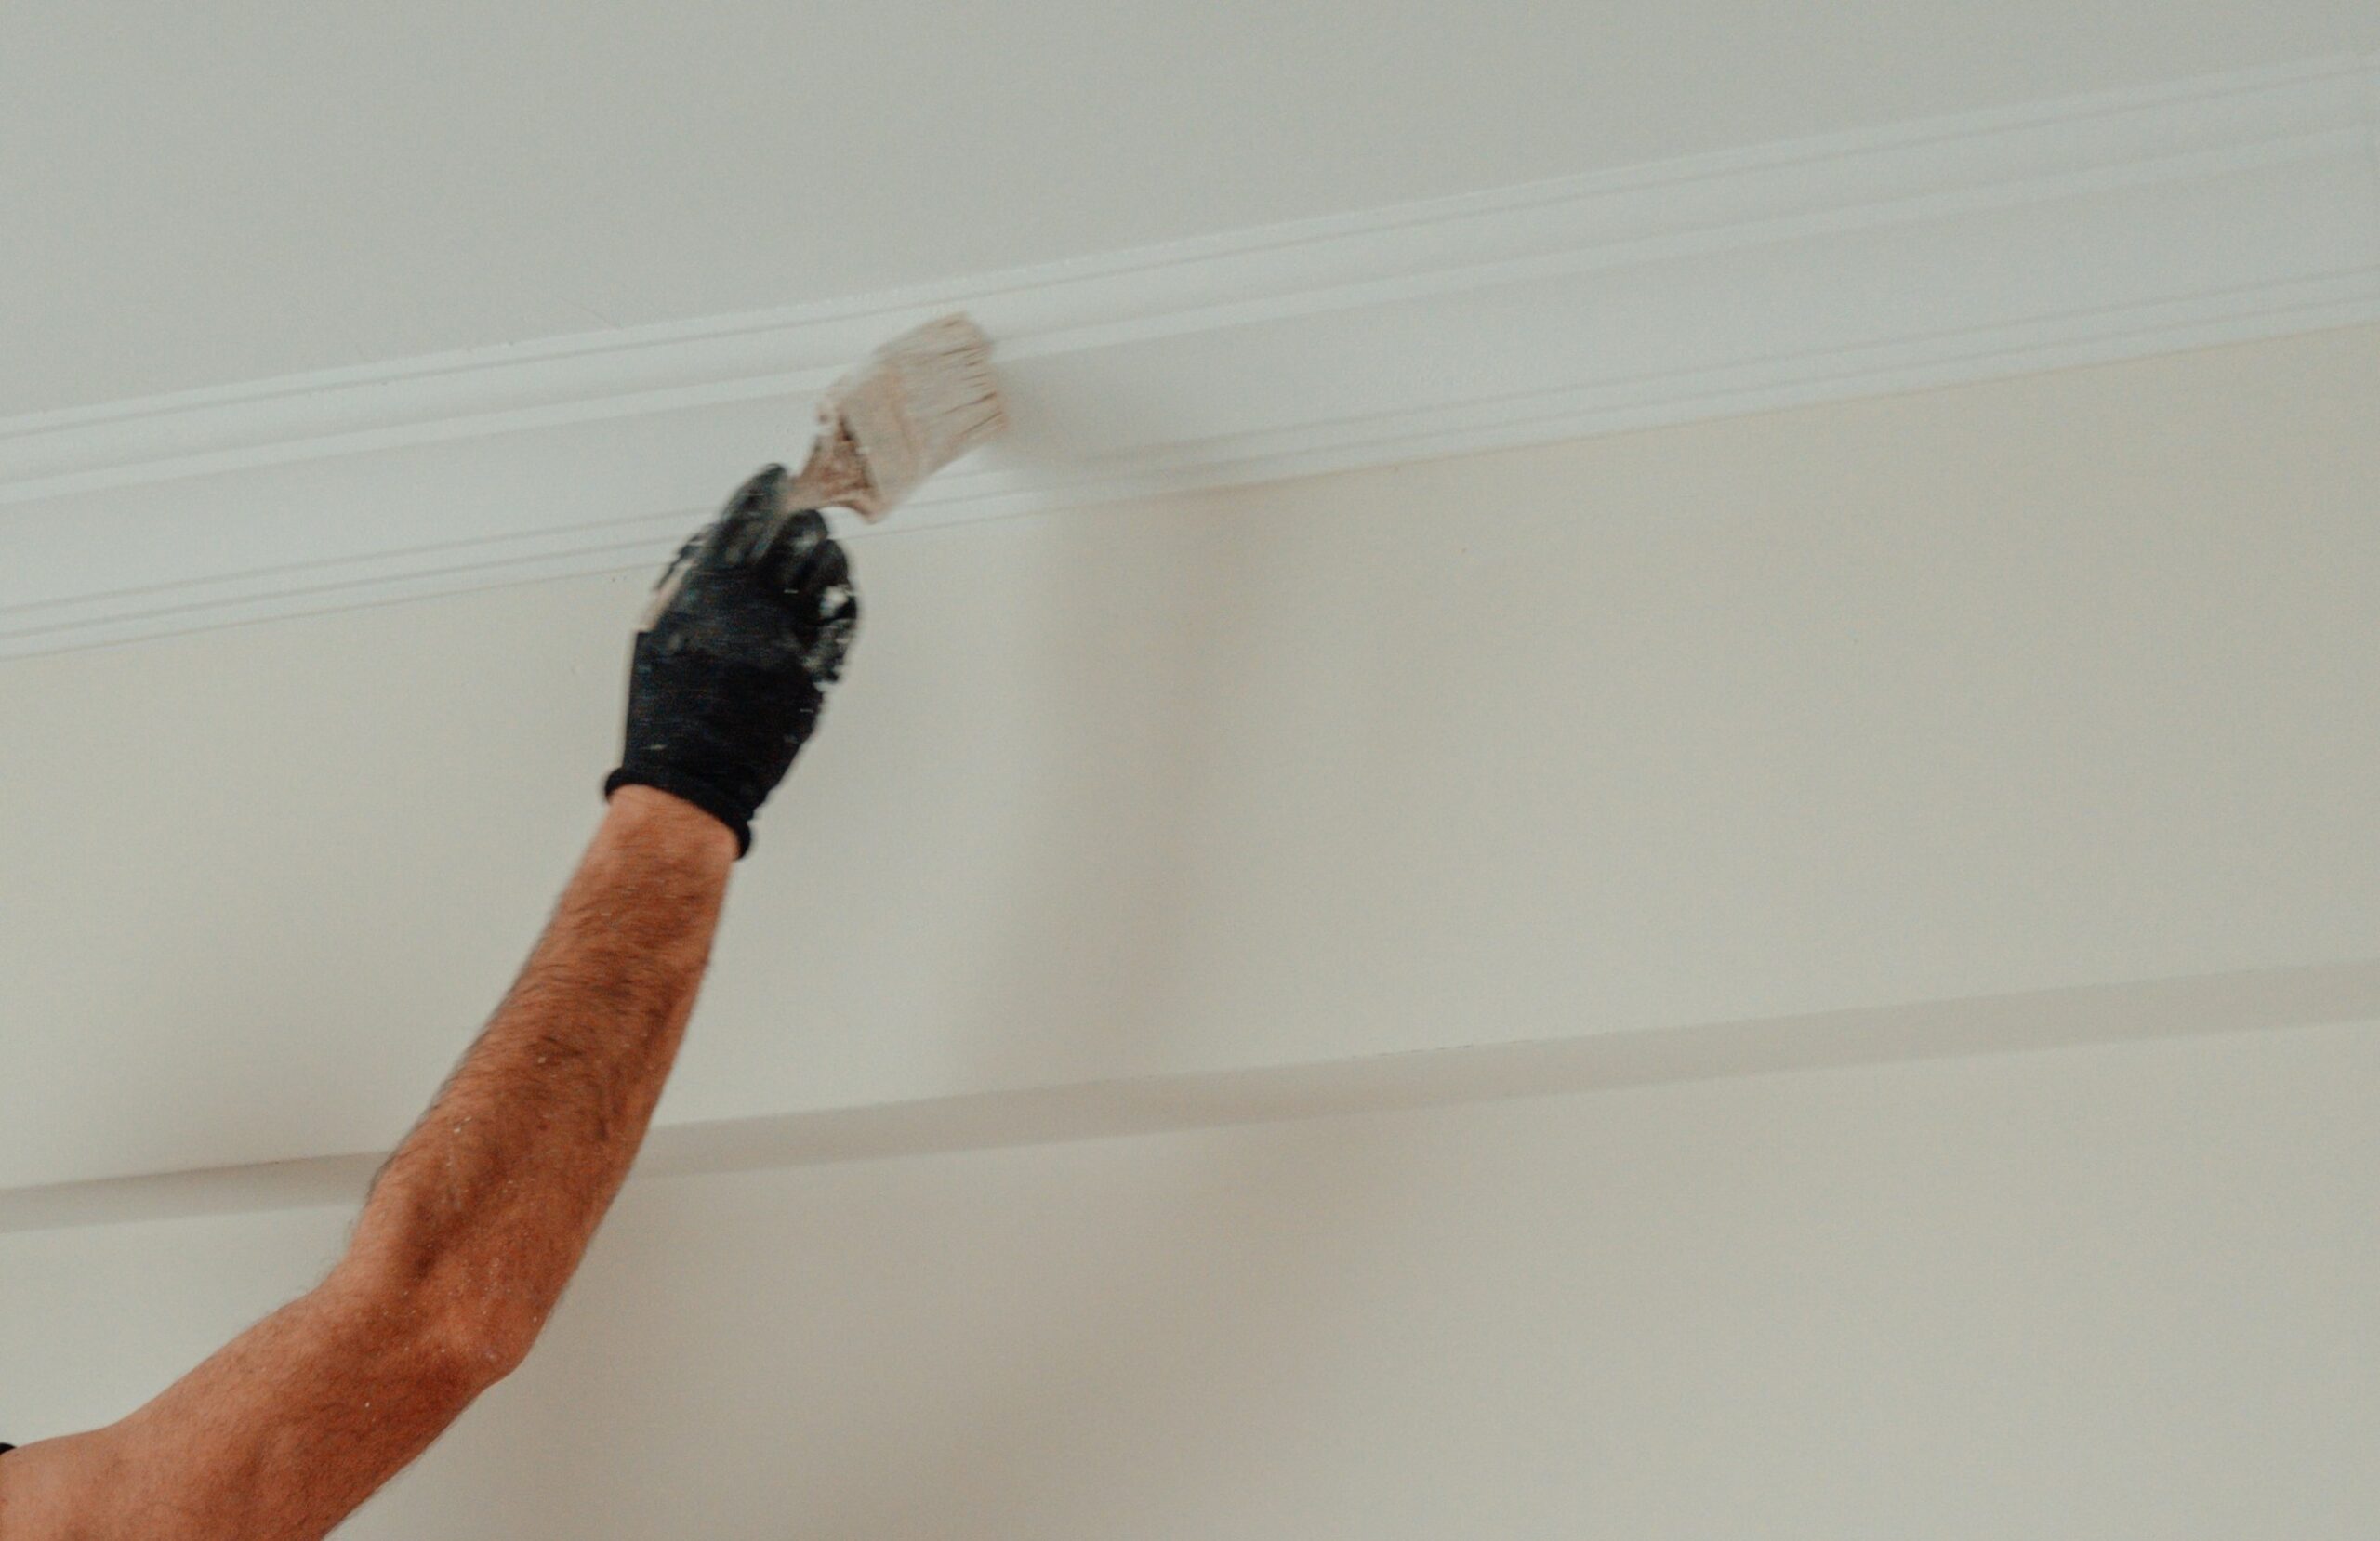
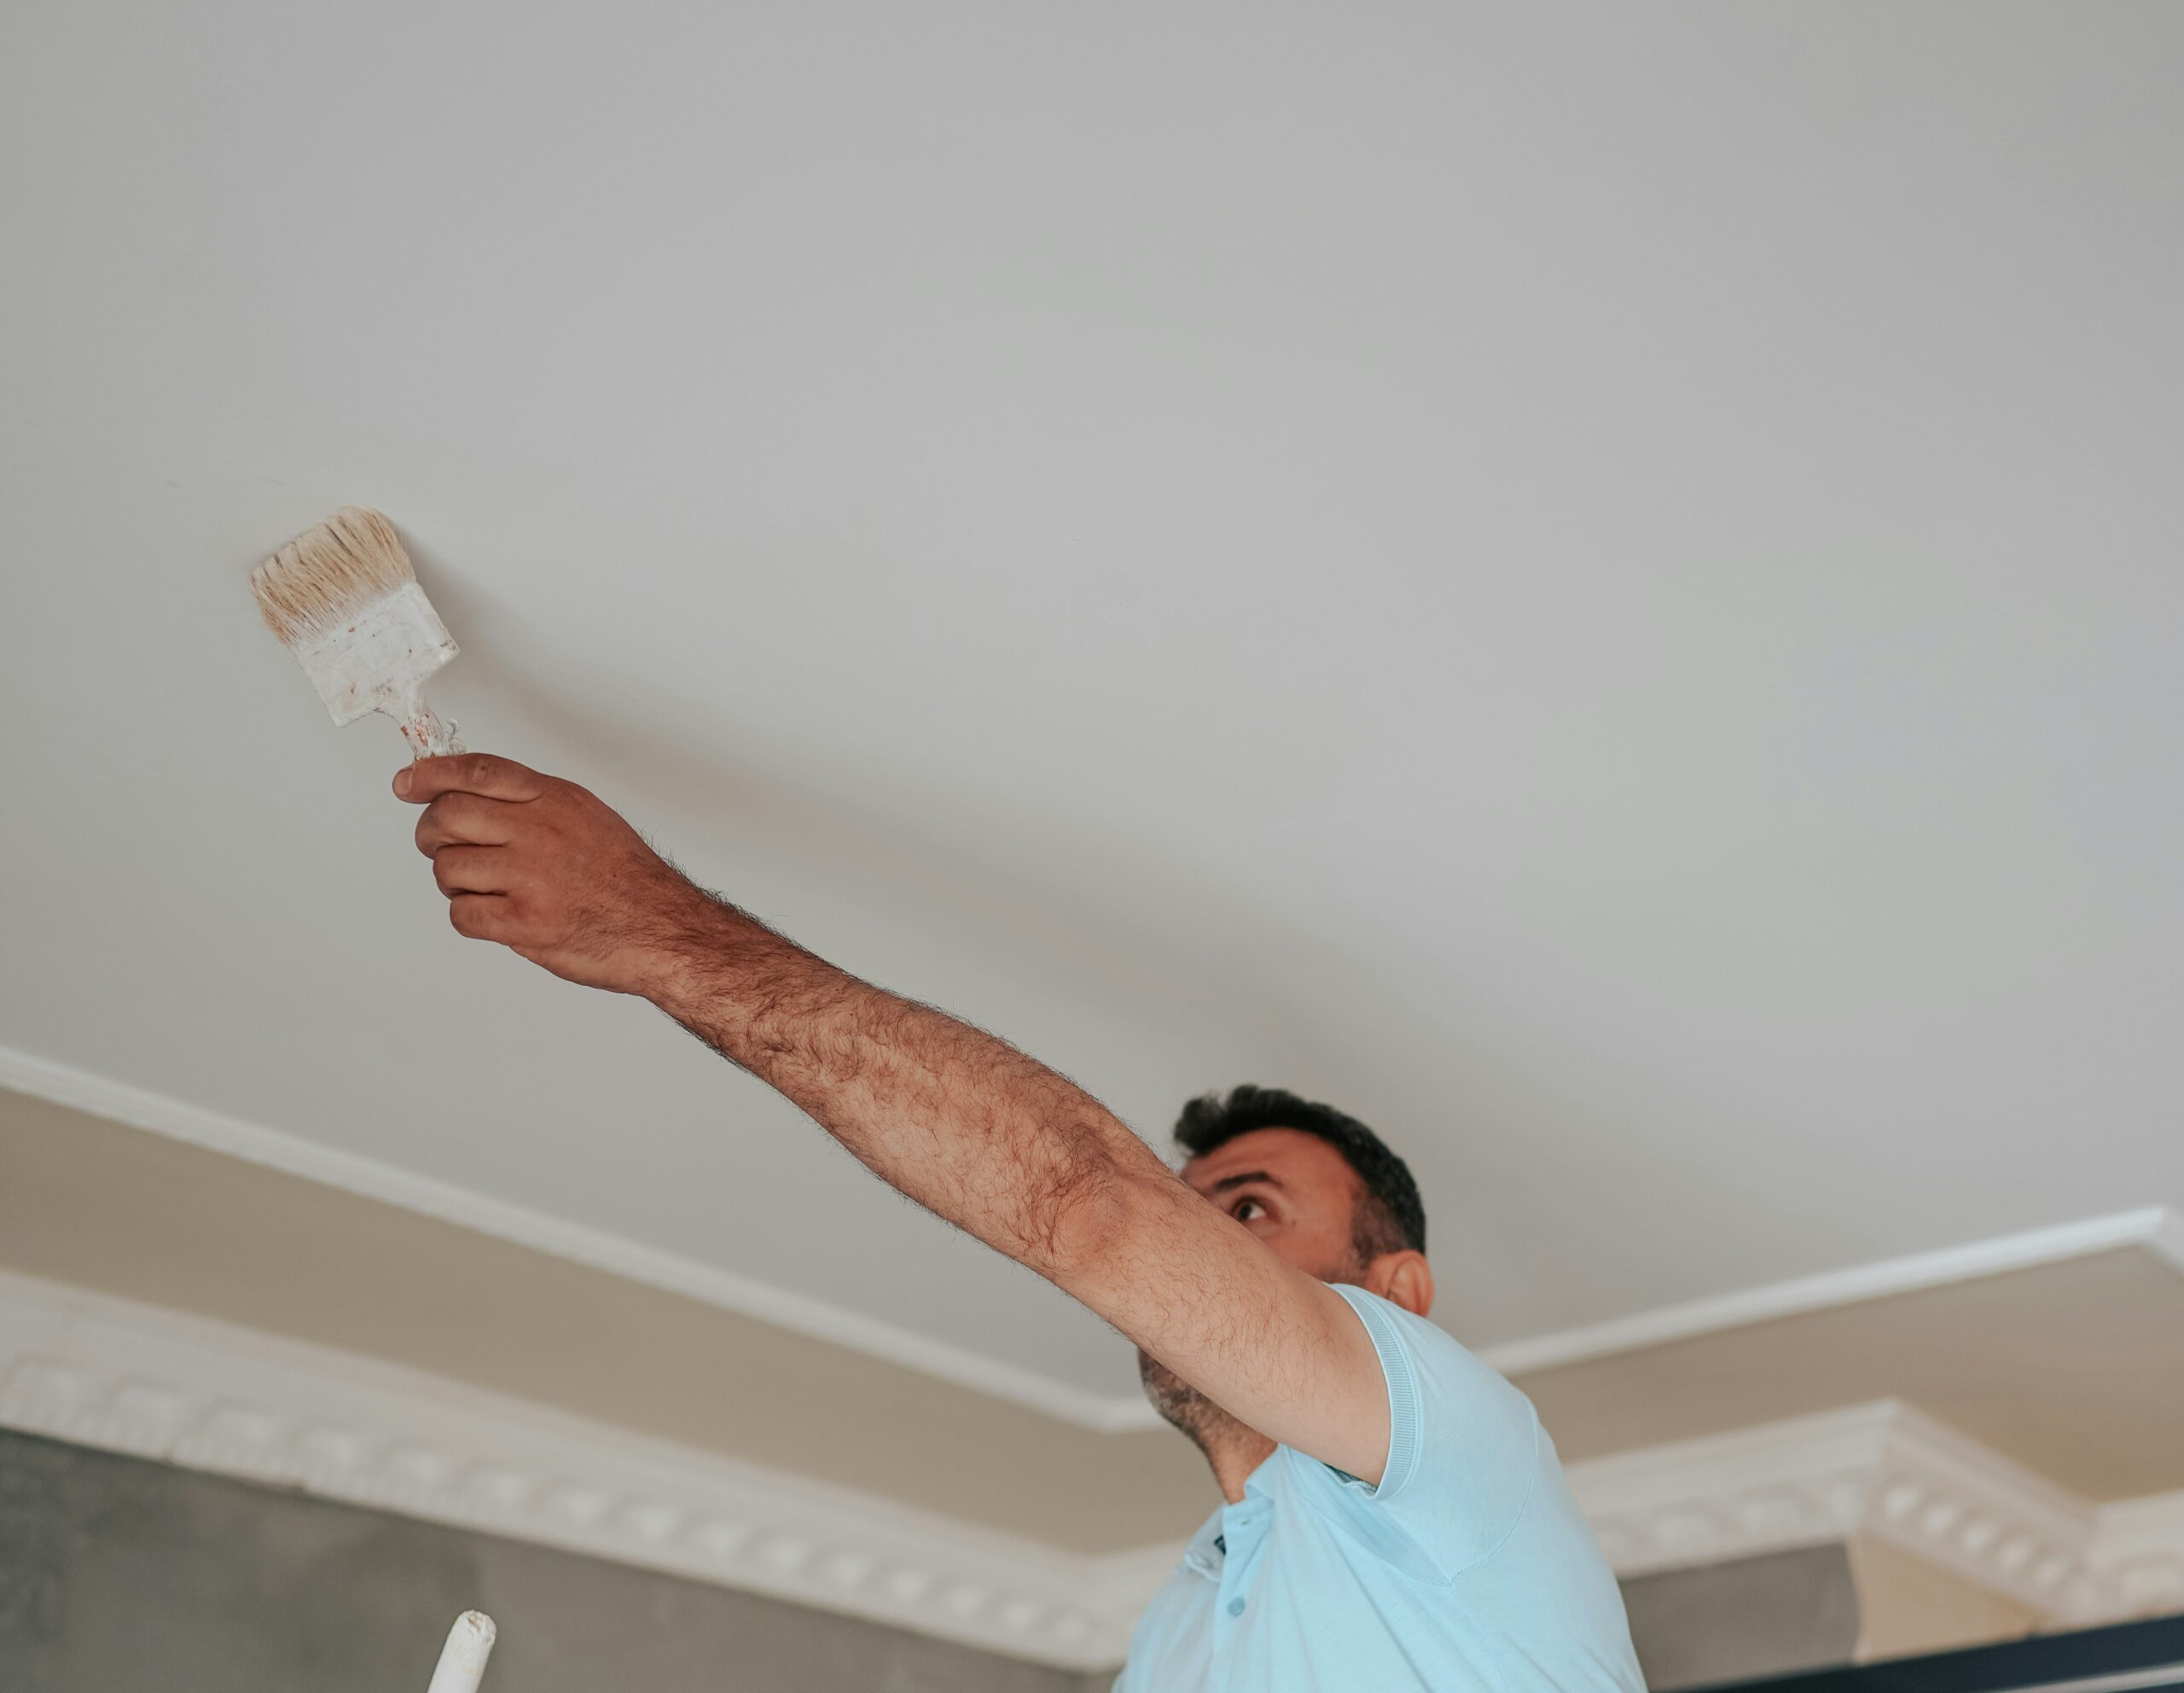
Step 1 – Cut In Edges First
Professionals start by cutting in along the ceiling’s edges with an angled brush. This ensures neat borders before using rollers on larger areas. Working in small sections helps maintain control and prevent drips along crown molding or corners. The paint is feathered outward to blend seamlessly with roller strokes later. This approach creates crisp, defined edges that require no touch-ups once the roller work is complete.
Step 2 – Load and Roll Properly
Rather than overloading the roller, pros evenly distribute paint by rolling it in a tray or screen to remove excess. They use smooth, overlapping “W” or “M” motions to cover large areas efficiently. This technique spreads paint evenly without buildup that can drip or sag. Working in 3×3 foot sections helps maintain uniformity and avoid visible lap marks. Professionals maintain consistent rolling speed and direction to achieve even coverage across the entire surface.
Step 3 – Maintain a Wet Edge and Inspect Frequently
Keeping a wet edge prevents lines or patches from forming as paint dries. Professionals periodically check their work from different angles to catch drips early and smooth them out. They also control room temperature and humidity to optimize drying conditions. This attention to detail ensures a flawless finish that looks seamless from every angle. A final inspection under good lighting confirms that the ceiling is completely smooth and drip-free.
How Long Does Ceiling Paint Last?
A professionally painted ceiling can last up to 10 years or more with proper care. High-quality paint and application prevent early yellowing or cracking. Professionals recommend occasional dusting and avoiding excess moisture to maintain brightness. For kitchens or bathrooms, washable ceiling paints resist humidity and stains longer than standard finishes. Keeping the ceiling clean and well-ventilated extends the life and appearance of the paint job.
Key Takeaways
- Ceiling painting requires steady control, quality tools, and thick, low-drip paint.
- Proper preparation—cleaning, priming, and taping—is crucial for professional results.
- Professionals use angled brushes, extension rollers, and cutting-in techniques to prevent splatter.
- Maintaining a wet edge and inspecting as you go ensures even, drip-free coverage.
- Investing in professional painters guarantees long-lasting, flawless ceilings.
FAQs About Ceiling Painting and Drip Prevention
Why does ceiling paint drip so easily?
Gravity naturally pulls excess paint downward, especially if it’s too thin or overloaded on the roller. Using high-viscosity ceiling paint and rolling slowly at an angle helps prevent dripping. Professionals also ensure proper room conditions—like moderate humidity and temperature—to control drying time and minimize sagging. Their expertise helps balance paint flow and surface tension to achieve smooth, drip-free results.
What type of paint is best for ceilings?
Flat or matte ceiling paint works best because it’s thicker, less reflective, and easier to apply overhead. Specialty ceiling paints are formulated to reduce splatter and hide imperfections. They dry evenly and resist roller marks, providing a clean, professional look. Some premium products even include spatter-resistant additives that make painting overhead easier and cleaner.
How do professionals keep ceilings drip-free?
Pros use high-quality tools, consistent pressure, and controlled strokes. They avoid overloading paint and maintain a wet edge to prevent overlapping lines. Frequent inspections during application help catch drips early, and they finish with slow, even passes for a smooth final coat. This combination of technique and patience is what separates professional finishes from DIY attempts.
Should ceilings always be painted white?
While white remains the most popular choice, pros often suggest tinted neutrals to complement wall colors. Light grays, creams, or soft blues can add depth and warmth without overwhelming a room. Paintzen’s color consultants can help homeowners choose ceiling shades that enhance lighting and overall design harmony. Matching paint tones to wall finishes can create a seamless, custom look that feels balanced and intentional.
Related Reading
- How to Prep Your Home for Sale with Strategic Painting
- Paint Maintenance Tips: How to Make Interior Paint Last Longer
- The Science of Sheen: Choosing Between Matte, Satin, and Gloss Finishes
Get a Free Quote from Paintzen
Painting ceilings can be tedious and messy, but it doesn’t have to be. Paintzen’s expert painters use professional-grade tools and techniques to deliver flawless, drip-free ceilings every time. Their team handles every step from prep to cleanup, ensuring exceptional results and a spotless workspace. Get your free quote today and let Paintzen handle your next ceiling painting project.