High ceilings – they make any room feel spacious. What a beautiful architectural feature they are — until it comes time to paint them. But knowing how to paint a high ceiling high ceilings doable, though it does require specific supplies and some skill. And if you don’t want to spend your free time over-extending on a ladder, hiring a professional house painter, might be the better route to take.
Decide How You’ll Reach the Ceiling
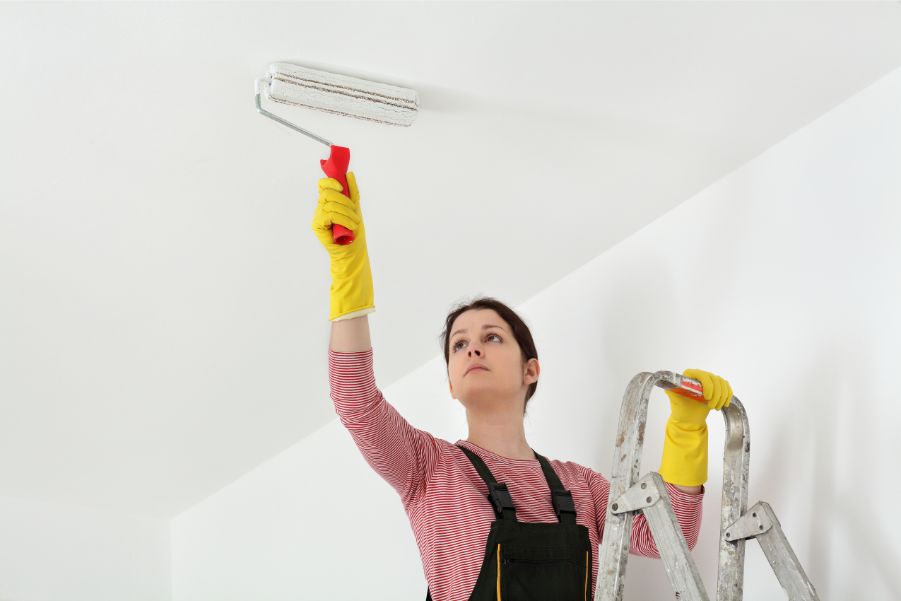
The first step of knowing how to paint high ceilings is to decide how you’re going to reach them. An extension pole and roller can help, but you’re probably going to need a ladder or scaffold to get to really high ceilings.
Ladders
While most paint jobs can be done on a ladder, a standard eight-foot ladder may not be tall enough for the job. You’ll need a ladder that lets you easily reach where you’re painting. You never want to overextend to reach the area you’re painting. Overextending means you have to stand on one of the top three rungs to paint, so if that’s happening to you, you need a taller ladder.
Instead, look for platform ladders, articulating ladders or step ladders that reach more than eight feet. To reach a very tall ceiling, you may need an extension ladder. Also, use a ladder rated for the appropriate weight limit and job type.
Scaffold
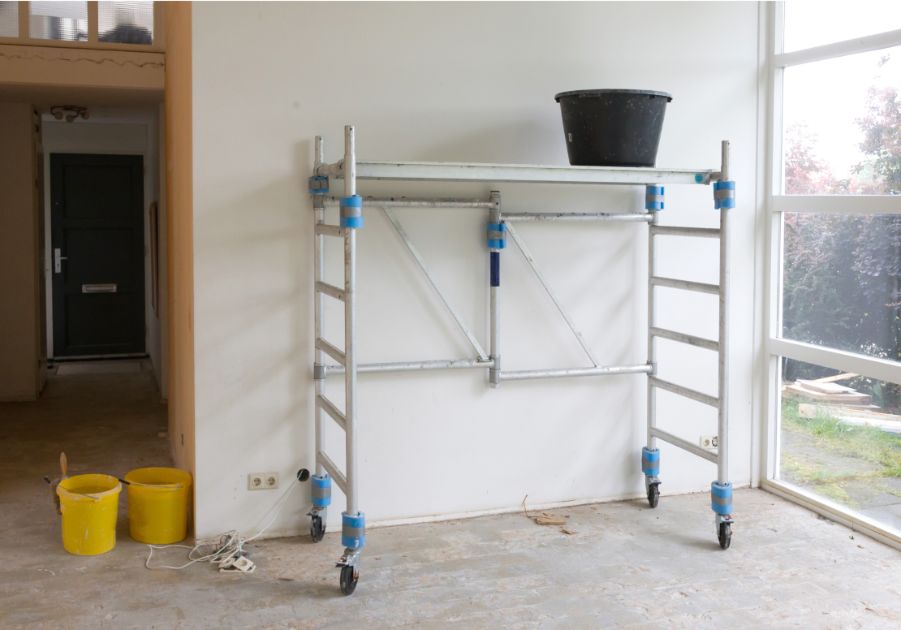
If you’re working at a height for longer periods of time, consider a scaffold. The platform gives you a sturdy place to work from, and to keep your tools and paint supplies.
Scaffolds are more cumbersome to set up and move around than ladders. They’re also used less often around the house, so if you go this route, you may want to rent one instead of buying.
Prep the Room
The first thing you’ll want to do is protect the floor and furniture from splatters and spills. Cover the furniture and the floors with drop cloths. It may be easier to move the furniture to another room. Take down anything on the wall, as well as your ceiling fans and light fixtures. Be sure to turn off the electricity before you take down the light fixtures.
Once the room is prepped, wash the ceiling with a clean cloth, warm water, and a mild detergent. Let the ceiling dry for at least one hour before going to the next step.
Prime and Paint
Before painting, mask the area where the ceiling meets the walls with painter’s tape. Then, roll on a layer of primer.
Wait 24 hours for the primer to dry. Then start painting the ceiling in six-foot square sections. Use overlapping “W” strokes, working from right to left. Then paint back from left to right using horizontal strokes to fill in. Use less pressure when you get to the edges so you don’t create a line when the paint squares overlap. Keep working in this way until you’ve painted the entire ceiling.
Touch up any spots you missed while the paint is still wet. This way, you can make sure you get an even sheen.
Opening windows or using a box fan can help keep the room ventilated.
Clean It Up
Clean your brushes and close the paint cans immediately after you finish working for the day. Once the ceiling is finished, remove the painter’s tape at a 45-degree angle. This will help keep you from taking off any fresh paint. (The longer painter’s tape stays on, the harder it is to remove.)
Wait 24 hours before you pick up the drop cloths, move furniture back into the room and rehang art, ceiling fans, and light fixtures. That way, if paint drips while it’s drying, it won’t ruin your stuff.
Painting a high ceiling is a DIY job you can do in a weekend. But if the idea of hanging from a ladder with a roller over your head doesn’t appeal to you, let our painters take over. They live for that stuff. Learn more about our services and get a free painting quote today.