 If you’ve ever seen a wall painted without prepping and repair, you’ll know what we’re talking about. The texture is uneven. You might see dents, cracks or nail holes (or even more of an eyesore, painted-over plastic wall anchors). We’ve even seen rooms where the paint covers unskimmed joint tape. Yuck! Don’t be that guy. Before you start painting, learn the right way to prep and prepare your walls. Learn which material to use: spackle, drywall repair, or skim coating.
What is Spackle?
Spackle is a lightweight, quick-drying compound used to fill small holes, cracks, and minor surface imperfections. It’s most commonly used in interior painting prep to patch nail holes or repair dings in drywall. Spackle is easy to apply, sands well, and doesn’t typically shrink as it dries. It’s sold in both lightweight and heavier forms depending on the job, and it’s especially effective in small-scale repairs due to its fast drying time and user-friendly application. Many homeowners find it ideal for quick touch-ups between larger projects.
Make Walls Sparkle With Spackle
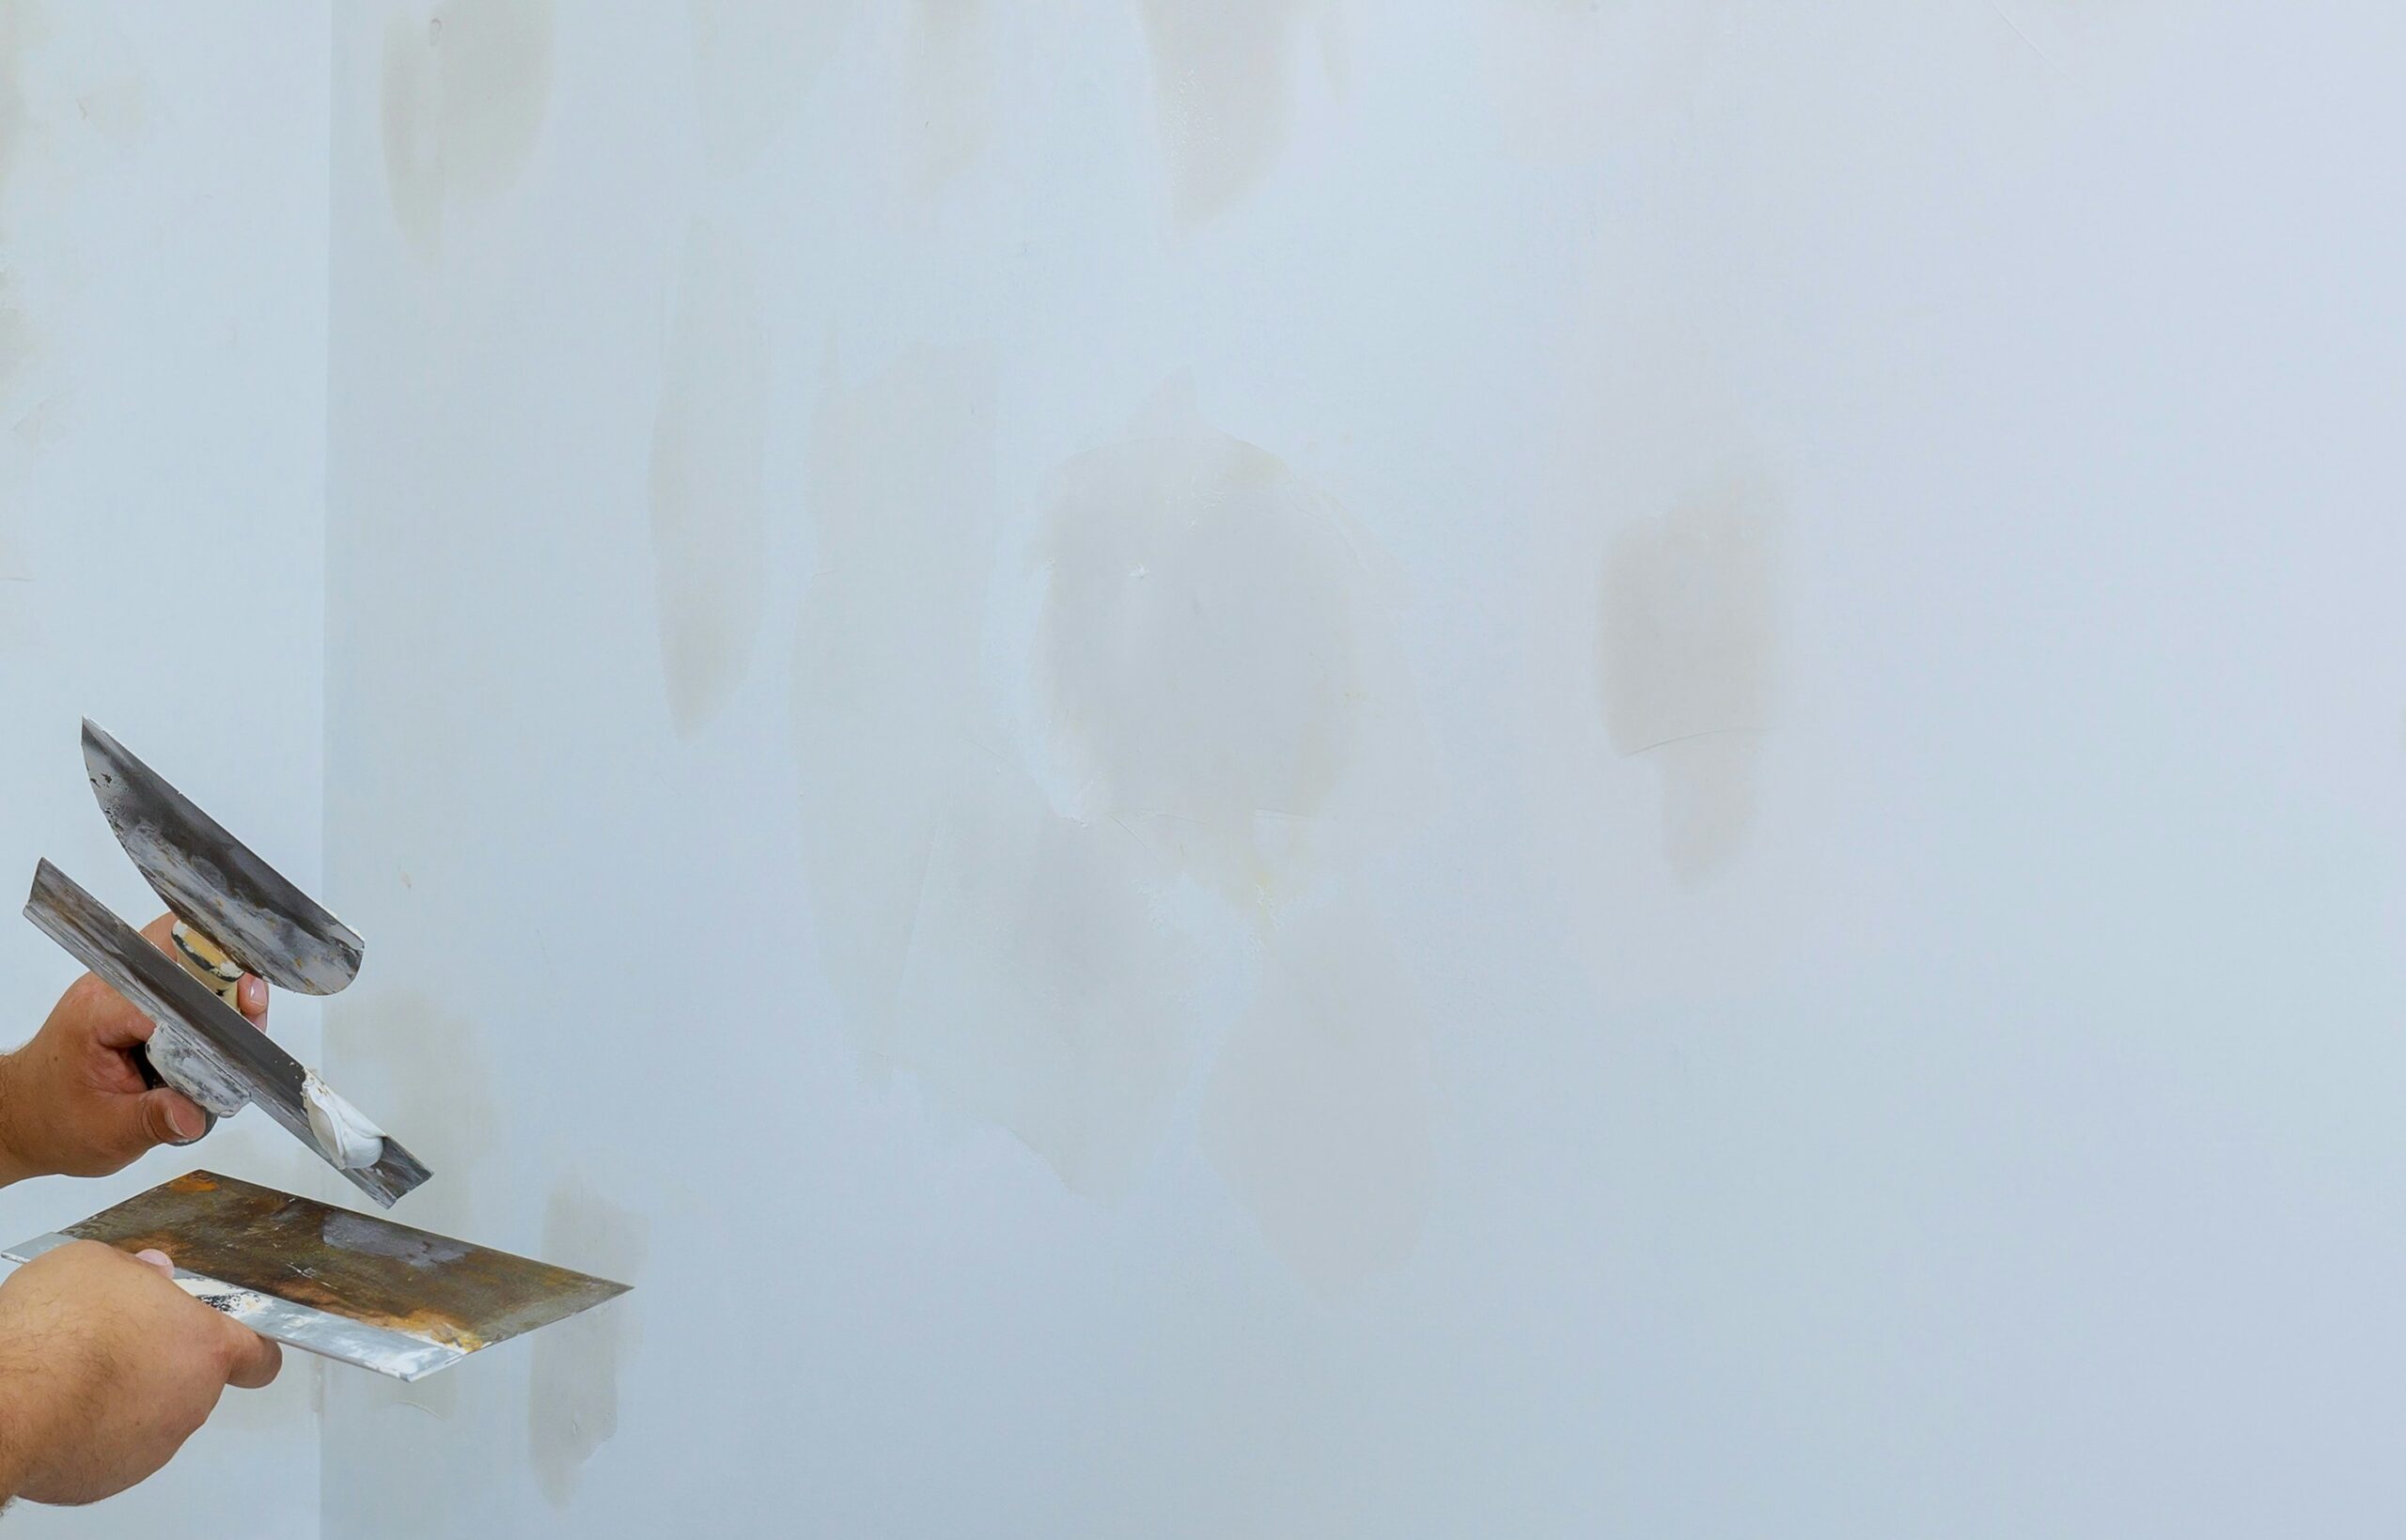
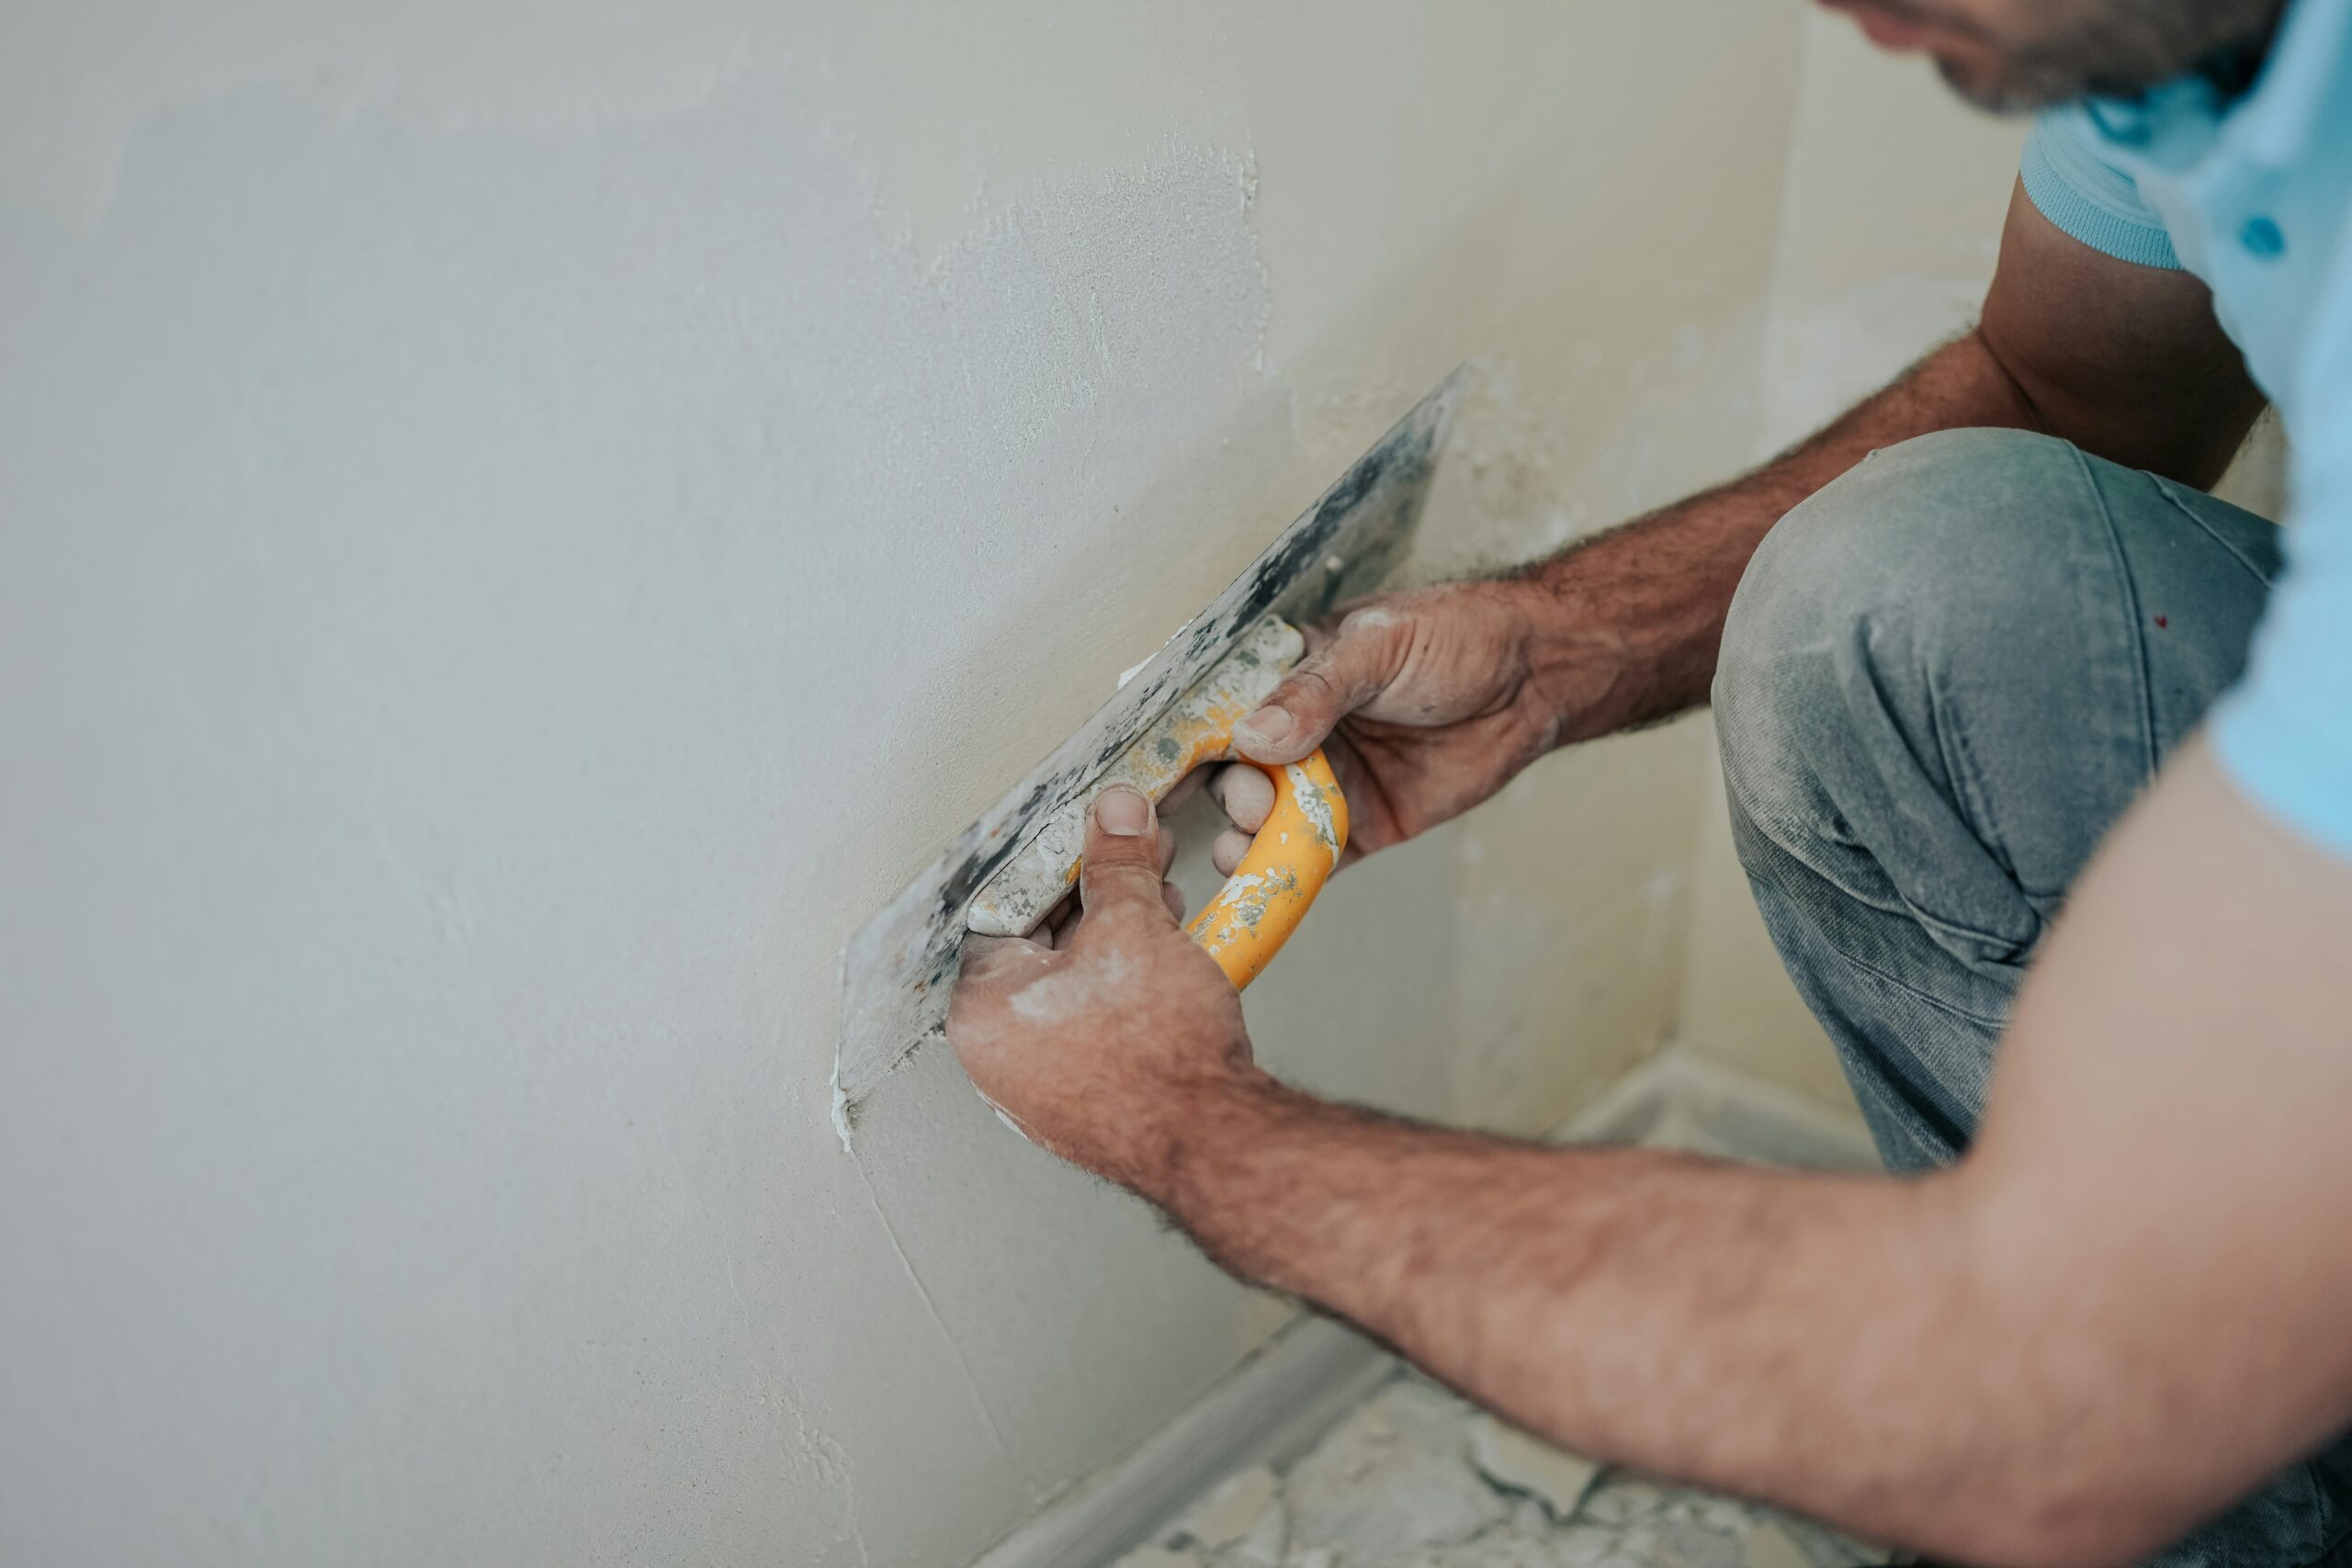
If you’re looking for a putty to fill minor surface defects in a variety of surfaces, including drywall, plaster and wood, look no further than spackle. With a spreadable, toothpaste-like consistency, painters use spackle to repair small defects, like nail holes, dings and dents.
This fast-dry option lets you apply it straight out of the container. Then, you can sand* and be ready to paint in about half an hour. Bonus: It shrinks less than joint compound, which means you can usually finish patching small damage in one go.

What is Spackle Used For?
Spackle is used for minor wall repair tasks. It’s ideal for filling in nail holes, small dents, gouges, and other minor blemishes on drywall or plaster. It’s also helpful for fixing hairline cracks in walls before painting. Because it doesn’t require mixing or curing, it’s a go-to for do-it-yourself repairs and minor prep work in living rooms, bedrooms, or anywhere small imperfections need to be addressed quickly and efficiently.
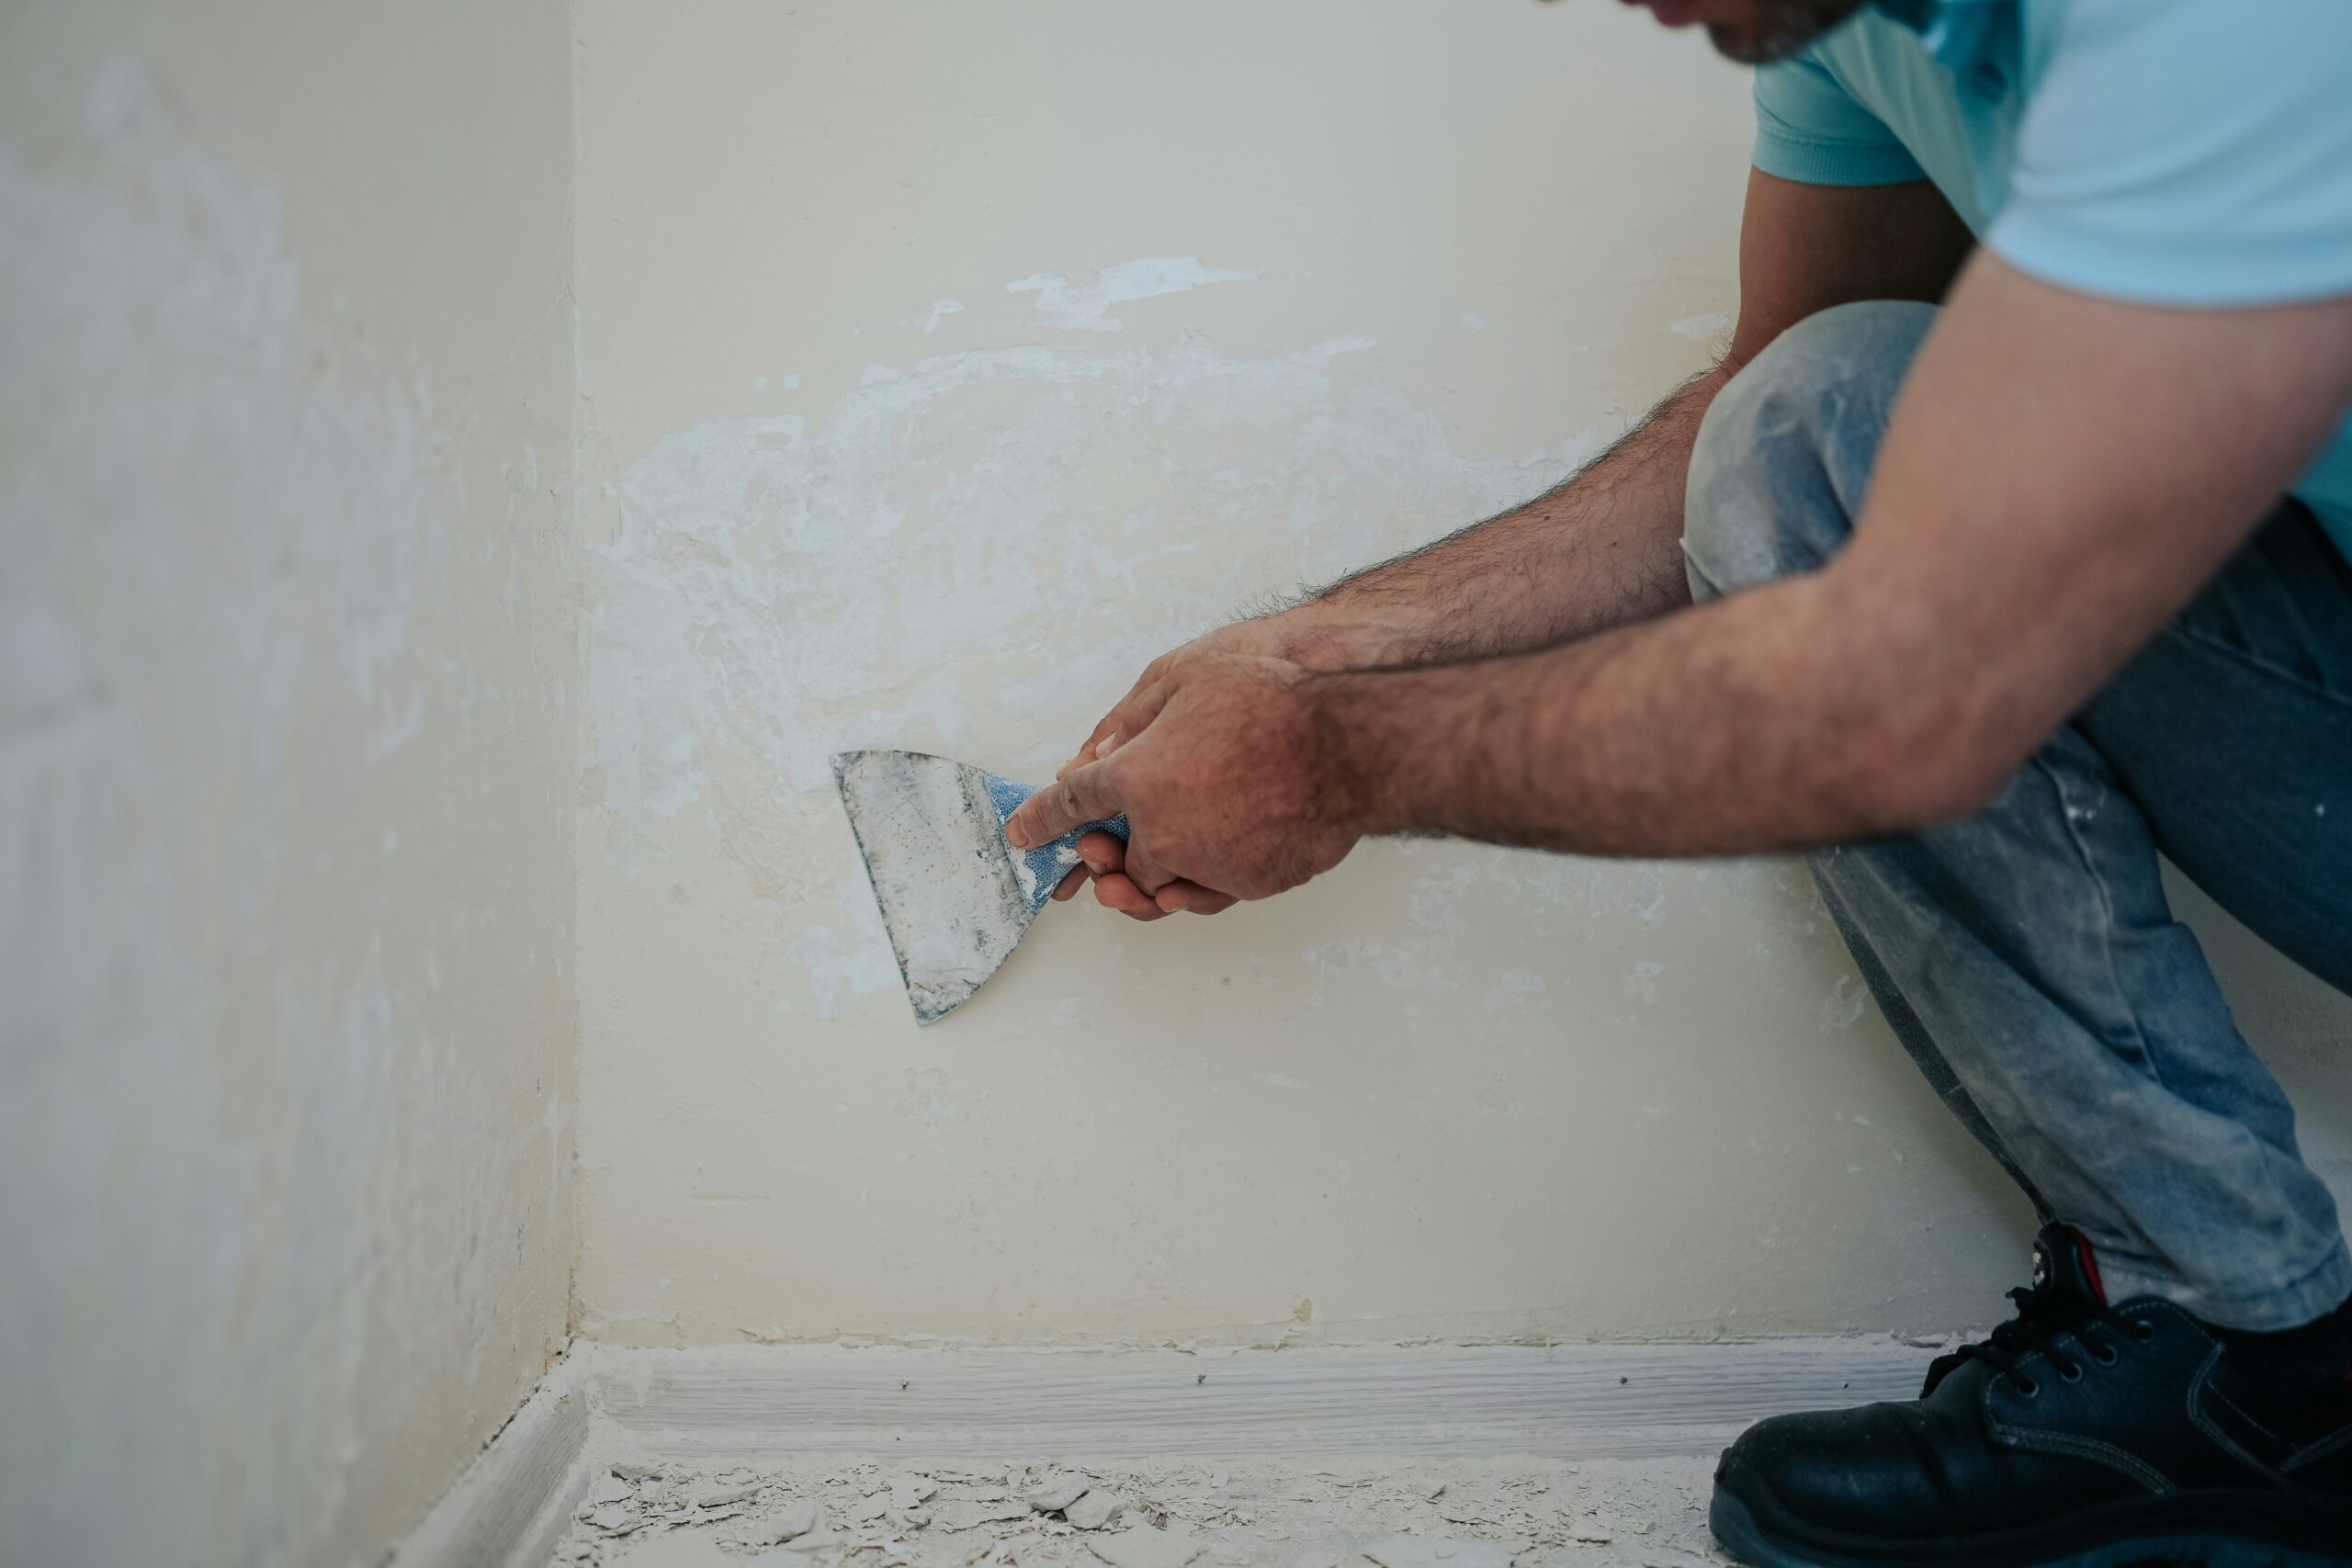
How to Spackle a Wall
To spackle a wall, start by cleaning the surface to remove dust or debris that could prevent adhesion. Apply a small amount of spackle to a putty knife and press it firmly into the hole or dent, then smooth it out flush with the wall’s surface. Allow it to dry fully, typically around 30 minutes for lightweight spackles, and then sand lightly to create a smooth finish. Wipe off the sanding dust with a damp cloth or tack cloth, and you’re ready to prime and paint. For best results, use multiple thin layers for slightly larger imperfections.
Spackle vs. Joint Compound: What’s the Difference?
Spackle and joint compound are both used in wall repair, but they serve different purposes. Spackle is faster-drying and better suited for small patches. Joint compound, or drywall mud, is used to cover seams and larger areas and requires more drying time. Spackle is typically pre-mixed and designed for convenience, while joint compound may require mixing and comes in various drying types (topping, all-purpose, etc.). The main difference comes down to the size and scope of the repair: choose spackle for quick fixes and joint compound for full drywall finishing.
Plaster vs. Spackling
Plaster is typically used for coating entire walls or ceilings in older homes and has a more rigid, durable finish. Spackling is lighter, easier to apply, and designed for small patch jobs. Plaster requires several coats and curing time, while spackling can be applied and painted the same day. Additionally, plaster creates a thicker finish and is often used in decorative work or historical restorations, while spackling is purely functional for modern wall repairs.
Painter’s Putty vs. Spackle
Painter’s putty is a pliable, oil-based material used to fill holes in wood before painting. Spackle is water-based and used for drywall and plaster. Painter’s putty doesn’t sand well and is best for window trim, wood moldings, or filling nail holes in wood, while spackle dries harder and sands smooth, making it ideal for flat wall surfaces. Also, spackle is better suited for drywall and interior walls, while painter’s putty is more common for trim carpentry work.
Can I Use Spackle Instead of Joint Compound?
In a pinch, yes—but only for small holes or superficial damage. Spackle isn’t made to cover seams or large surfaces. If you need to smooth drywall seams or apply a skim coat, use joint compound. Spackle dries too quickly and can crack or show through paint if used incorrectly. In addition, joint compound is easier to feather out over wider areas, which is critical when blending repairs into the surrounding surface for an invisible finish.
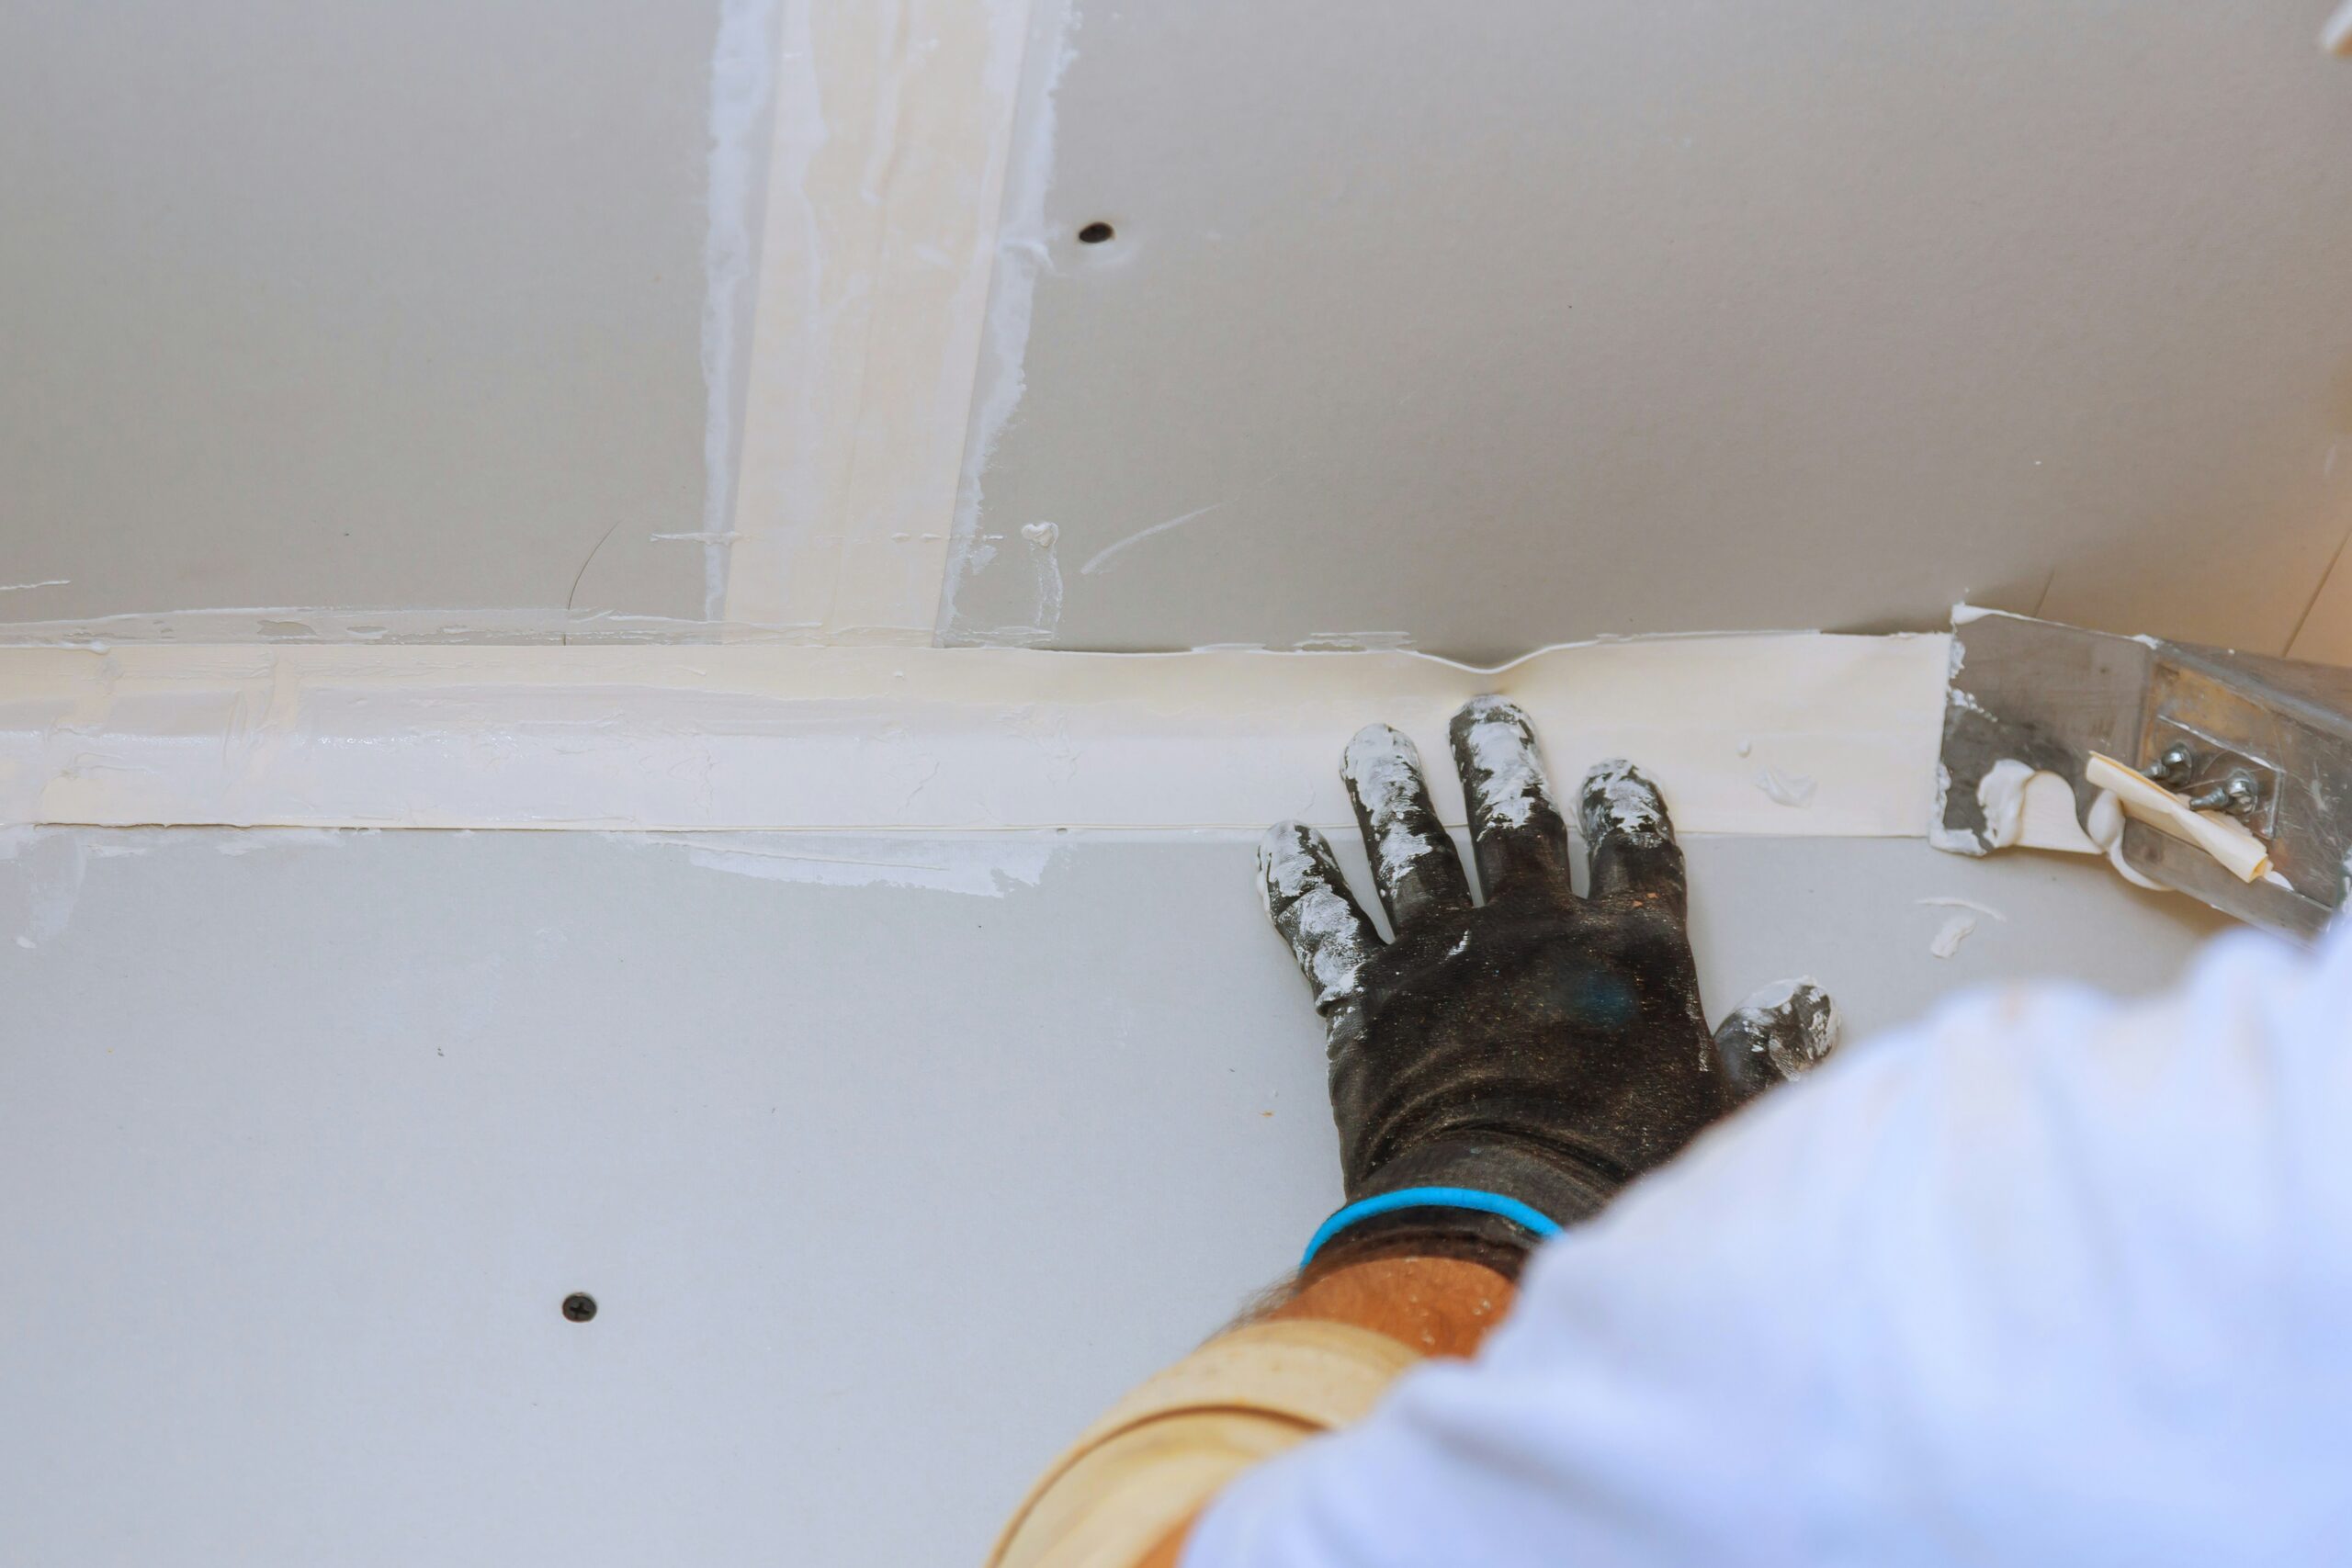
What is Joint Compound?
Joint compound, also known as drywall compound or drywall mud, is a versatile finishing product used in drywall installation. It’s applied over joint tape to conceal seams between drywall panels and can also be used to smooth large surface imperfections or skim coat entire walls. It comes in several types—lightweight, all-purpose, and setting compounds—each with different drying times and strengths, allowing for flexibility depending on the scope and speed of your project.
Smooth Drywall Seams With Joint Compound
Contractors use joint compound (a.k.a. drywall mud or mud) to cover joint tape on drywall. It comes in a dust* that you mix to a cake-like consistency (though you can also buy it pre-mixed to speed things up).
It takes some skill to hide the seams, but when it’s applied correctly joint compound creates a smooth, unblemished surface. While spackle can’t stand in for joint compound – it dries too quickly to be smoothed out properly – you can use joint compound in place of spackle. It will take more than one coat and has a longer dry time, but this is a good hack if you have some leftover from another job.
What is Joint Compound Used For?
Joint compound is used to:
- Finish drywall seams and embed joint tape
- Cover screw heads and corner beads
- Fill large holes or gouges in drywall
- Skim coat walls and ceilings to create a smooth surface
- Repair water-damaged drywall or cracks
Its slower drying time allows it to be worked and smoothed out, making it essential for larger and more detailed repairs where blending is critical.
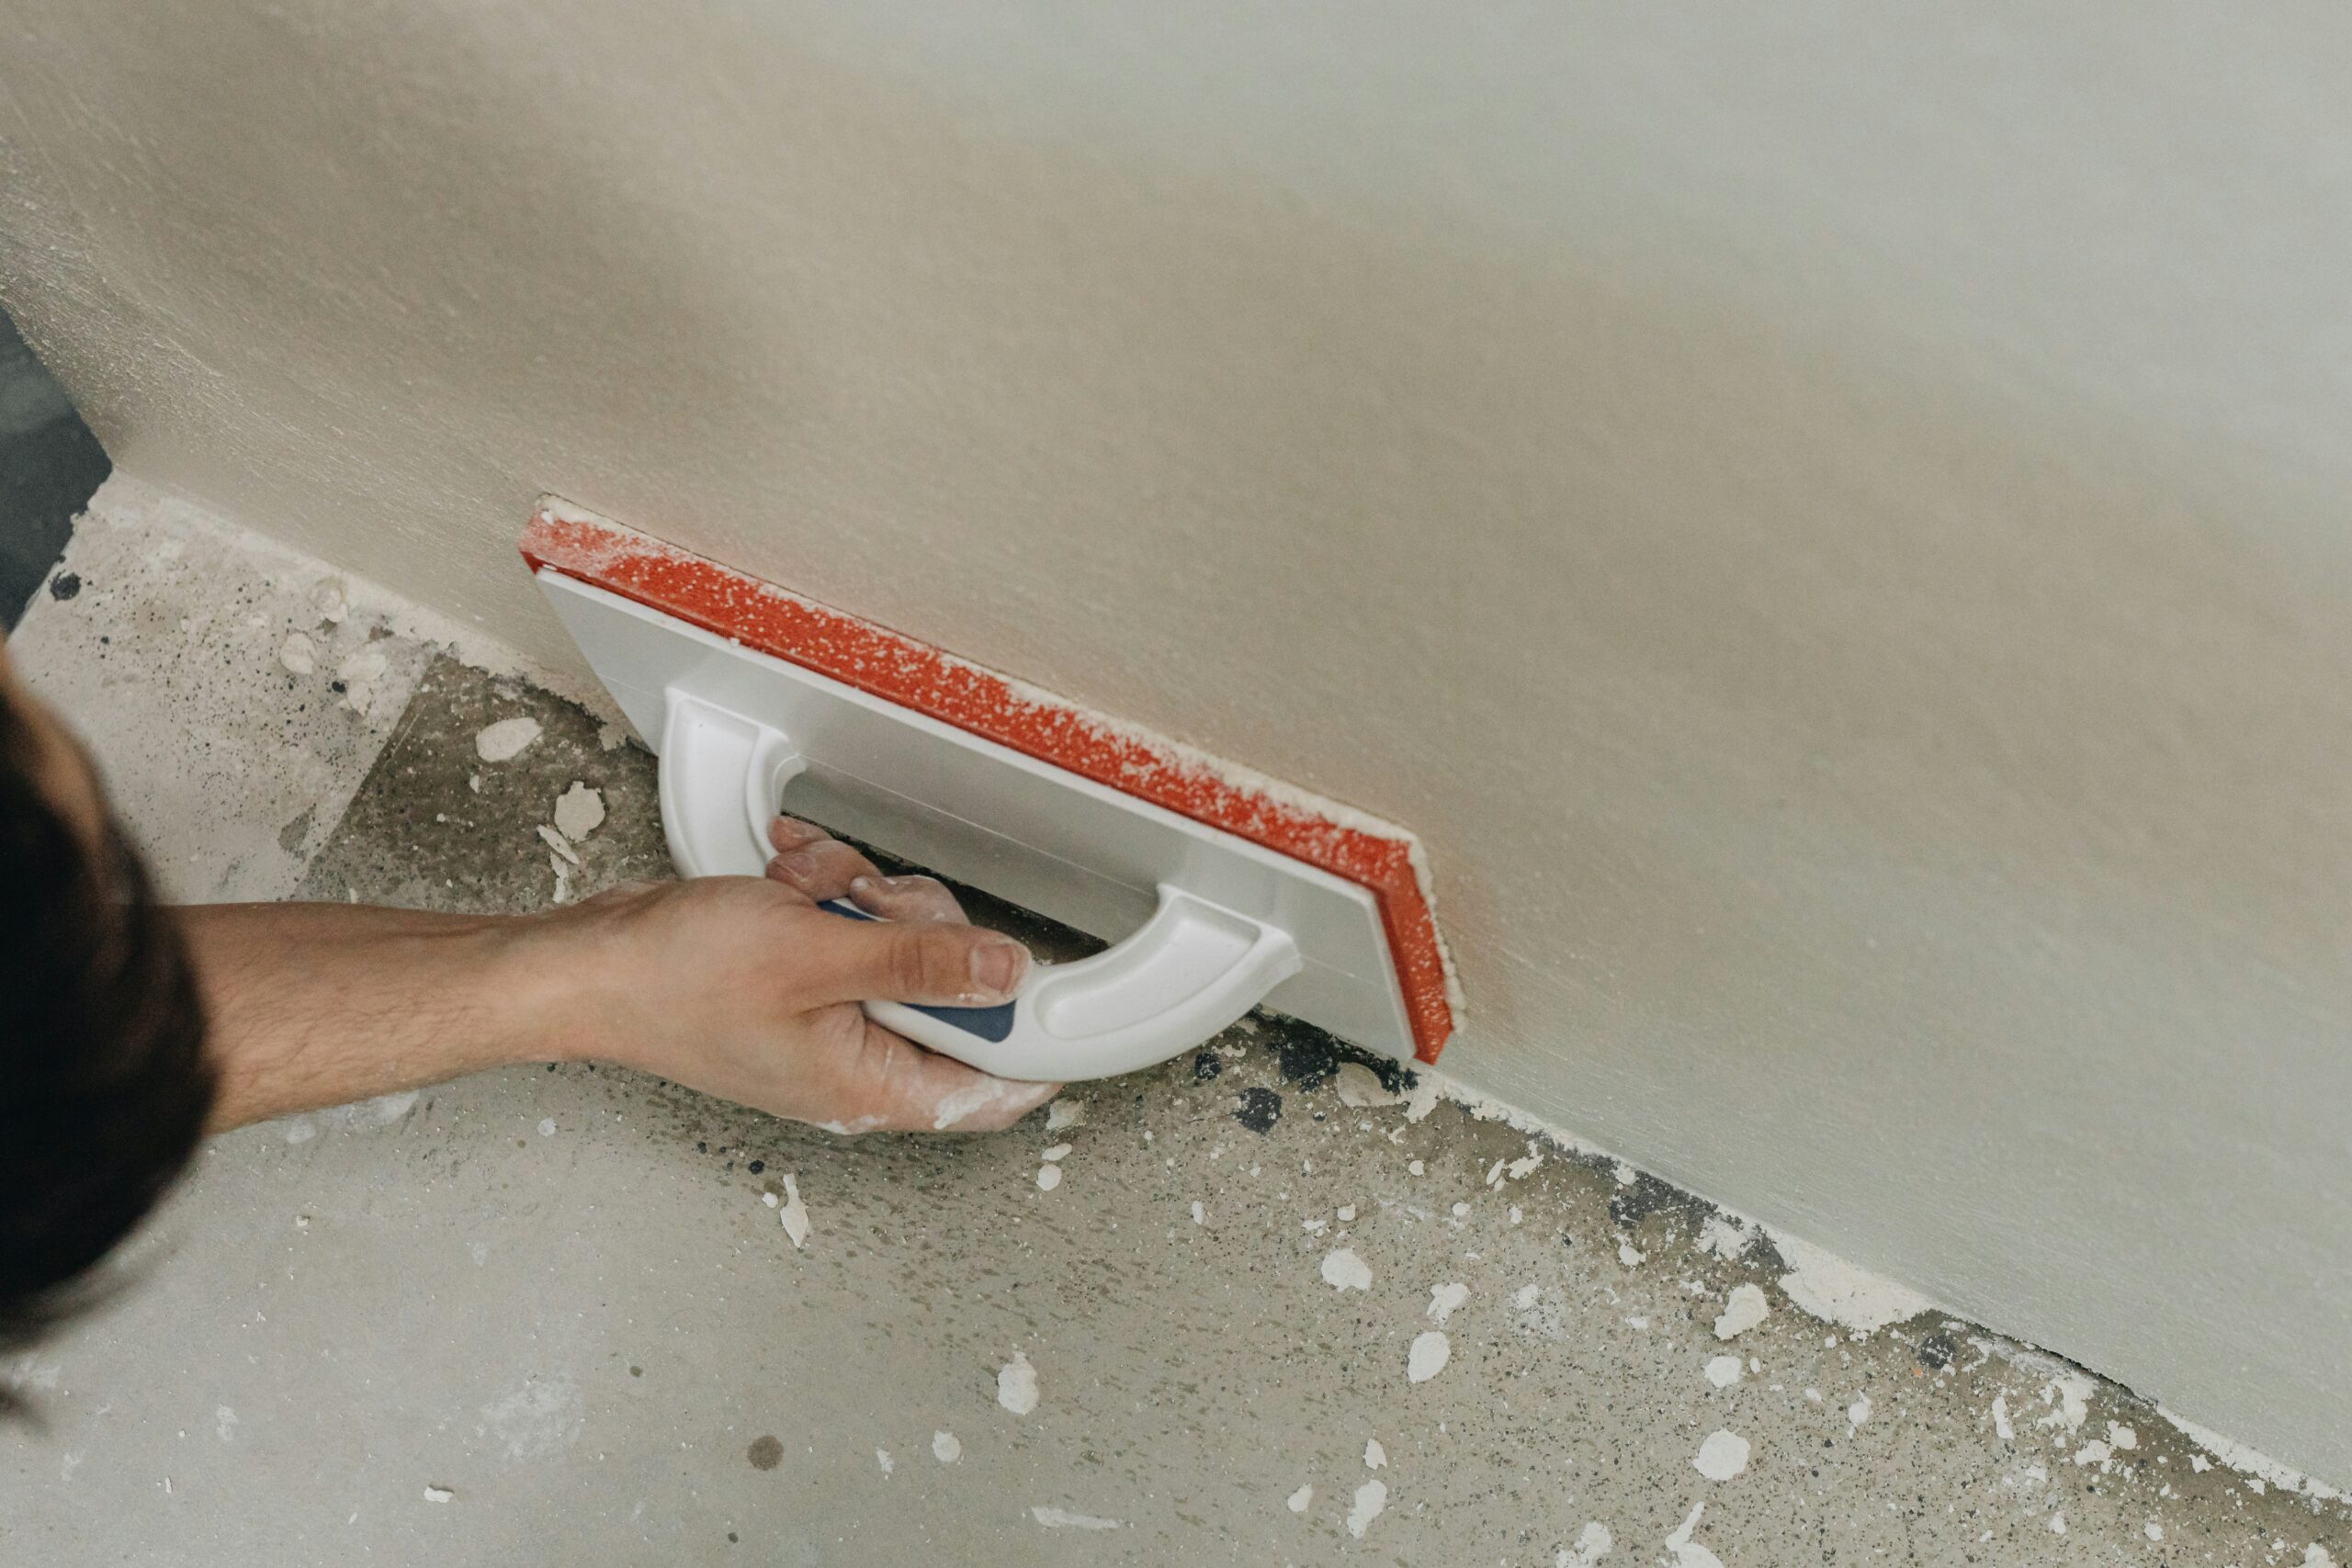
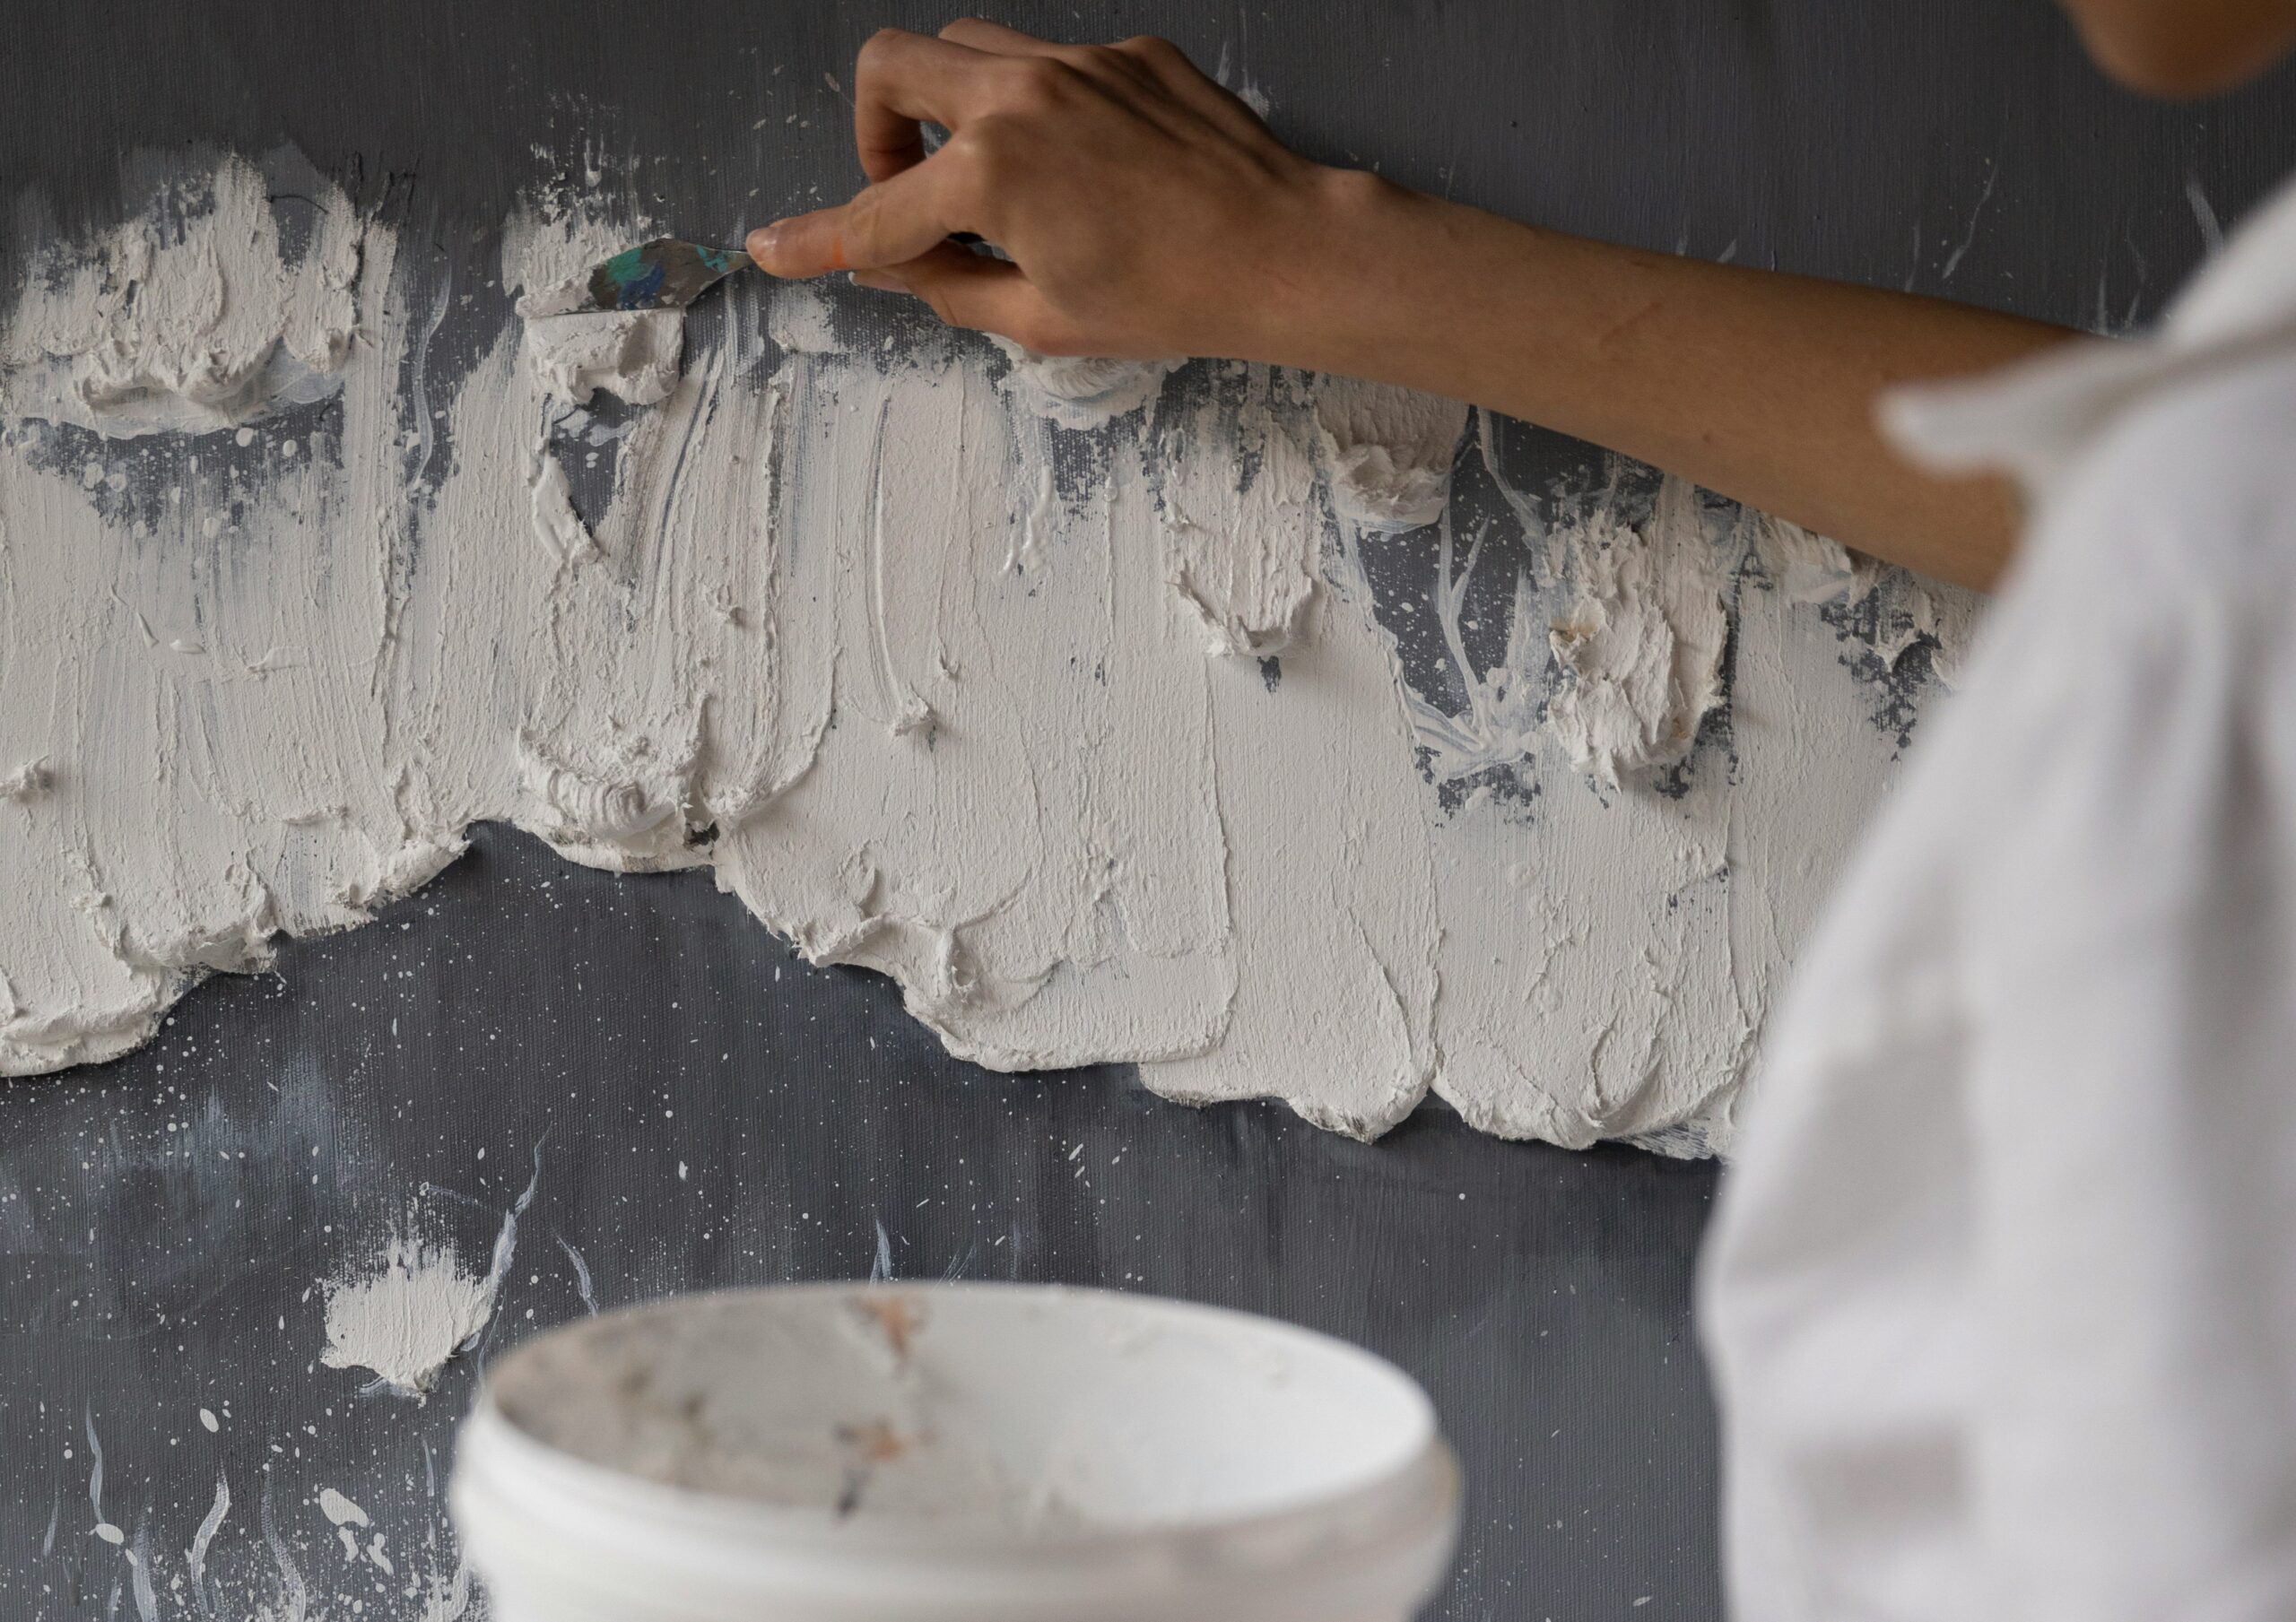
What is a Skim Coat?
A skim coat is a thin layer of diluted joint compound applied to an entire wall or ceiling. It’s used to create a smooth, even surface—especially helpful when repairing textured or damaged drywall. Skim coating can restore the appearance of older walls and prep them for paint or wallpaper. It’s often used to fix issues like orange peel or knockdown texture, uneven finishes, or subtle undulations that would show through new paint.
Create a Flat, Uniform Surface With Skim Coat
Dilute some joint compound, and you have the material in hand for a skim coat. Skim coat – applied by hand, sprayer or roller, and smoothed out by a trowel or drywall knife – creates a uniform surface on ceilings and walls. It’s used to prep walls for painting or applying texture. It also makes old walls look new. This makes it a great option if you’re renovating but keeping your walls in place.
Spackling is sometimes mistakenly used as a skim coat. But spackling isn’t made for this application – it dries too quickly, doesn’t spread smoothly and is hard to sand* to a fine finish on large areas. So, when looking for a smooth, paintable surface, let the spackle do its job: repairing small damage.
What is a Skim Coat Used For?
Skim coating is used to:
- Smooth out uneven or textured walls before painting
- Repair cracked or damaged drywall surfaces
- Eliminate surface imperfections and create a like-new finish
- Provide a uniform base when switching wall finishes
- Conceal multiple repairs and mismatched textures
This technique is especially popular during renovations or when restoring old plaster walls to a fresh, modern look.
How to Skim Coat a Wall
To skim coat a wall, start by cleaning and lightly sanding the surface to promote adhesion. Apply a thin layer of diluted joint compound using a wide drywall knife, working in long, even strokes. Feather out edges to blend the application, then let the coat dry fully. Lightly sand and wipe clean. Repeat the process if necessary to achieve complete smoothness. For large areas, use a roller to apply the mud and a trowel or wide knife to smooth it out. Always prime after skim coating to seal the surface and prevent flashing under paint.
Skim Coat vs. Joint Compound
Joint compound is the material used for skim coating, but the term “skim coat” refers to the process of applying it. While joint compound is also used for taping and patching, skim coating uses it to create a perfectly flat surface. Skim coating requires thinning the compound and applying it over the entire surface area, not just seams or holes. This makes it ideal for prepping older or imperfect walls for painting.
Skim Coat vs. Spackle
Spackle is for small touch-ups. Skim coating covers large areas. Spackle dries faster and is ideal for spot repairs. Skim coating uses diluted joint compound to create an even finish across entire walls. Spackle lacks the spreadability and workability of joint compound for wide areas and is prone to premature drying, making it unsuitable for skim coating. Use each material for its intended scale and application technique to get the best results.
Skim Coating vs. Mudding
Mudding usually refers to applying joint compound to seams and screw holes. Skim coating is more extensive, covering entire surfaces. Both use joint compound but differ in application technique and purpose. Mudding is a step in drywall finishing, while skim coating is a surface treatment. Think of mudding as part of building the wall and skim coating as refining it to a flawless finish.
When to Use Spackle, Joint Compound, or Skim Coat
Each product has its strengths, and knowing when to use spackle, joint compound, or skim coat can save time and ensure a better finish. Use spackle when you need to make small, quick repairs—think nail holes, tiny dents, or superficial gouges. It’s perfect for last-minute prep before painting a room. Joint compound, by contrast, is essential for drywall seams and large surface repairs. It’s a slower process but yields seamless results when applied correctly. Skim coat is your go-to when a wall or ceiling needs a full facelift—whether you’re dealing with residual texture, subtle imperfections, or old wallpaper damage. Picking the right product ensures you won’t waste time redoing work or ending up with visible flaws.
Is Spackling the Same as Drywall Compound?
Although often confused, spackling and drywall compound are not the same. Spackling paste is a pre-mixed, quick-drying material made for patching small defects, while drywall compound is typically used for full drywall finishing. Spackle dries harder and faster, making it best for minor fixes, while joint compound dries slower and stays workable longer, which is better for feathering and smoothing larger areas. Additionally, spackling tends to resist shrinking more than joint compound. Understanding this difference helps DIYers and pros alike avoid mismatches that can affect the look and durability of the repair.

Tips for a Professional Finish
Regardless of which product you use, getting a professional-looking finish requires a few key steps. Always prep the surface by removing dust and debris, and use the correct tools—putty knives for spackling, wide drywall knives or trowels for joint compound and skim coating. Sand between coats to achieve a smooth surface, and don’t rush the drying process. Allow adequate drying time based on the material used and the room’s humidity. Prime all repaired surfaces before painting to ensure an even finish and good paint adhesion. And when in doubt, multiple thin coats tend to yield better results than a single thick one.
Our experienced, professional interior house painters are trained to know which material to use to repair walls and prep them for painting. If it’s time to repaint your house, get a free quote today and let Paintzen help you prep and paint your space to perfection!
*WARNING! If you scrape, sand, or remove old paint, you may release lead dust. LEAD IS TOXIC. EXPOSURE TO LEAD DUST CAN CAUSE SERIOUS ILLNESS, SUCH AS BRAIN DAMAGE, ESPECIALLY IN CHILDREN. PREGNANT WOMEN SHOULD ALSO AVOID EXPOSURE. Wear a NIOSH-approved respirator to control lead exposure. Clean up carefully with a HEPA vacuum and a wet mop. Before you start, find out how to protect yourself and your family by contacting the National Lead Information Hotline at 1-800-424-LEAD or log on to www.epa.gov/lead.
FAQs: Spackle, Joint Compound, and Skim Coat
What is the main difference between spackle and joint compound?
The main difference lies in their intended use and drying time. Spackle is designed for small repairs like nail holes and dries quickly. Joint compound is used for finishing drywall seams and covering larger surfaces; it dries more slowly and requires multiple coats for best results.
Can you use joint compound as a skim coat?
Yes, joint compound is commonly thinned and used for skim coating. This process creates a smooth, even surface across entire walls or ceilings, especially helpful when covering old textures or preparing for new paint.
Is skim coating necessary before painting?
Skim coating isn’t always necessary, but it’s highly recommended if your wall has uneven texture, multiple patches, or damage. It creates a clean slate, ensuring a more uniform and professional-looking paint job.
Can I mix spackle and joint compound?
No, mixing these materials is not recommended. They have different compositions and purposes. For best results, use each one as intended: spackle for small patches, joint compound for seams and skim coating.
Which is easier for beginners: spackling or mudding?
Spackling is much easier for beginners. It involves smaller areas and fewer tools. Mudding (applying joint compound) takes more time and technique to get a smooth, blended result.
Ready to Let the Professionals Help?
Whether you’re doing a quick touch-up or tackling a full wall renovation, using the right product makes all the difference. Let our experienced painters handle the job with precision and care. Get a free quote today and let Paintzen help you prep and paint your space to perfection!