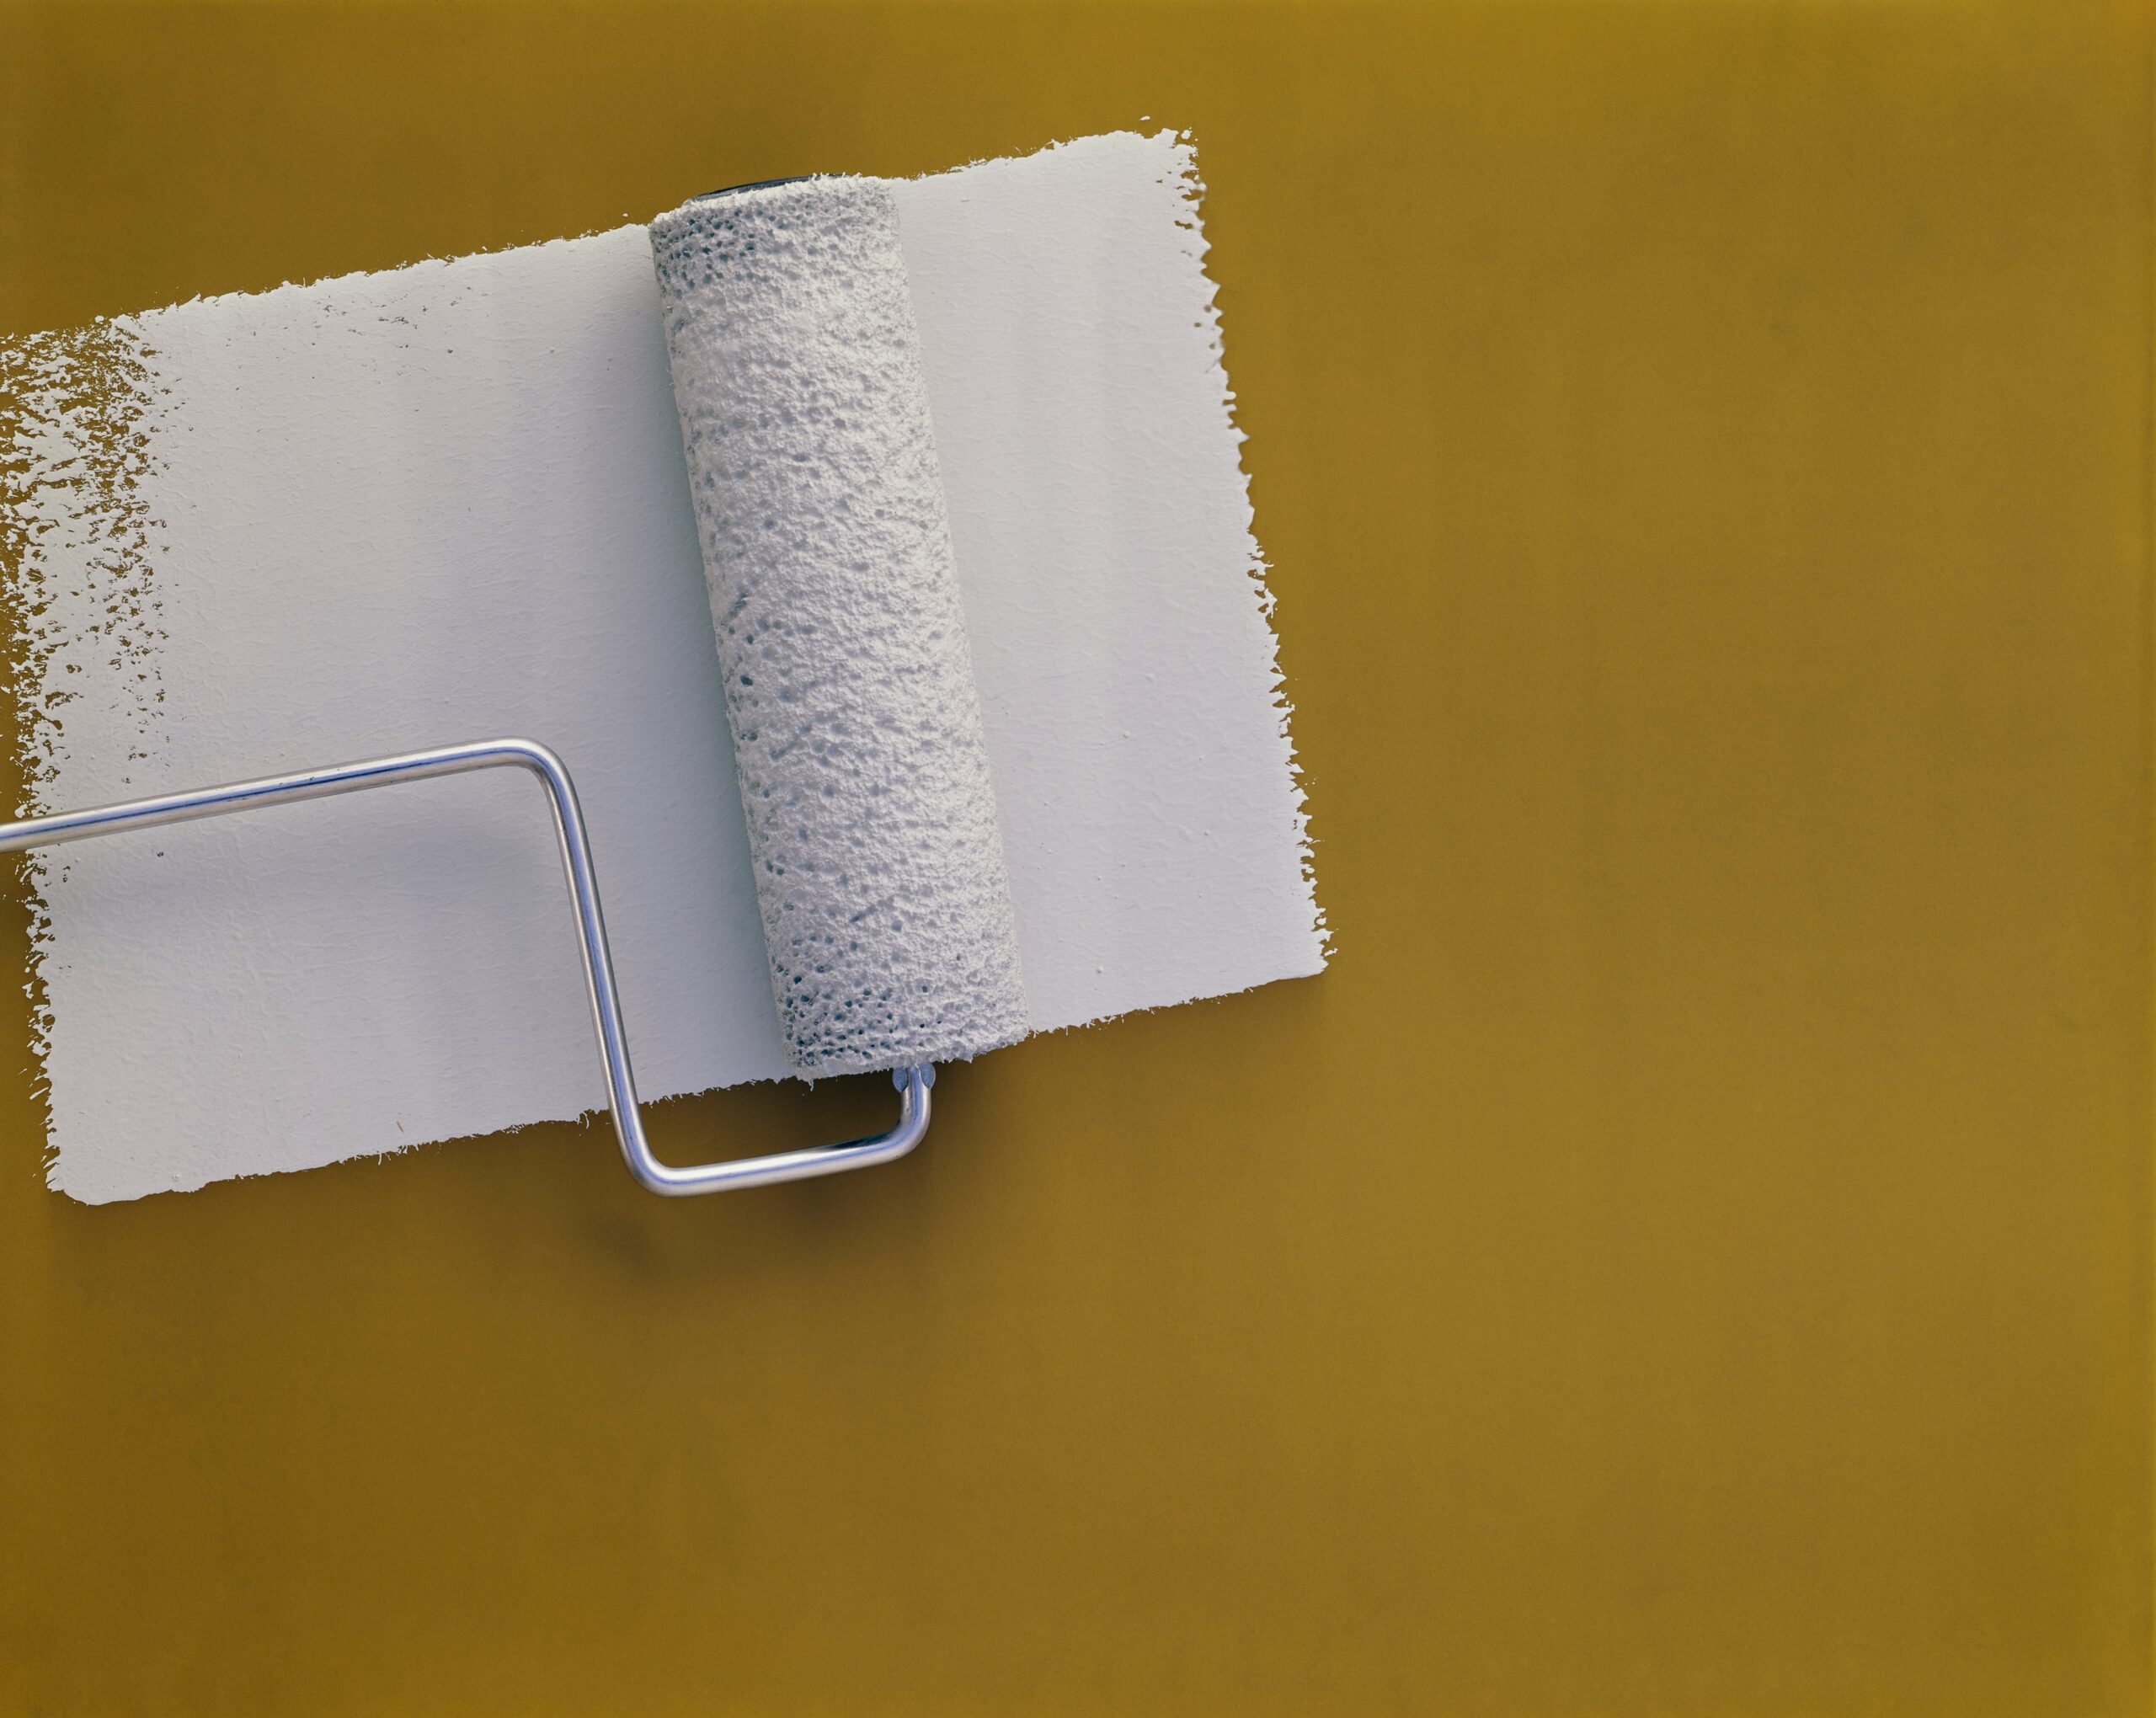
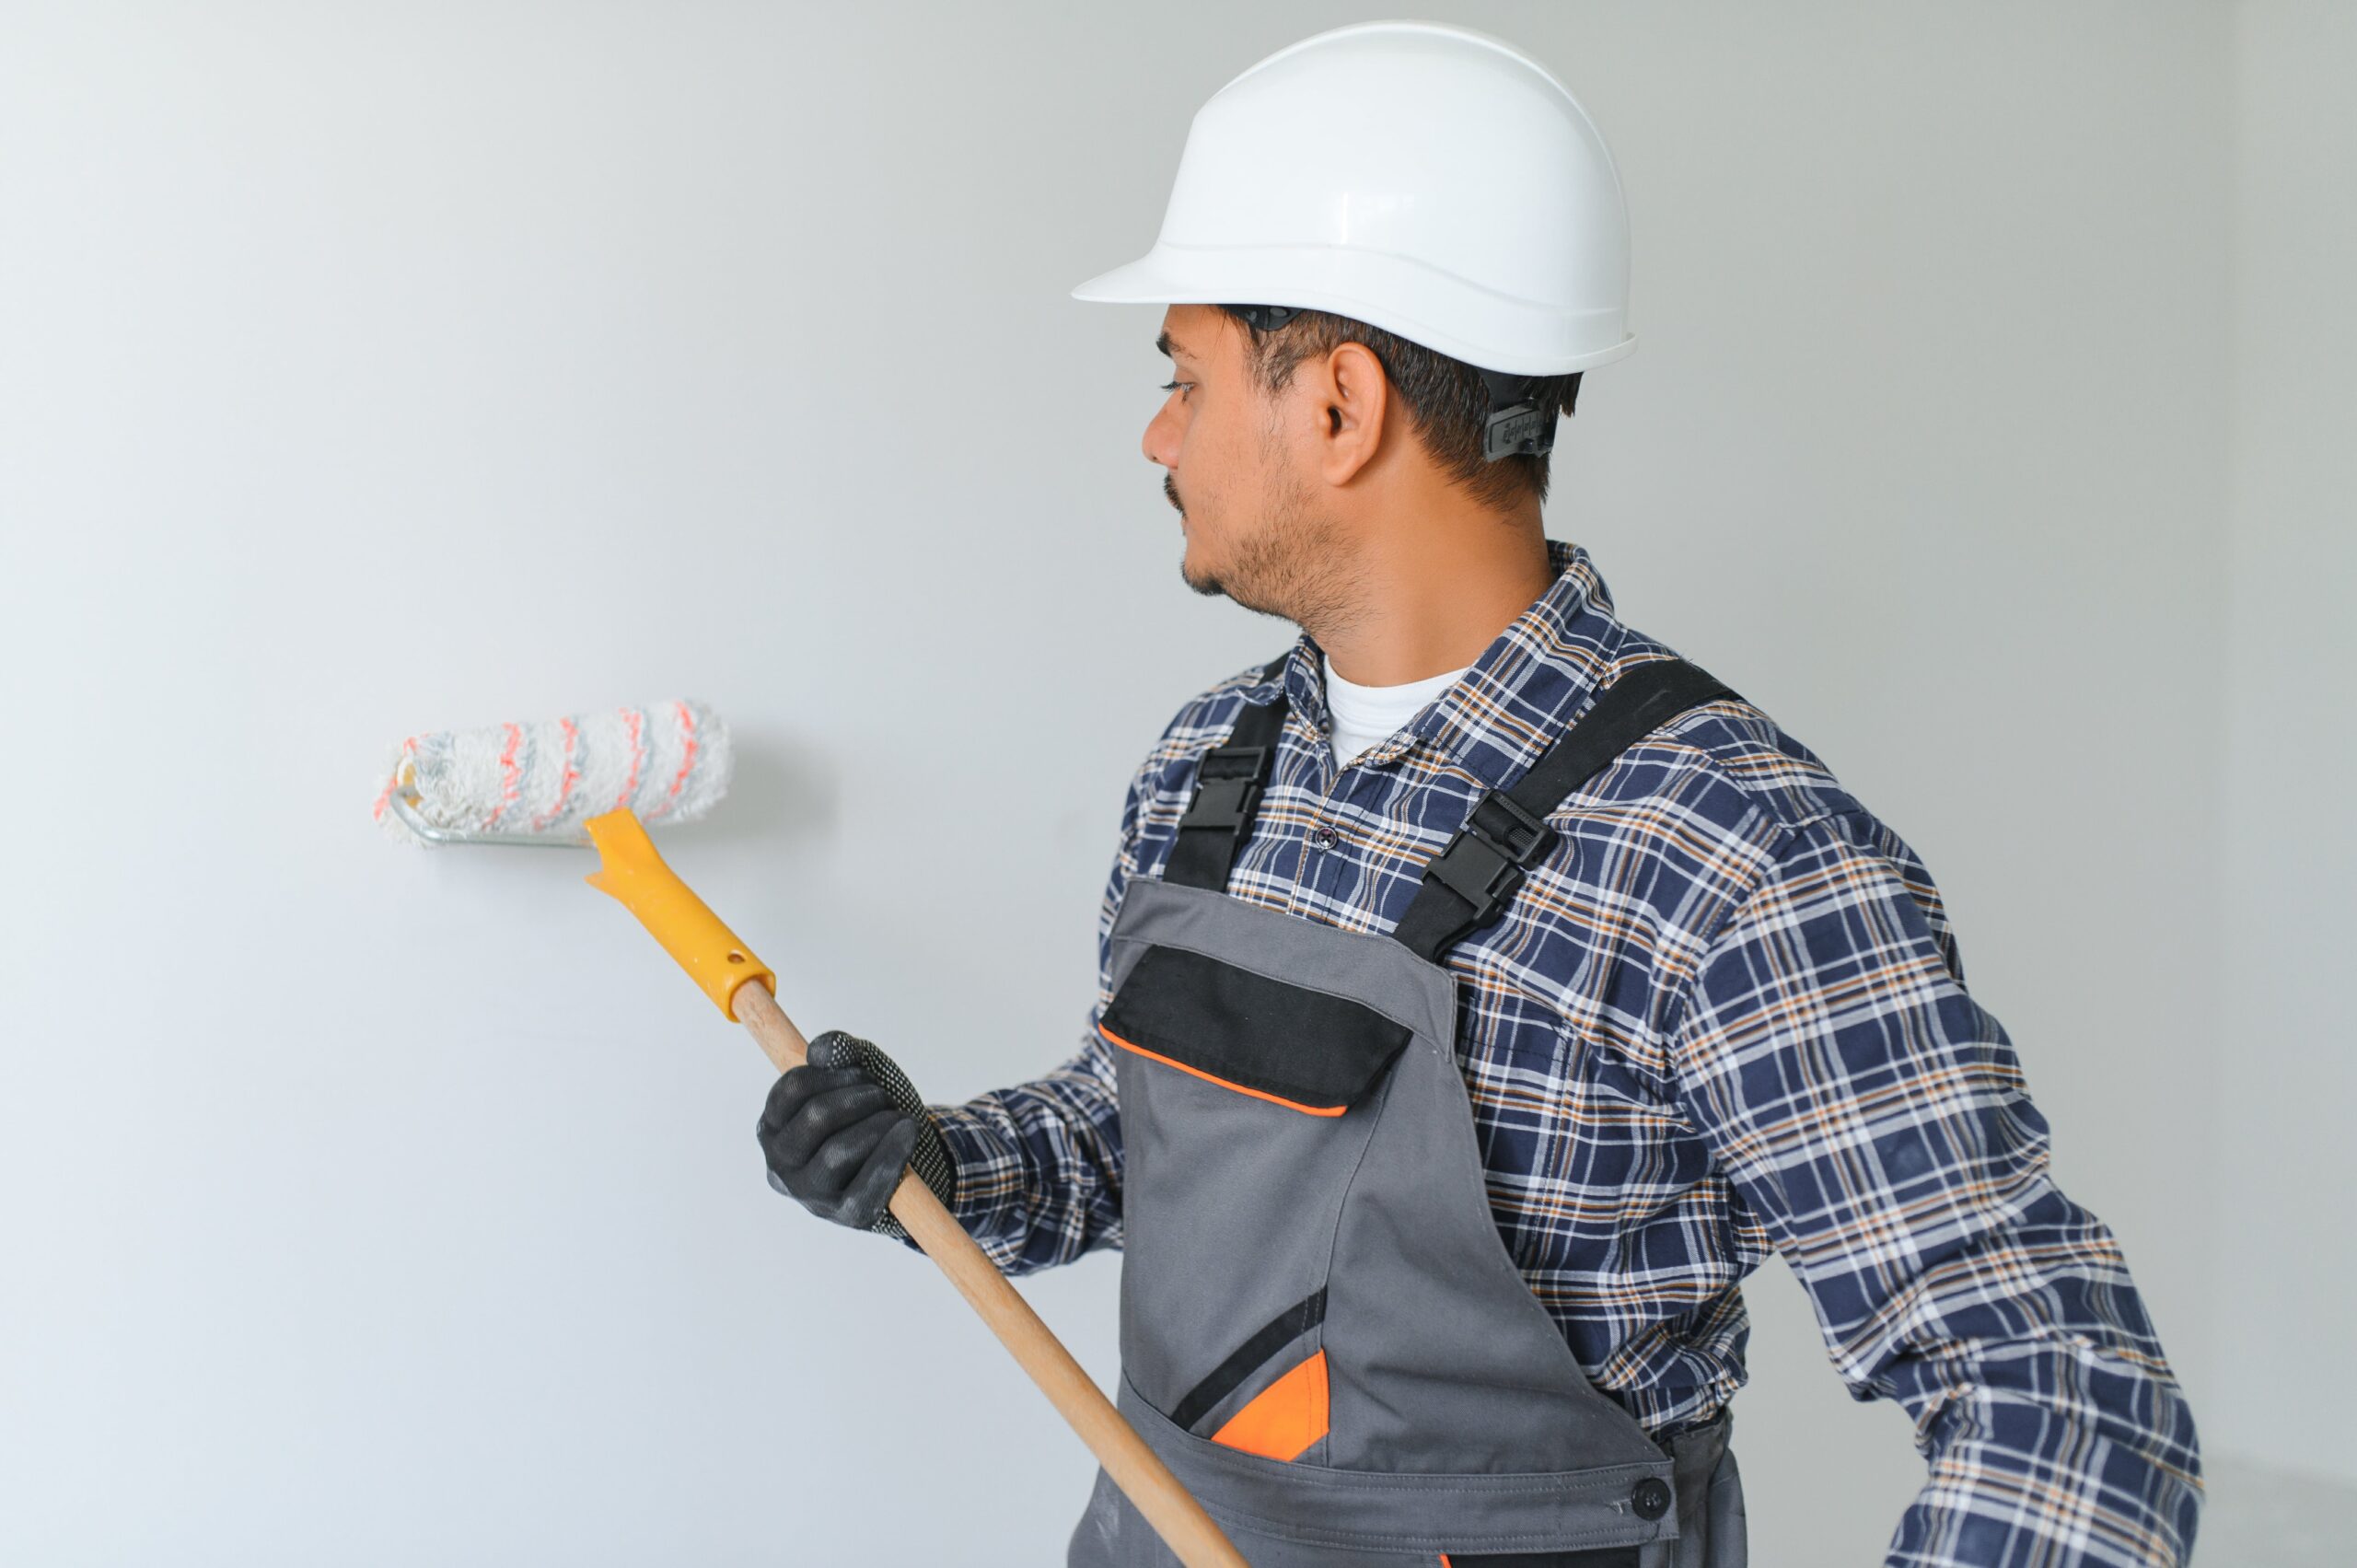
After spending hours rolling paint on a wall, the last thing you want to do is wake up one morning and see paint bubbles. What causes paint bubbling and peeling, anyway? Here are the sources of this frustrating, unsightly problem, how to prevent it, and how to fix it if it’s already happened.
The Power of Adhesion
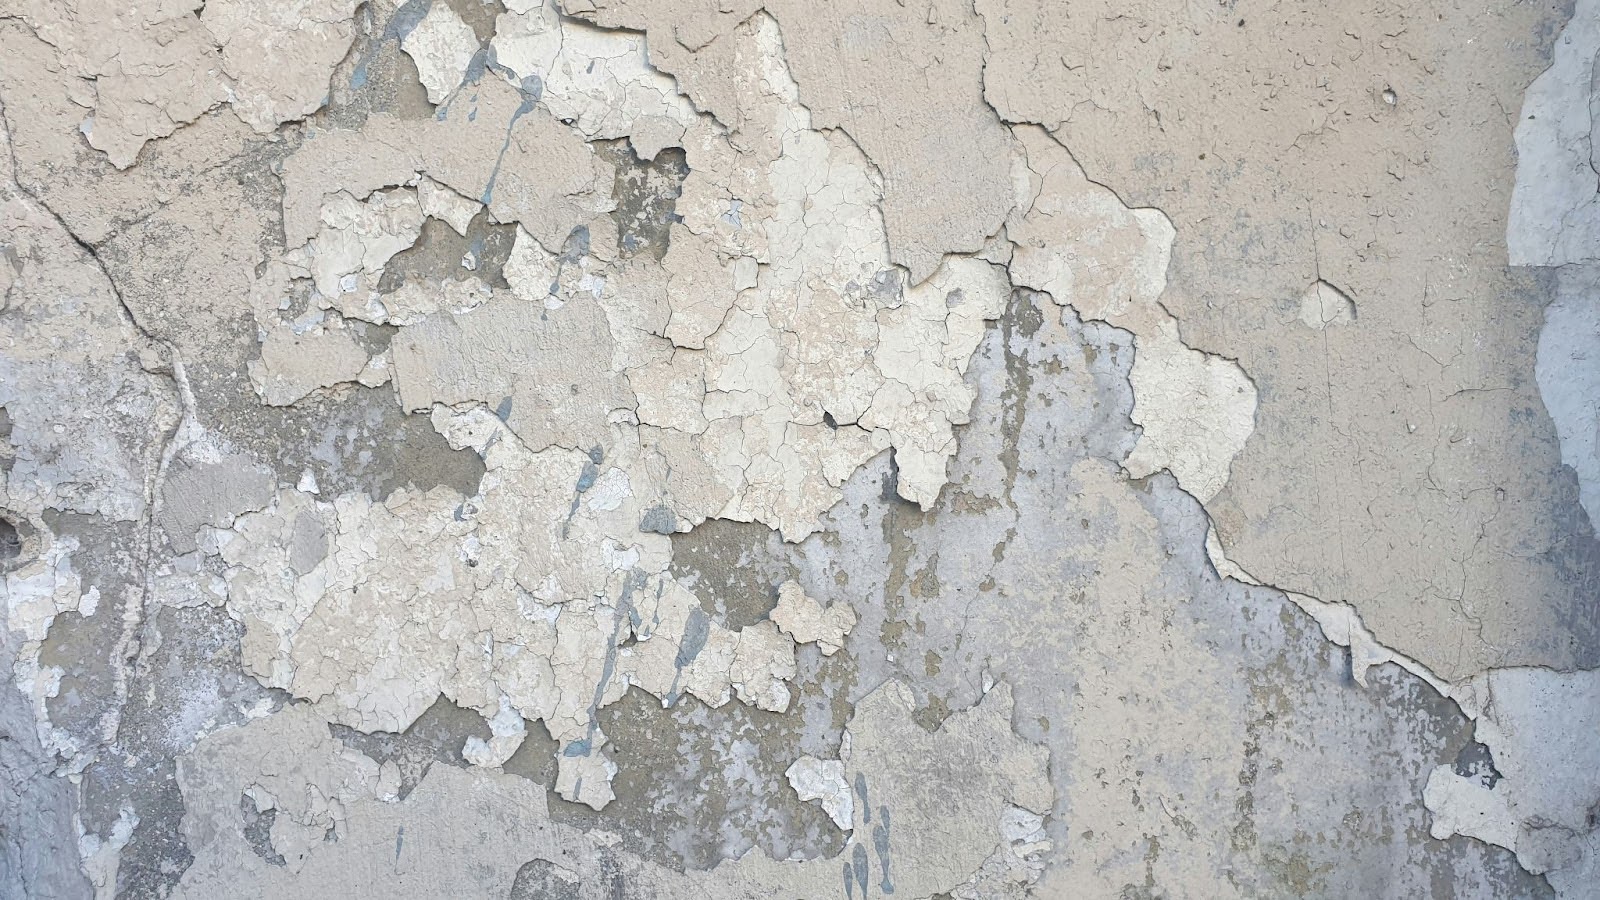
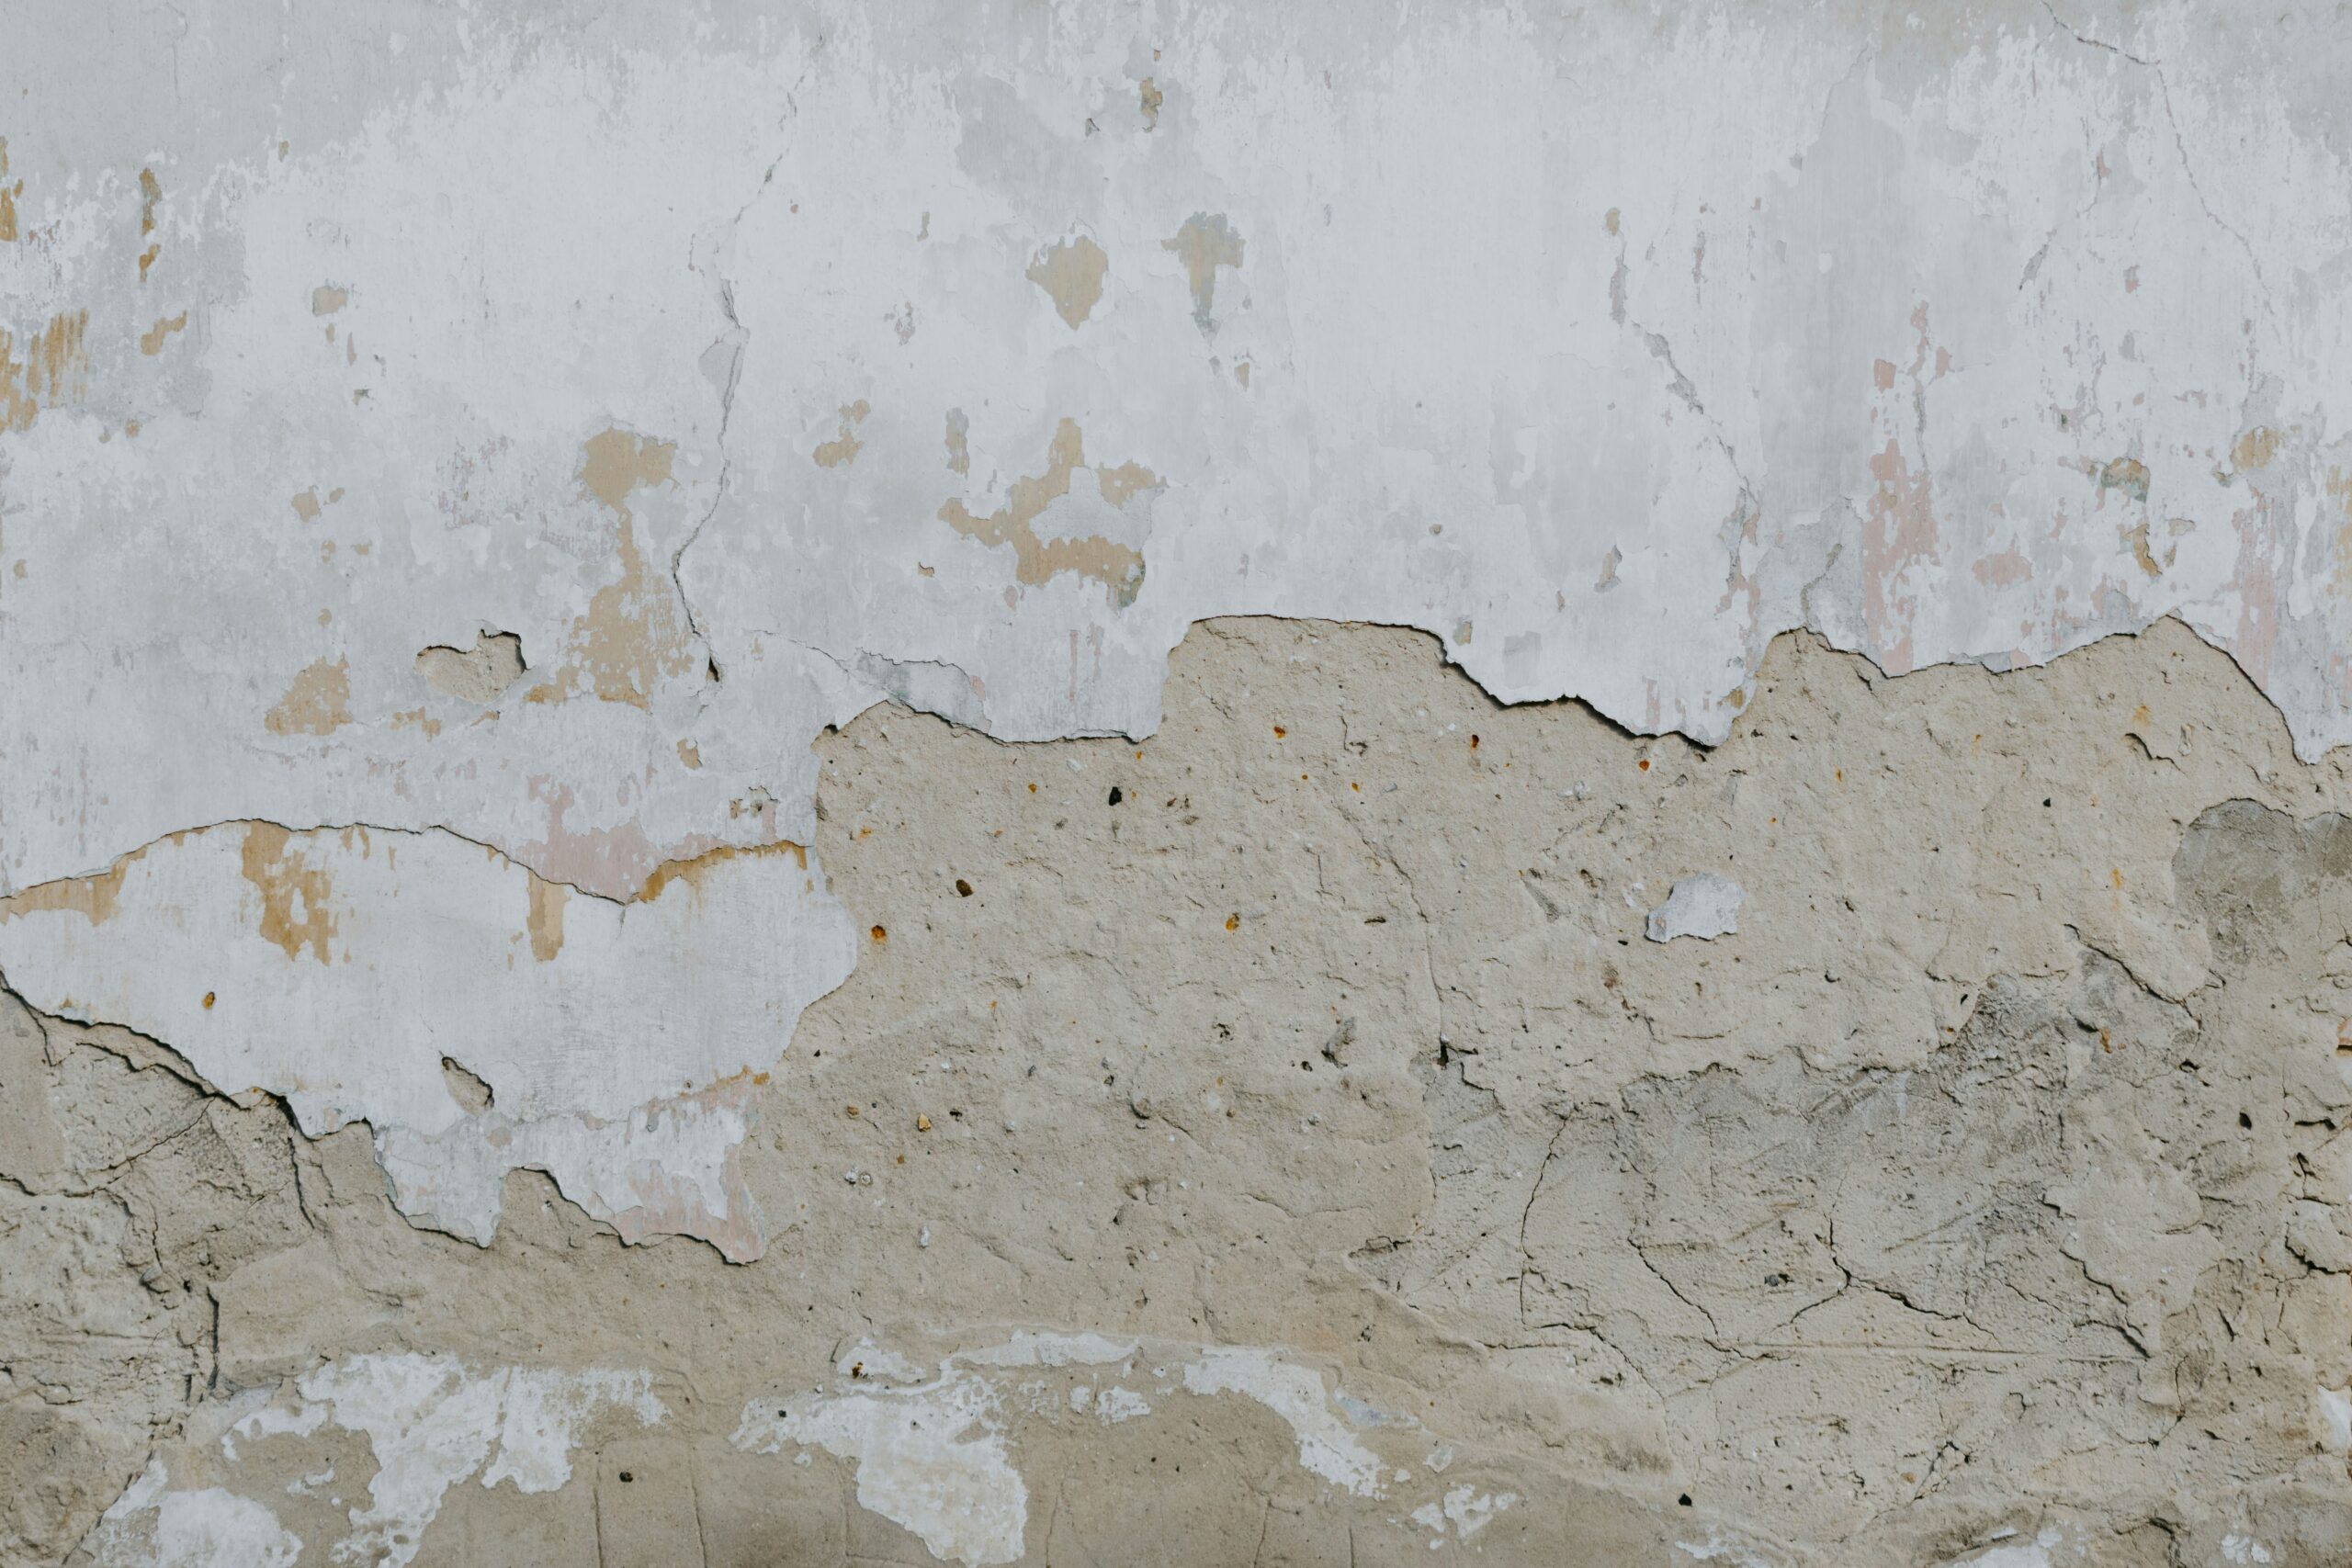
Paint bubbling, sometimes called blistering, happens when paint loses its adhesion to the surface beneath. That surface might be the coat of paint under the one you applied, or the substrate, like drywall, plaster or wood.
When paint pulls away, water- or air-filled bubbles form, and when they deflate as the paint dries, they can harden in place. Paint coats – both oil- and water-based – can loosen at any time, even long after the paint was applied.
You could paint over it again, but that’s a short-term solution because the paint will likely re-bubble. Instead, here’s how you can stop it – or repair it.
Paint Bubbling 101
Here are several reasons why paint bubbles.
1. Dirty walls
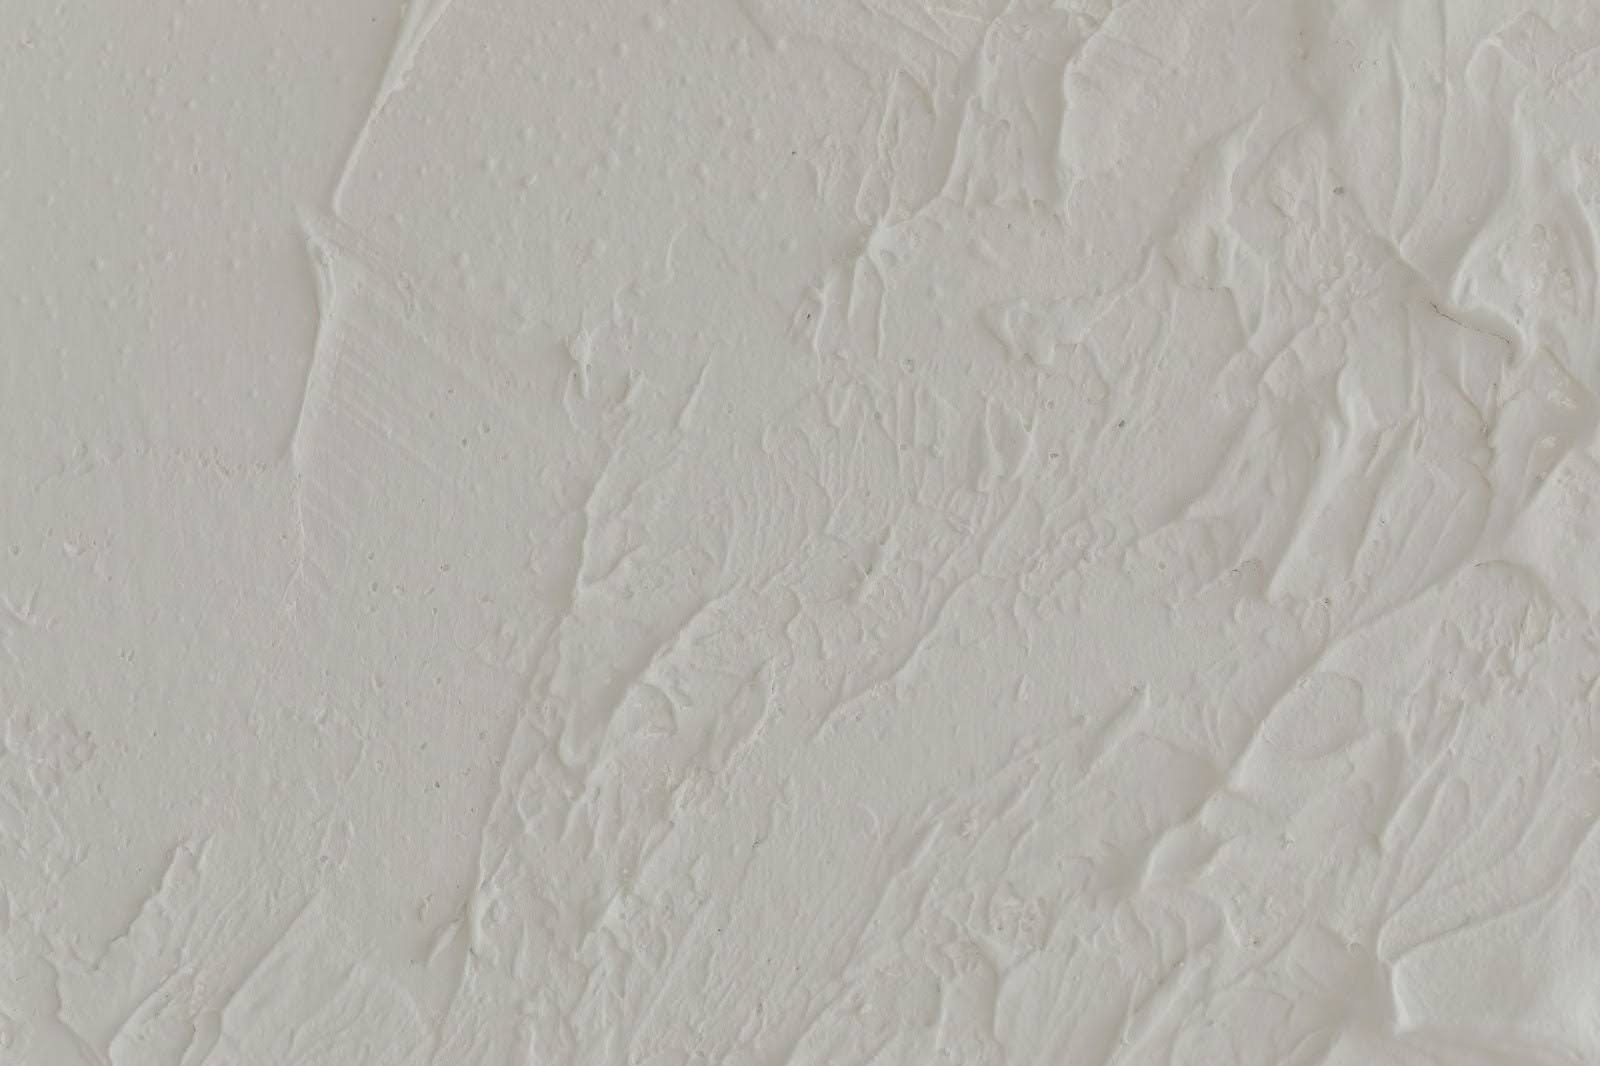
If you’ve ever wondered why every painting instruction manual starts with “clean the walls,” this is why. No matter how expert you are at housekeeping, dirt, grime, and dust are going to stick to your walls and ceilings. And they get in the way of fresh paint’s ability to adhere to a wall or ceiling. So, before you paint, clean the surface thoroughly with a damp, soapy sponge, then let the surface air dry completely before painting.
2. Skipping the primer
Primer, who needs it, right? Well, your walls do. Primer isn’t just the paint industry’s attempt to sell you another product. A layer of primer creates a less porous surface so that both binders and pigments can stick to the substrate. In other words, it gives your paint something to stick to.
3. Moisture
Moisture from water droplets, leaks, or high humidity, can all soak into the wall, creating bubbles between the wall and the paint. These types of bubbles happen in rooms where dampness is common, like bathrooms and kitchens.
4. Heat
As with moisture, this is more common in rooms exposed to heat, like kitchens or rooms that get a lot of sunlight. This isn’t so much a problem of adherence as it is an issue of drying. In intemperate places, the topcoat dries unevenly at a too-fast rate and causes bubbles under the surface.
5. Using the wrong technique, tools, or paint
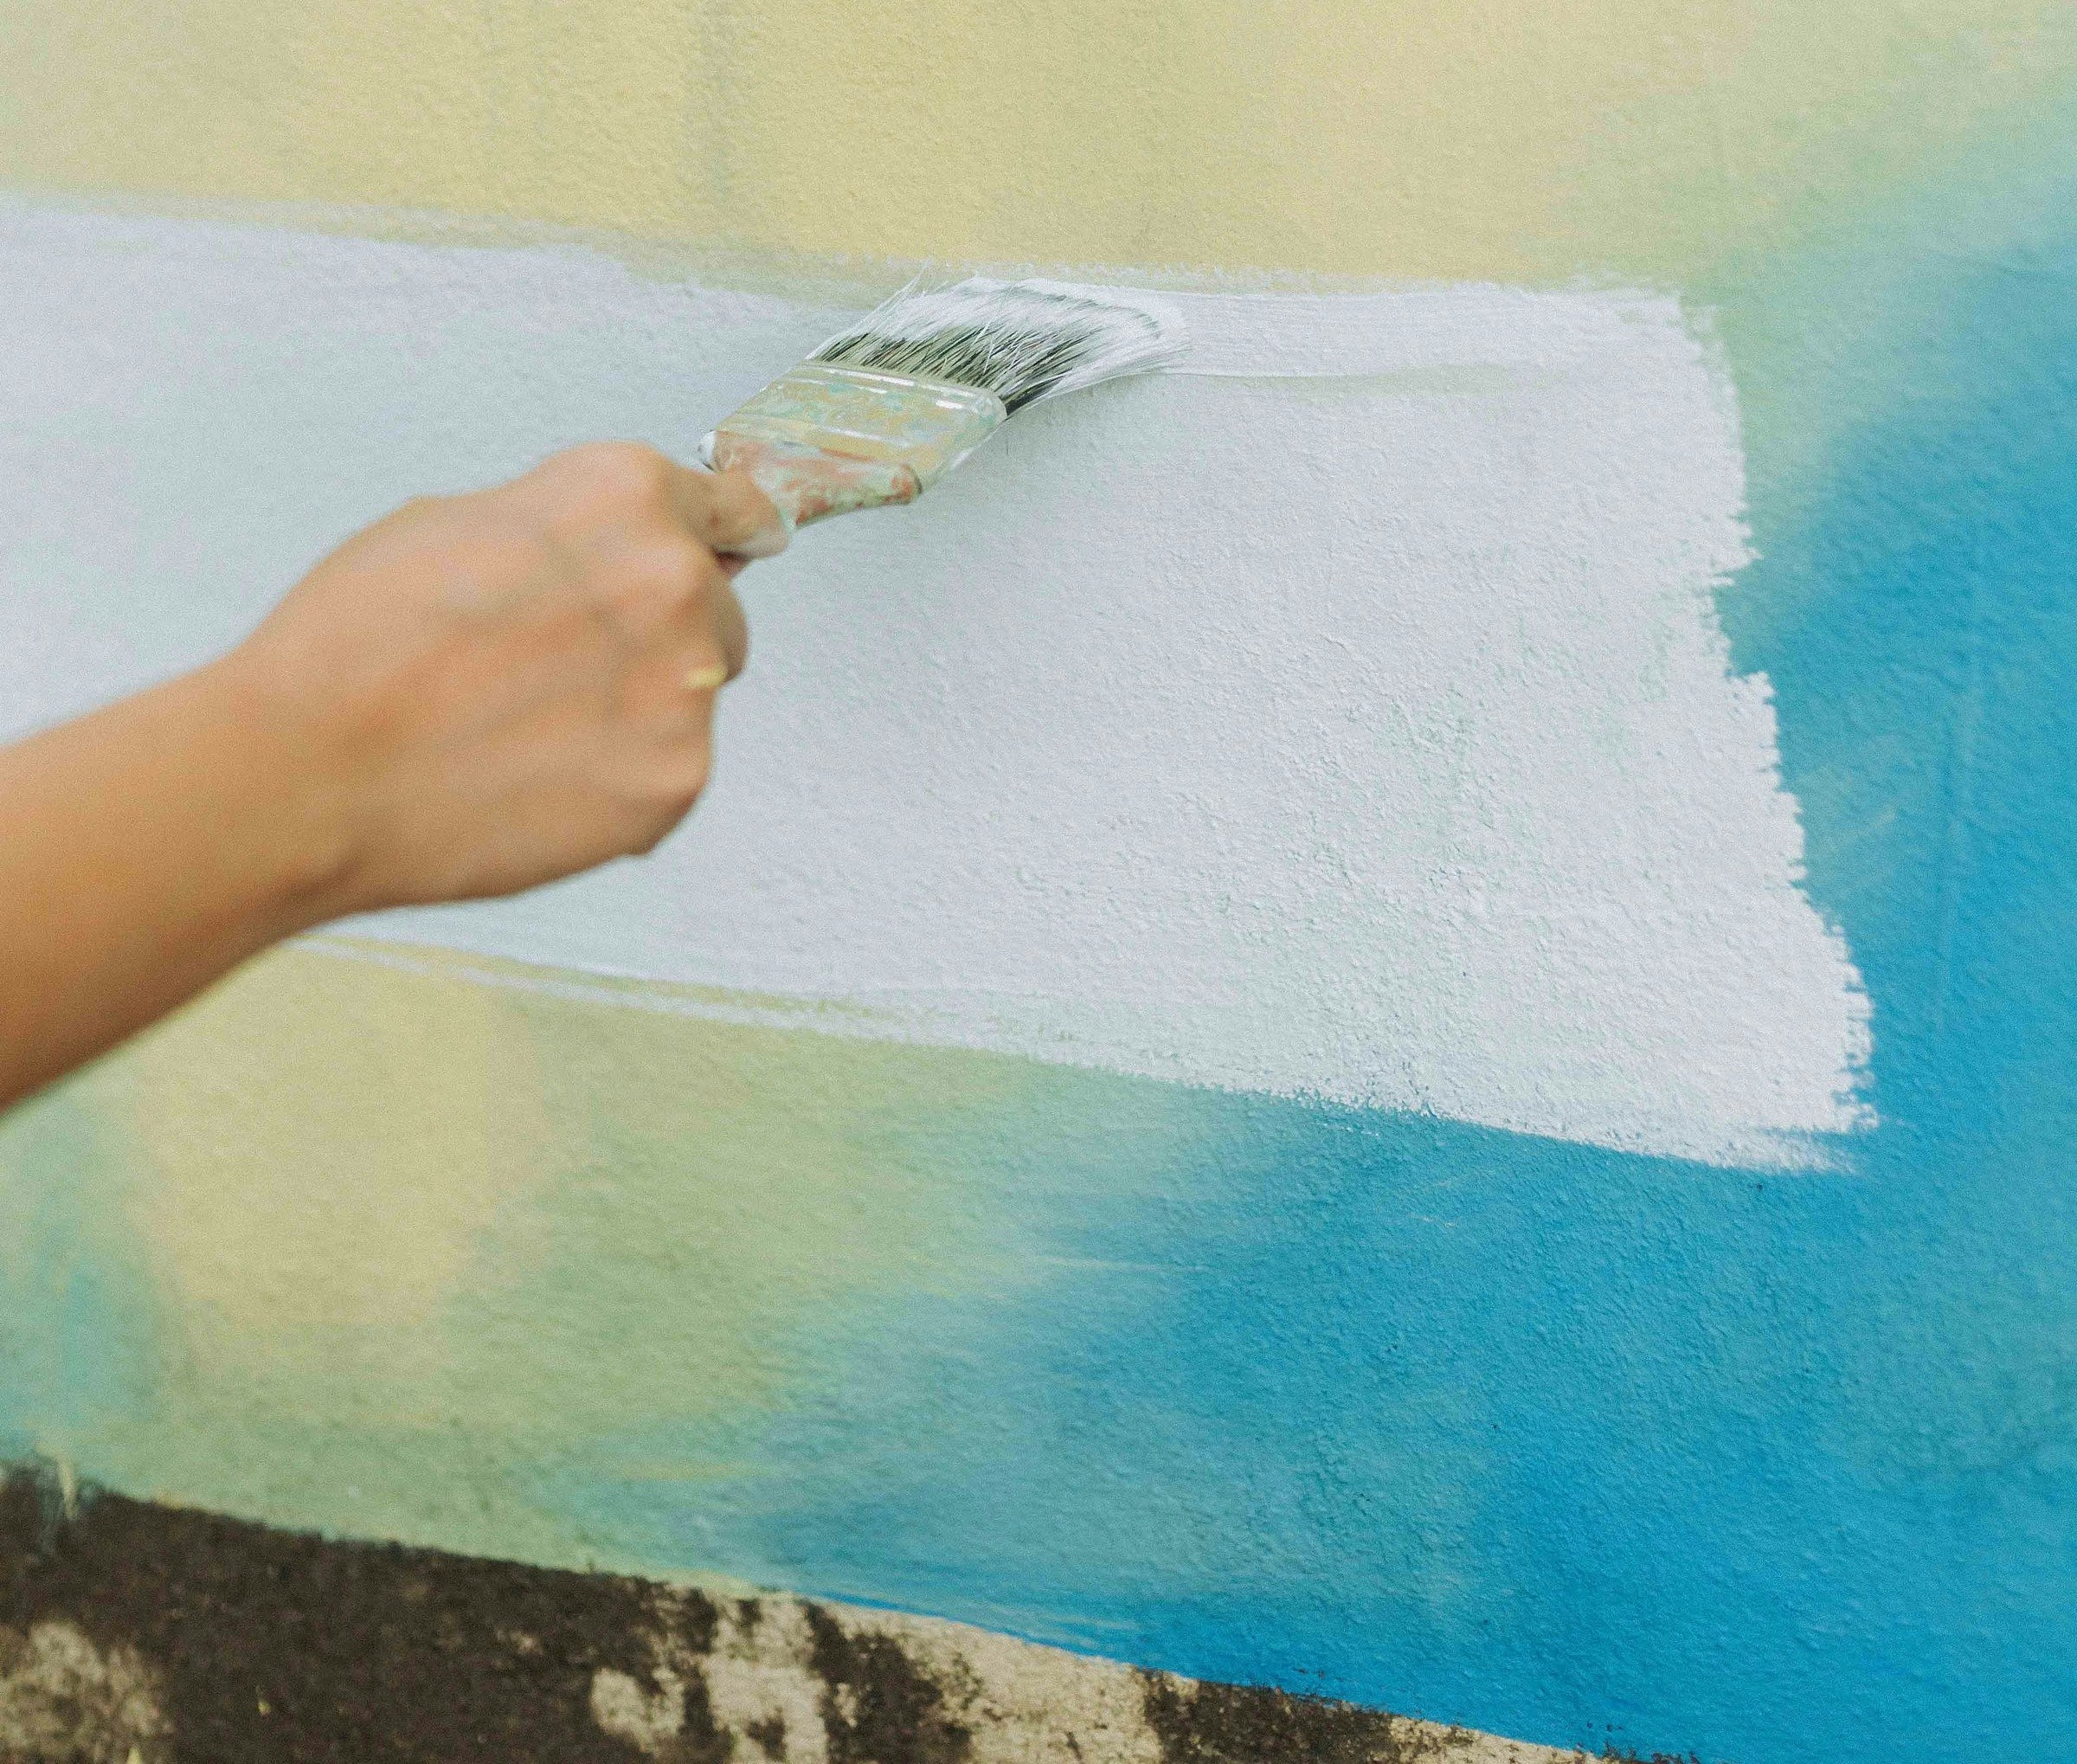
When painting over oil-based paint, it’s generally best to use more oil-based paint. Putting latex paint over oil-based paint is likely to cause the paint to bubble because the two formulas can’t bond well. But latex has some benefits over oil-based paint – mainly lower VOCs, lower odor, and faster drying time. So, if you want to paint latex over oil, you’ll need to prep the oil-based paint first by sanding the paint to rough up the surface, cleaning it with TSP, priming, and then using at least two coats of latex. And be sure to use the right brush or roller – if you’re not sure of the right tool for your paint job, ask your paint professional.
6. Painting over glossy surfaces
If you apply paint over a glossy surface without scuffing or sanding it first, it won’t stick properly. This can result in blistering, peeling, or flaking. Glossy finishes repel paint because they lack the texture that allows new layers to adhere. Before painting over any high-gloss finish, thoroughly sand the surface to dull the shine and increase grip, then wipe away any dust. Follow this with a coat of bonding primer to ensure the new paint has a solid foundation. Skipping these steps often leads to bubbling paint or even full paint failure in high-traffic areas.
7. Using old or improperly stored paint
Paint that’s expired, has been frozen, or stored improperly can lose its chemical integrity and lead to poor adhesion or bubbling once applied. Paint should always be stored in a climate-controlled environment with the lid sealed tightly. When exposed to extreme temperatures, the ingredients can separate or curdle, which affects both texture and performance. Before using old paint, stir it thoroughly and check for foul odors, clumps, or unusual consistency. If in doubt, it’s best to invest in fresh paint rather than risk uneven coverage and bubbling surfaces.
8. Rushing between coats
Applying a second coat of paint before the first one has fully dried can trap solvents or moisture, resulting in bubbles that form as the layers try to cure. Patience is key to achieving a smooth, long-lasting finish. Paint cans typically include recommended drying times between coats—these vary depending on the type of paint, humidity, and temperature. Ignoring these guidelines can lead not only to bubbling, but also streaks, uneven texture, or peeling. If you’re ever unsure, touch a hidden corner to test dryness before moving on to the next layer.
How to Get Rid of Air Bubbles on Painted Walls
Air bubbles on painted walls are often the result of improper surface prep, applying paint too thickly, or painting in humid or hot conditions. To get rid of these unsightly bubbles:
- Wait until the paint has completely dried.
- Use a scraper or putty knife to remove bubbled sections.
- Sand the area smooth.
- Wipe clean, let dry, and then apply primer.
- Repaint the area, ensuring the paint isn’t too thick or applied under poor conditions.
How to Fix Bubbling Paint from Water Damage
If water damage is the culprit, fixing bubbling paint takes a few extra steps. First, you need to identify and repair the source of the moisture – whether it’s a leaking pipe, roof, or high humidity. Then:
- Remove bubbled paint with a putty knife.
- Allow the area to dry completely. You may need a dehumidifier or fan.
- Apply a stain-blocking primer to seal any remaining moisture residue.
- Once dry, repaint using high-quality paint that’s appropriate for the room’s conditions (like mold-resistant paint for bathrooms).
Repairing Bubbled Paint
If you’re faced with blistered paint, how do you fix it? Luckily, this is easy, if a little time-consuming.
First, scrape away the bumps or cracks with a putty knife. Then fill any holes or cracks in the surface with a patching compound. Once the compound is dry (usually overnight), lightly sand with a fine-grit sandpaper. Then clean the surface, let it dry completely, prime it, and paint in the appropriate conditions – between 50-85 degrees F, in a well-ventilated room.

Can Paint Bubbling Be Prevented Long-Term?
Yes! The best way to prevent bubbling paint over time is to invest in good preparation and materials from the start. Always clean and dry surfaces before applying primer and paint. Use products that are suited for your climate and room conditions, especially in moisture-prone areas. Avoid painting in high humidity or extreme temperatures, and allow adequate drying time between coats. Regular home maintenance to monitor moisture levels and ventilation can also help prevent long-term issues.
Interior vs. Exterior Paint Bubbling: What’s the Difference?
While the signs of bubbling may look similar, the causes can vary depending on whether you’re painting inside or outside. Exterior paint bubbling is often related to sun exposure, rain, or improper curing, especially on wood siding. Interior bubbling is more likely linked to moisture from bathrooms, kitchens, or poor prep work. Using the right type of paint for the environment and following proper application guidelines is key to avoiding bubbling in both scenarios.
When to Call a Professional Painter
If you’ve followed all the right steps and paint bubbling keeps coming back, or if you’re dealing with a large or moisture-damaged area, it might be time to call in a pro. Professional painters can assess the root cause—whether it’s improper prep, moisture behind the walls, or the wrong type of paint—and fix the problem for good. A licensed painting contractor will also use high-quality primers and paints to ensure lasting results.
FAQs About Bubbling Paint
Why is my paint bubbling on the wall?
Paint bubbles typically form when the paint loses adhesion to the underlying surface. This can be caused by dirt, moisture, heat, painting over incompatible surfaces, or skipping prep steps like sanding or priming.
How do you fix bubbling paint?
To fix bubbling paint, scrape off the bubbled sections, sand the area smooth, clean it thoroughly, prime it, and repaint under the right conditions. Be sure to allow each layer to dry fully before applying the next.
What causes paint bubbles after drying?
Paint bubbles that appear after drying may be caused by trapped moisture, excessive heat, or improper application techniques. If paint is applied in thick layers or over a damp or dirty surface, it can blister as it cures.
Can I just paint over bubbled paint?
Painting over bubbled paint is not recommended unless the underlying cause has been fixed. Without proper repair, new paint will likely bubble again. Always scrape, sand, prime, and prep the area first.
Is paint bubbling a sign of a bigger issue?
Sometimes. While many cases of paint bubbling are surface-level and easy to fix, persistent bubbling—especially near ceilings or baseboards—can indicate hidden moisture problems or leaks that need to be addressed.
What to Do if You Need Help Fixing Bubbling Paint
Understanding what causes paint to bubble is the first step in preventing it. From moisture to heat, poor prep to improper tools, many factors can affect adhesion and lead to bubbling paint. To ensure a long-lasting paint job, always prep thoroughly, use the right products, and paint under the best possible conditions.
If you’re still unsure how to fix bubbling paint or want professional results without the hassle, Paintzen is here to help. Our experienced house painters know how to properly prep walls, select the right products, and apply them in optimal conditions—so your paint job looks flawless and lasts for years.
Explore our interior painting services, exterior painting services, or request a free quote today.